CRT Rejuvenation

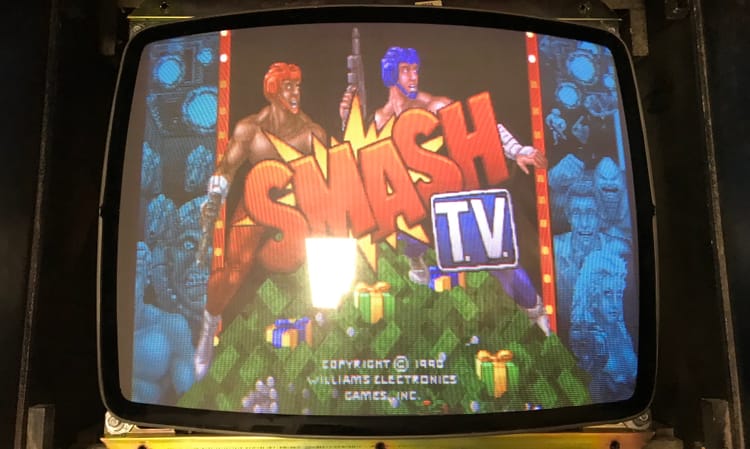
As we get closer to the opening of Reclaim Arcade one of many action items has been to clean up any games we own that have issues. Sometimes that means sending a PCB off for repair (I'm a long ways off from having the tools and knowledge to troubleshoot circuitry in-house beyond resoldering and reseating components). Other times it's smaller issues like adjusting controls and monitors. I'm no stranger when it comes to monitor repair, I've done "cap kits" (replacing all capacitors on a monitor chassis) but it's still an area where I find I'm a bit out of my depth. That being said when I visited Buffet last summer to get a monitor fixed up for Smash TV I saw him make use of something called a CRT Rejuvenator which I found fascinating and wanted to get one here.
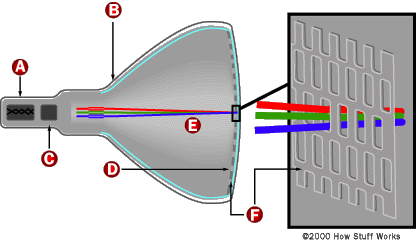
What is a CRT Rejuvenator? To understand what a device like this does it's best to know how a Cathode Ray Tube actually works (and I'm going to apologize in advance for any potential errors in this whole paragraph as I am at the very edges of my own understanding here, so I welcome any feedback!). At it's very basics you've got a cathode at the very back of the tube that has a heated filament in it (it actually lights up a bit when turned on like a dim lightbulb). Electrons come flying out of it and up into the tube being pulled by the anode where they then hit the front of the tube on a phosphorescent screen lighting it up. Depending on the signal the phosphor can light Red, Green, or Blue (or combinations of those three colors). For more on all that this is a decent intro https://electronics.howstuffworks.com/tv.htm. Over time the cathode will become weaker at emitting those electrons, causing the screen to be dim, or colors to not have a strong enough presence. Rejuvenators can measure the output from the cathode and just as importantly they have the ability to boost the heater and apply positive voltage that will clear any oxidation in the cathode and boost the signal. This does sometimes feel a bit like magic but it's important to not this process actual removes layers from the cathode so it's a last resort for a dying tube to get some more life out of it but it can be very effective.
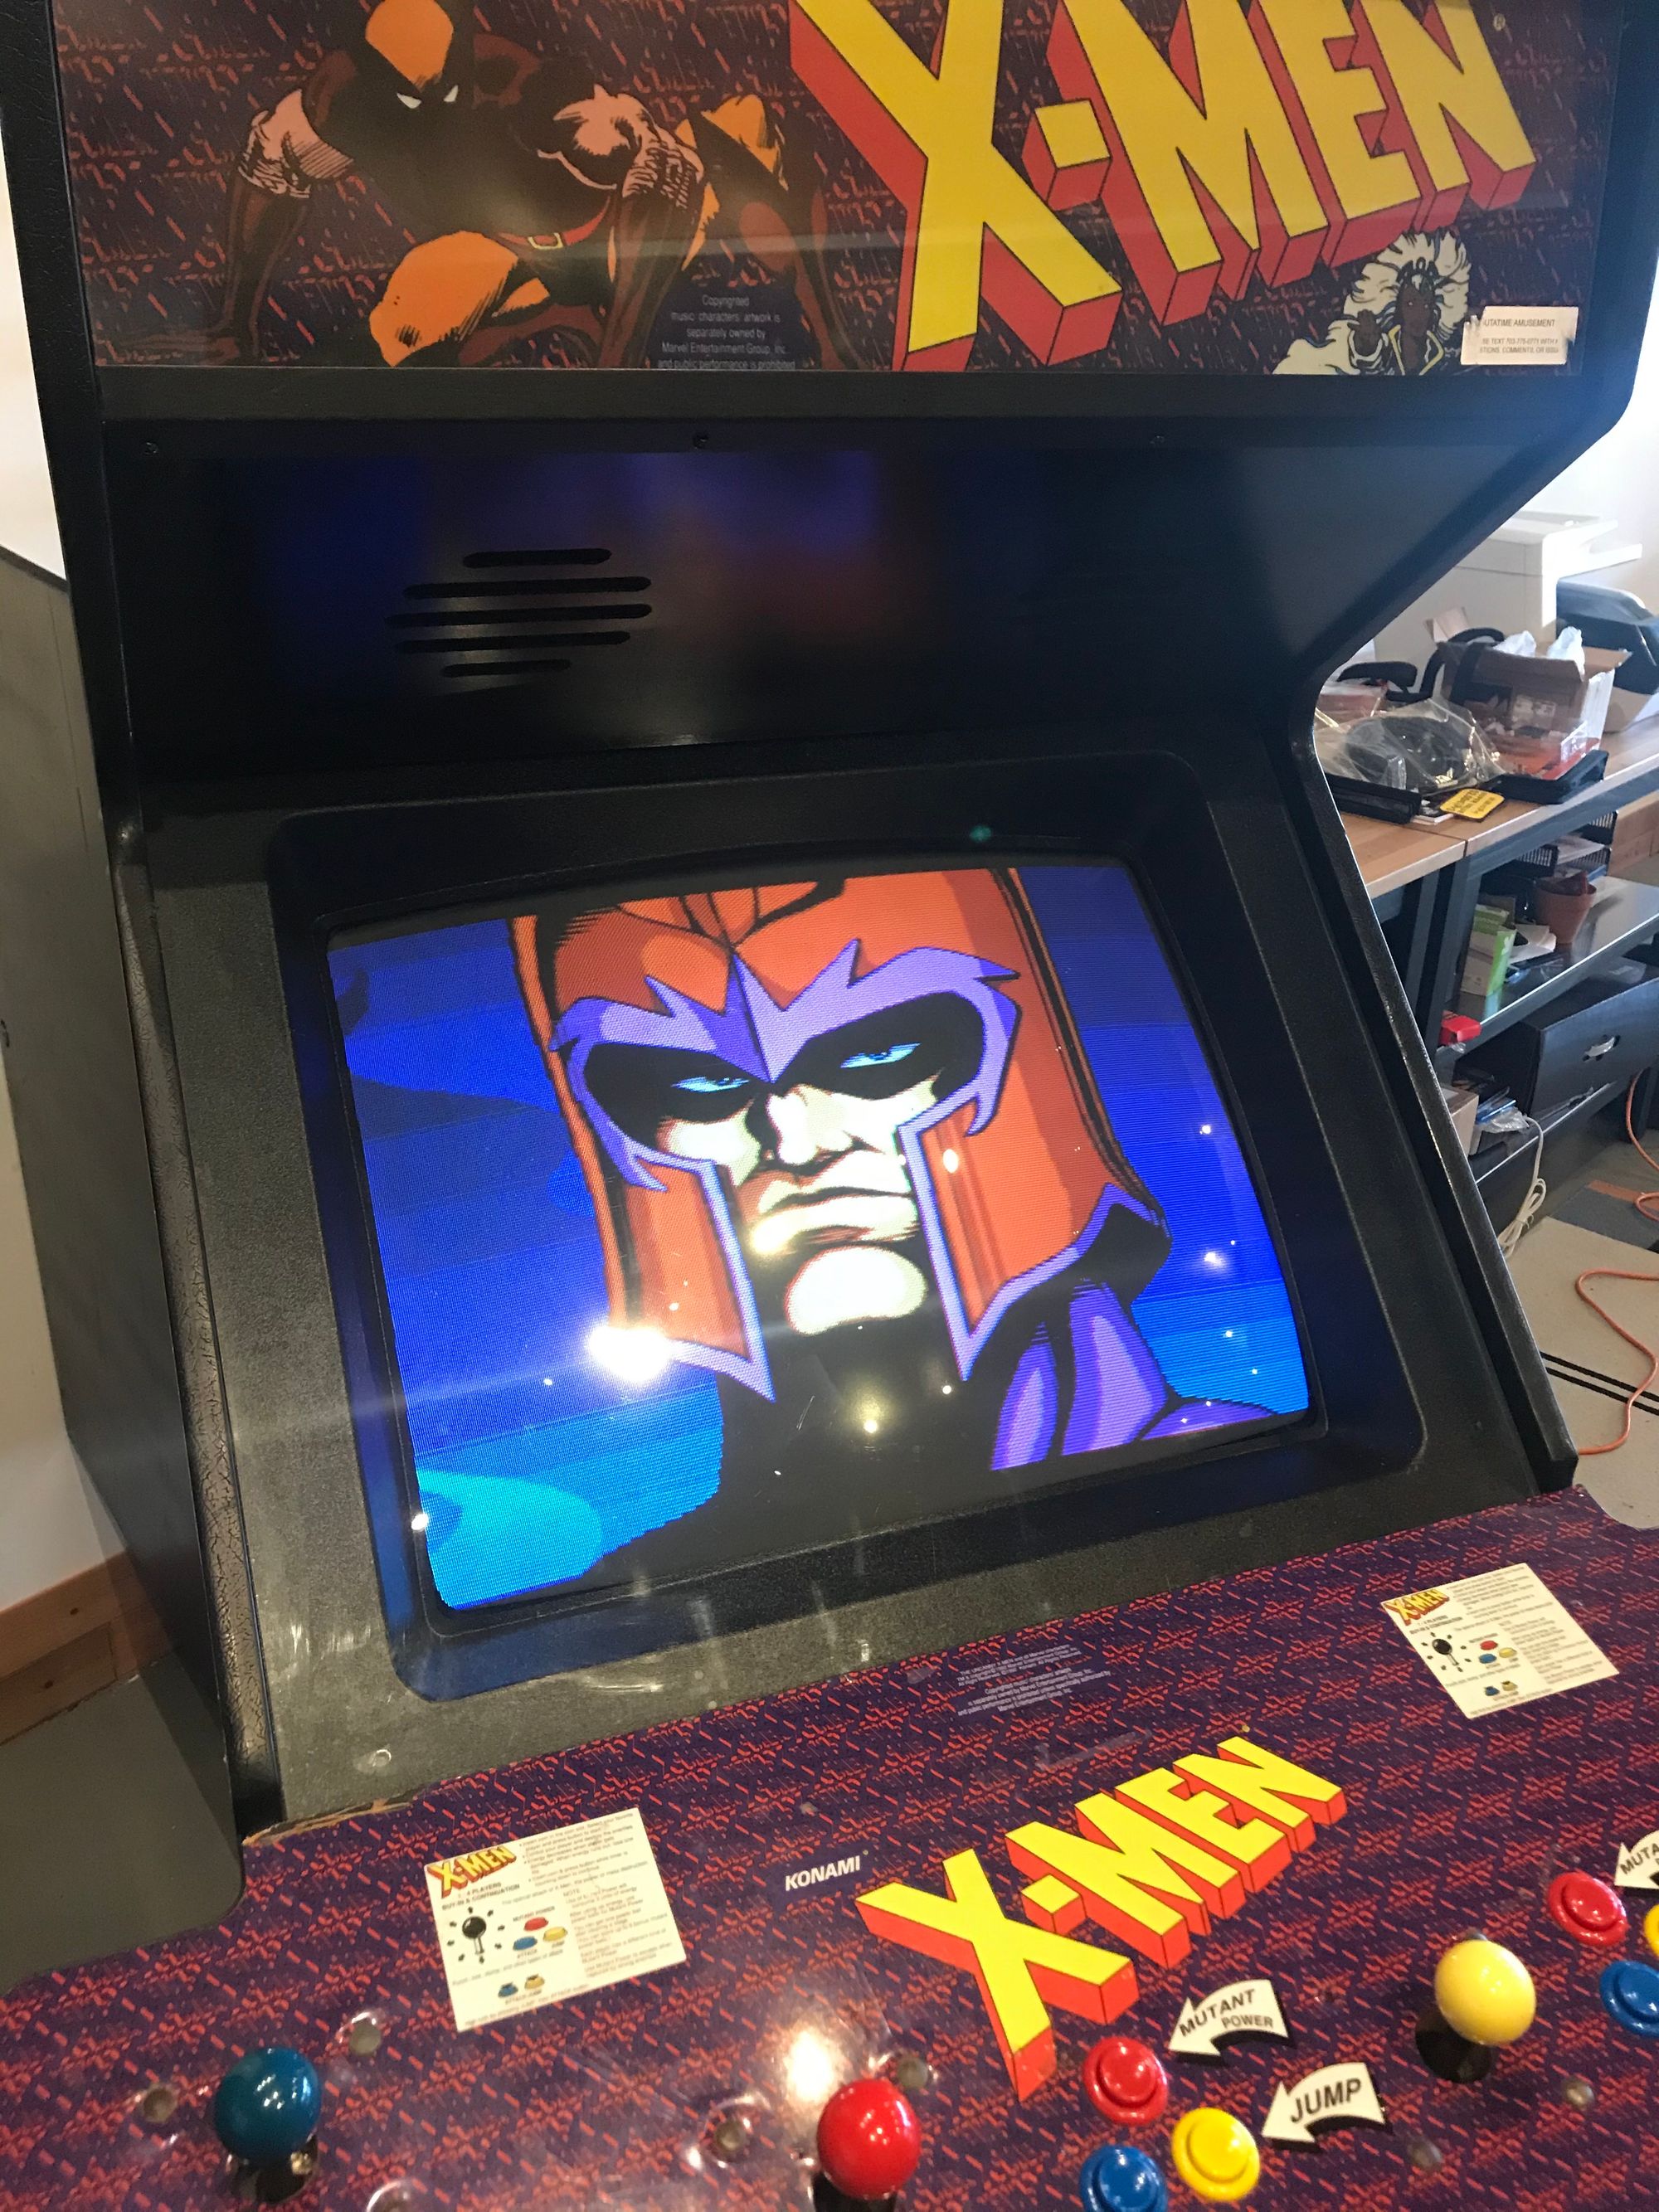
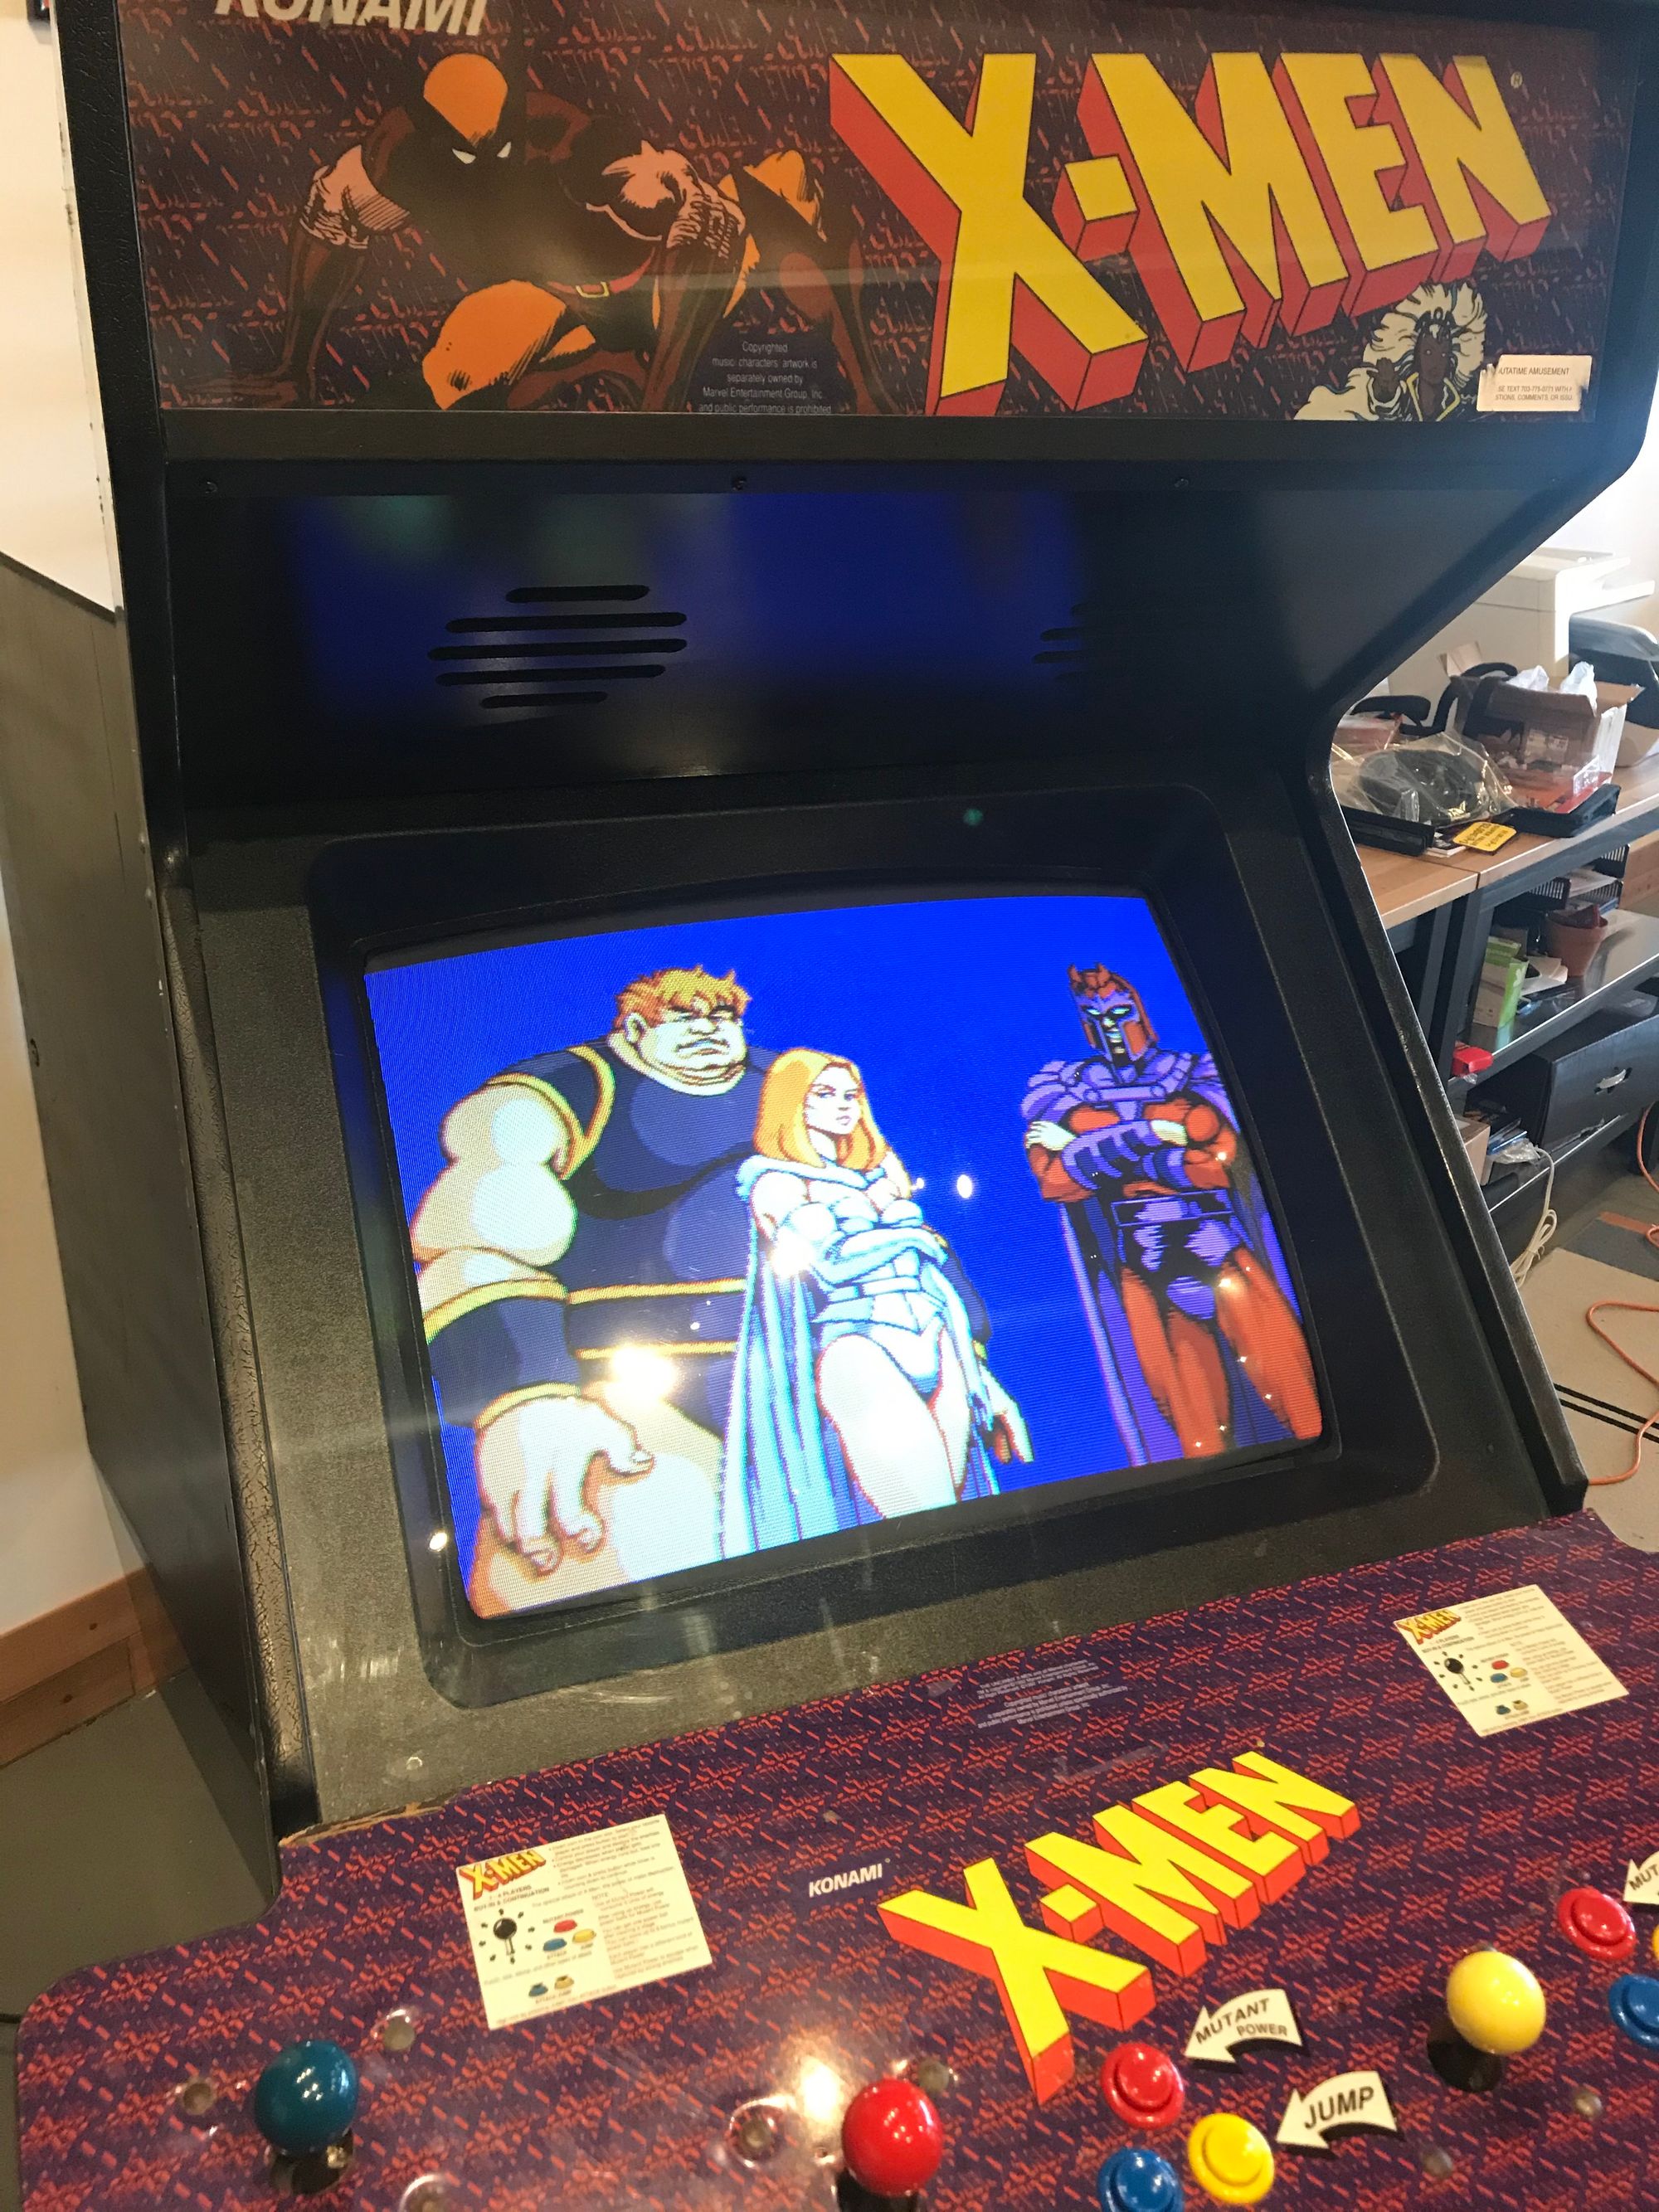
Now we have a 4-player X-Men that seemed a perfect use case for this. The game plays great but the monitor was fairly dim and after all adjustments to the screen this was as good as we could get it:
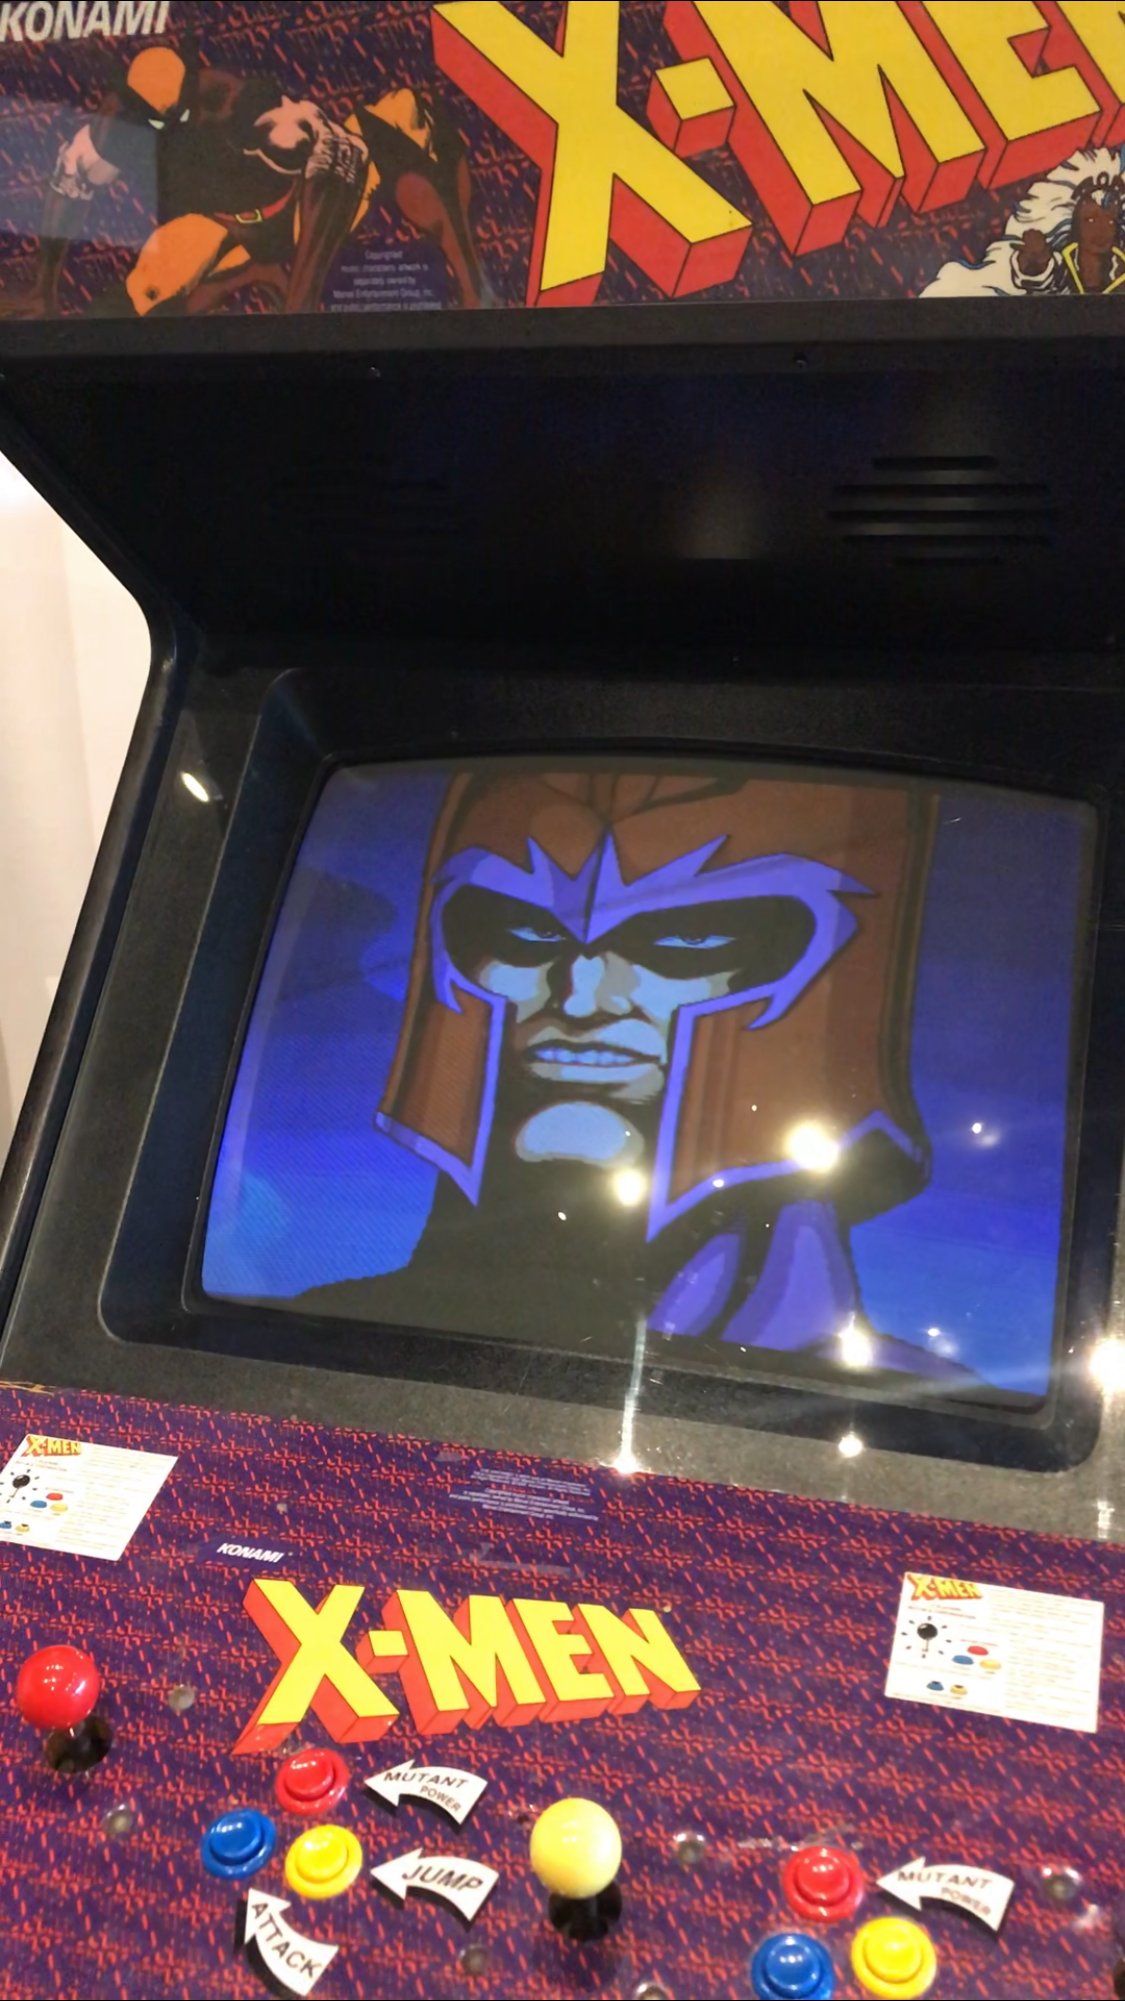

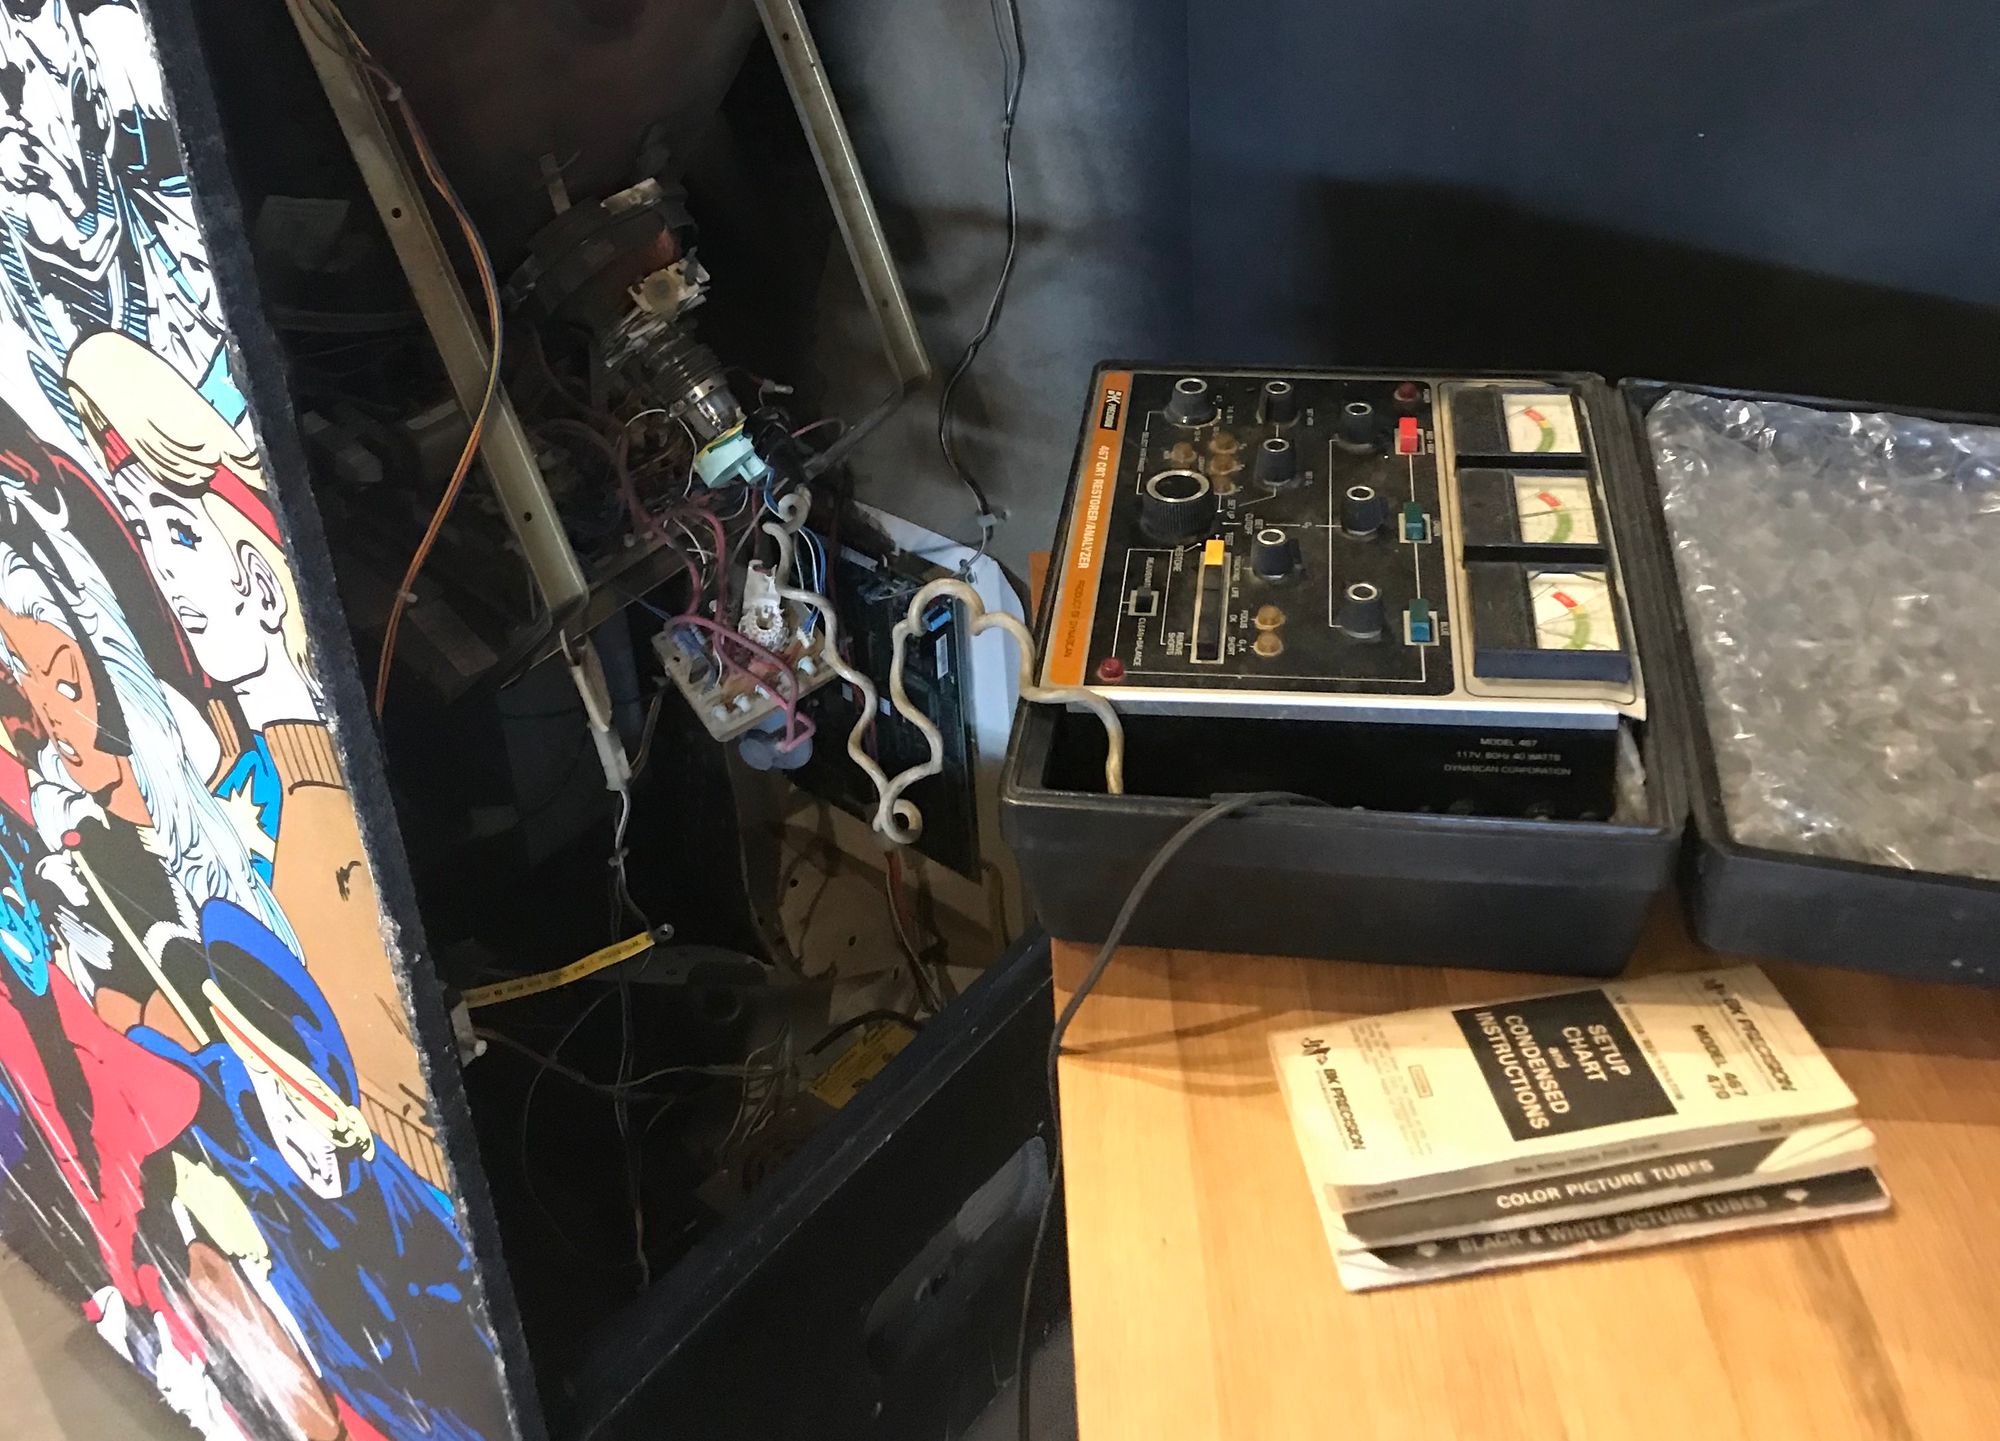
That's not awful, but it's not great. In low-light its better of course, but I wanted to try my hand at rejuvenating the monitor to see what could be done. I hooked up the machine to the back of the tube using the right adapter (different tubes have different pin configurations so you have to use the right adapter for it, in this case the pin configuration is #23 so I used the CR-23 adapter)
The whole process involves getting the actual numbers for heater voltage and G1 for which the site http://tubular.atomized.org/ works great. Then you dial it in, test each color, and then systematically charge each color with clean and balance or rejuvenation (the first method "Clean and Balance" is apparently much less damaging). Here's a great video from Buffett himself describing the whole process from start to finish for the ultra-curious:
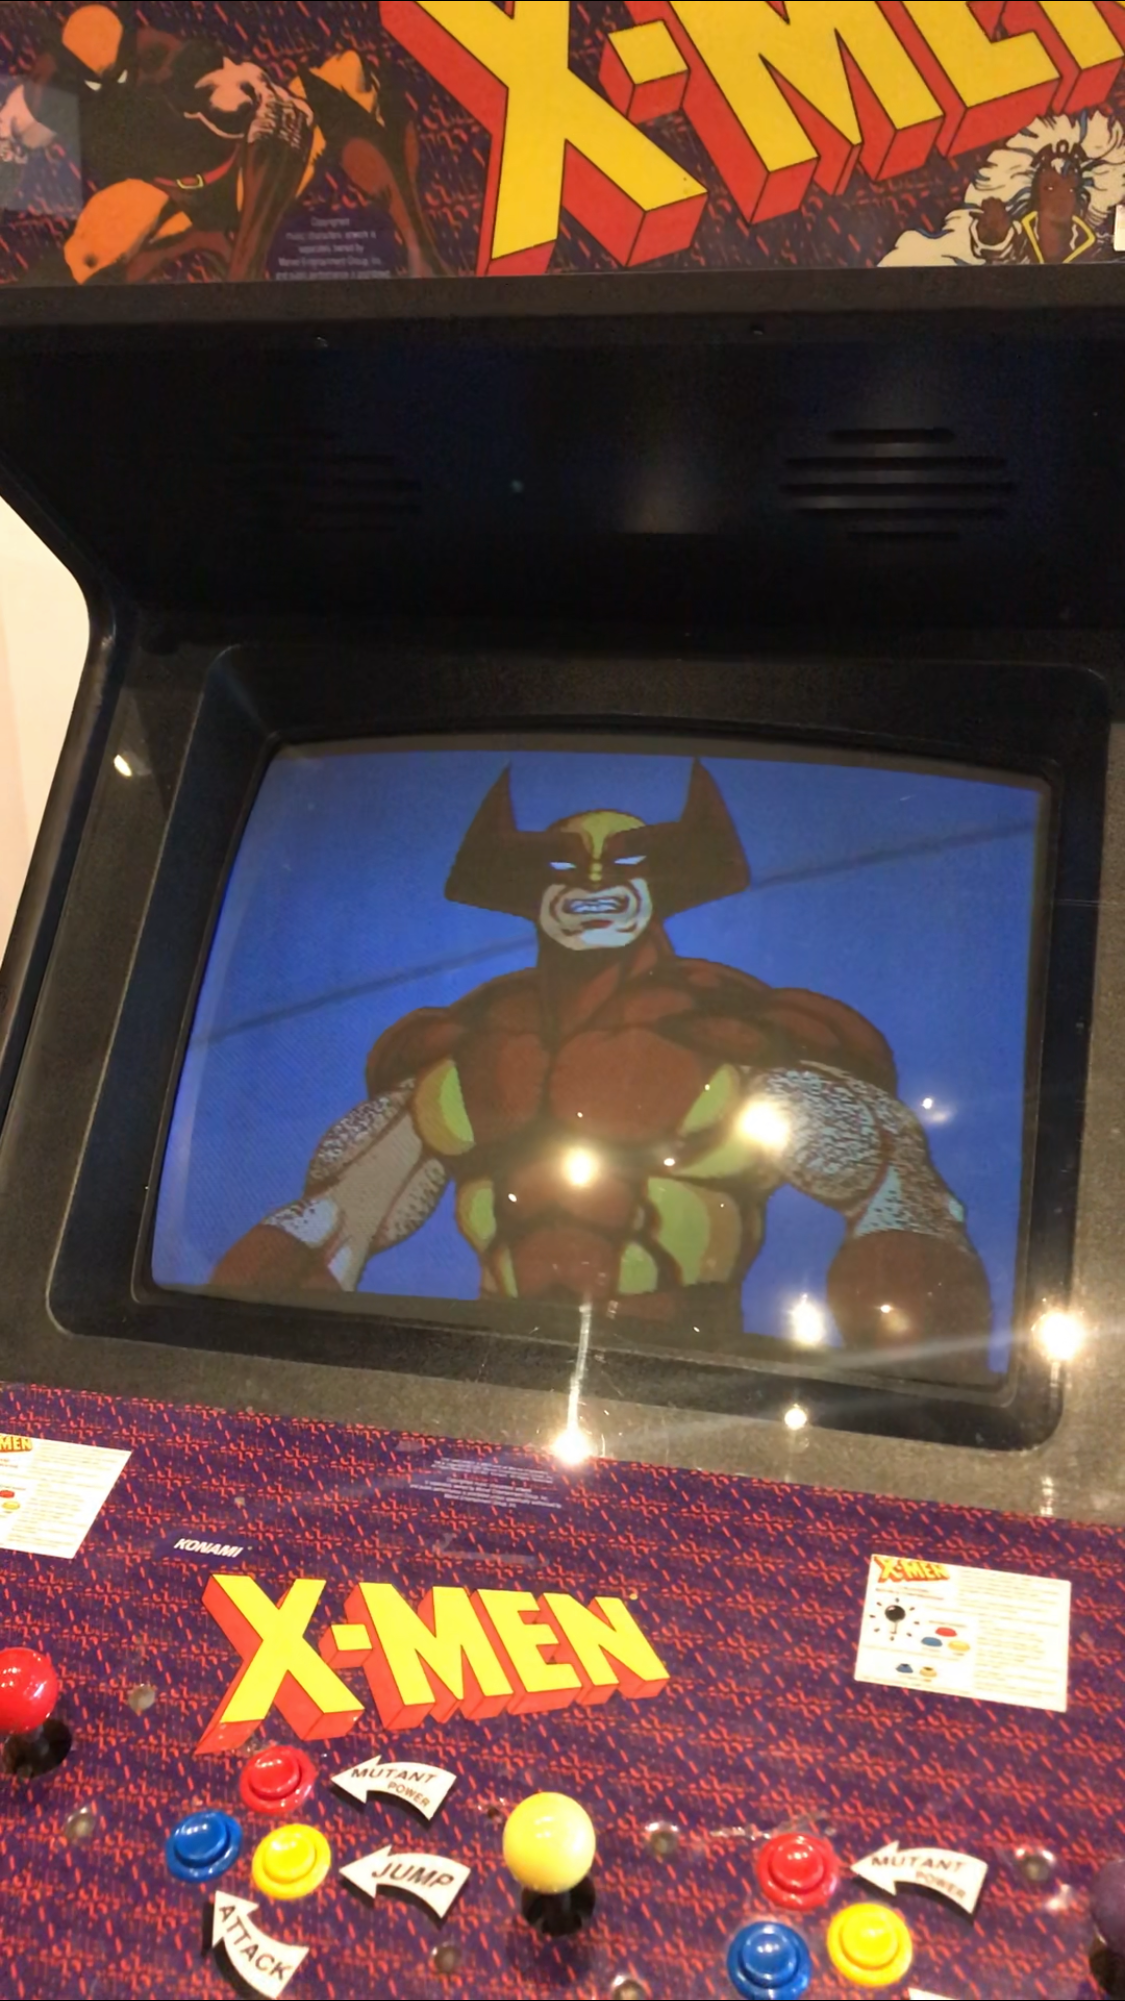
The only issue I ran into was that the cutoff options were not working at all. That could be due to the monitor being pretty weak but I suspect after testing on another monitor there could be something with the rejuvenator itself. Nevertheless I went through the whole process and lo and behold after hooking everything back up with no other adjustments made the results speak for themselves!
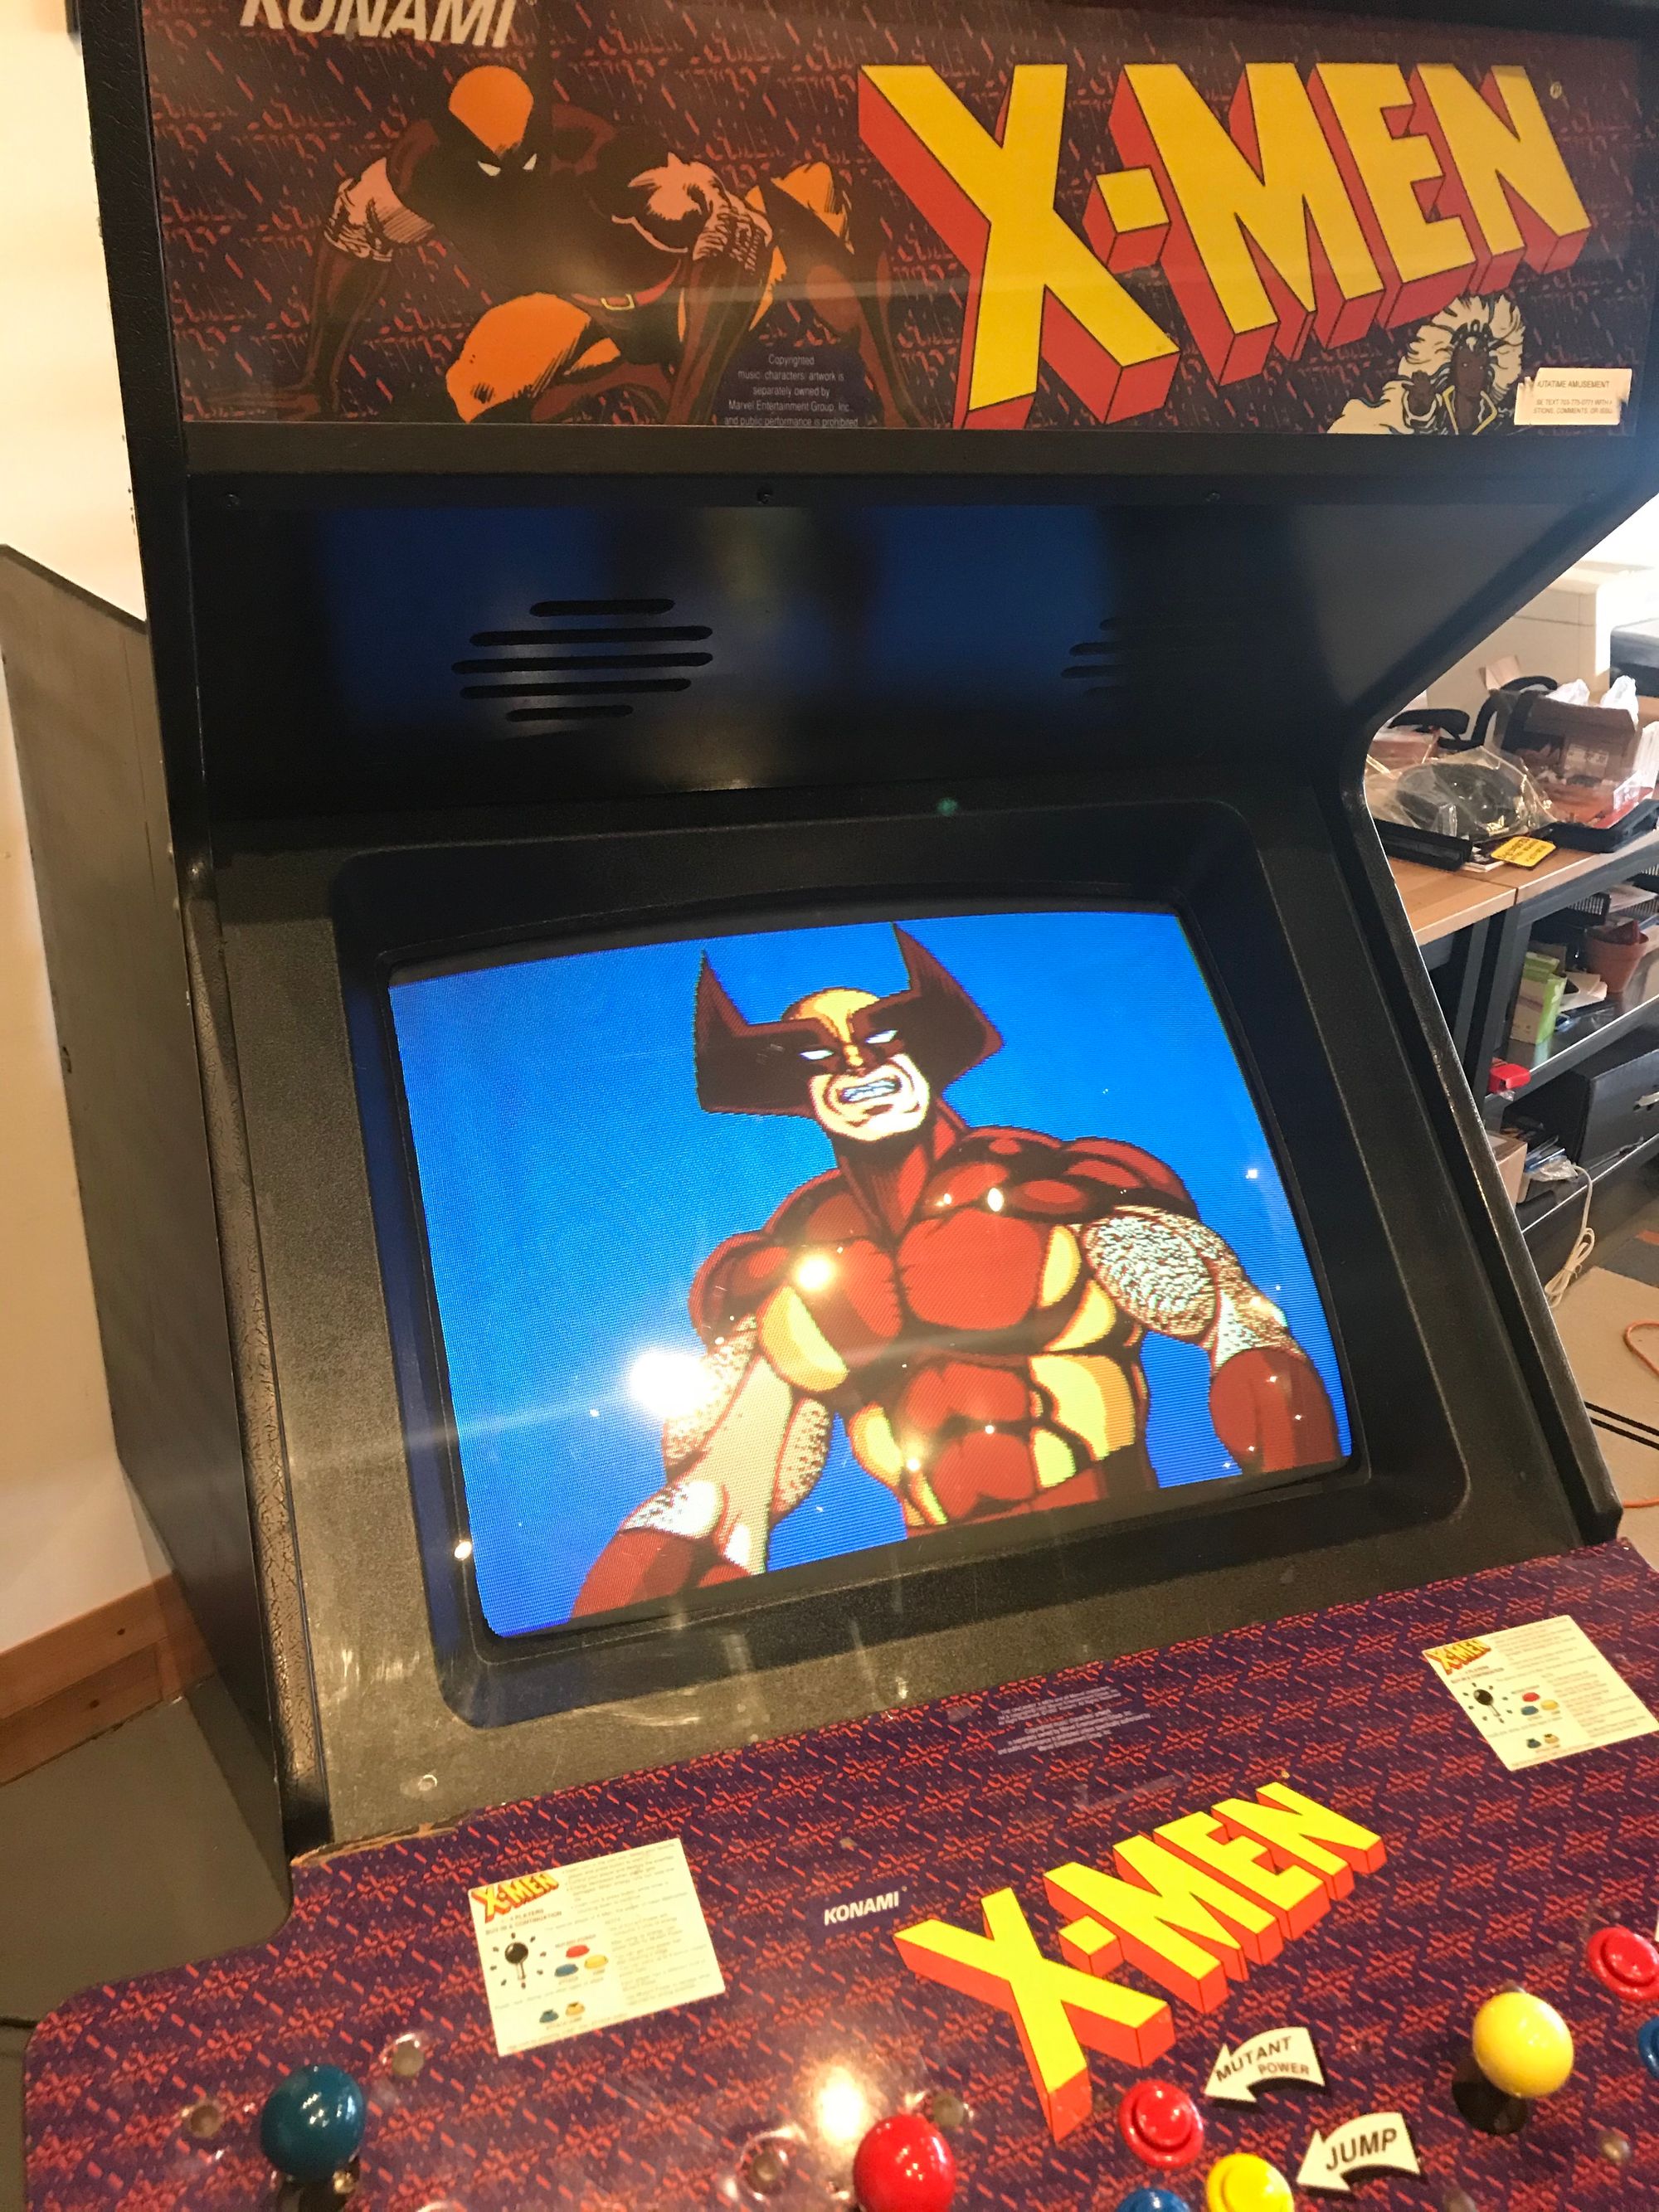
Nice and bright even in a lit room! This device and technique opens up a lot of possibilities for us to maintain and keep our growing inventory of games in top shape (no easy task when you have games that are in some cases over 40 years old!).