Smash TV comes to Life
Early this week as I got some of the "Makerspace" side of CoWork cleaned up I decided I wanted to return to the Smash TV restoration. When I last left off I had a great looking control panel built out, but not yet wired up. In fact nothing had been wired up yet and frankly, I was feeling really intimidated by the whole thing. But when did that ever stop me? I've gotten some more tools in the space now like crimpers and some bulk wire and connectors so I've been building harnesses here and there to solve some problems and for some specific projects. And so in returning to the project I had two things I wanted/needed to accomplish to get the game to a playable state:
- Cabinet Wiring (including CPU, Power, Sound board, and the control panel)
- Checking the state of the monitor
It's weird that writing that out makes it sound so insignificant, but perhaps seeing what a cabinet wiring diagram looks like will help you see why I was kind of freaking out:
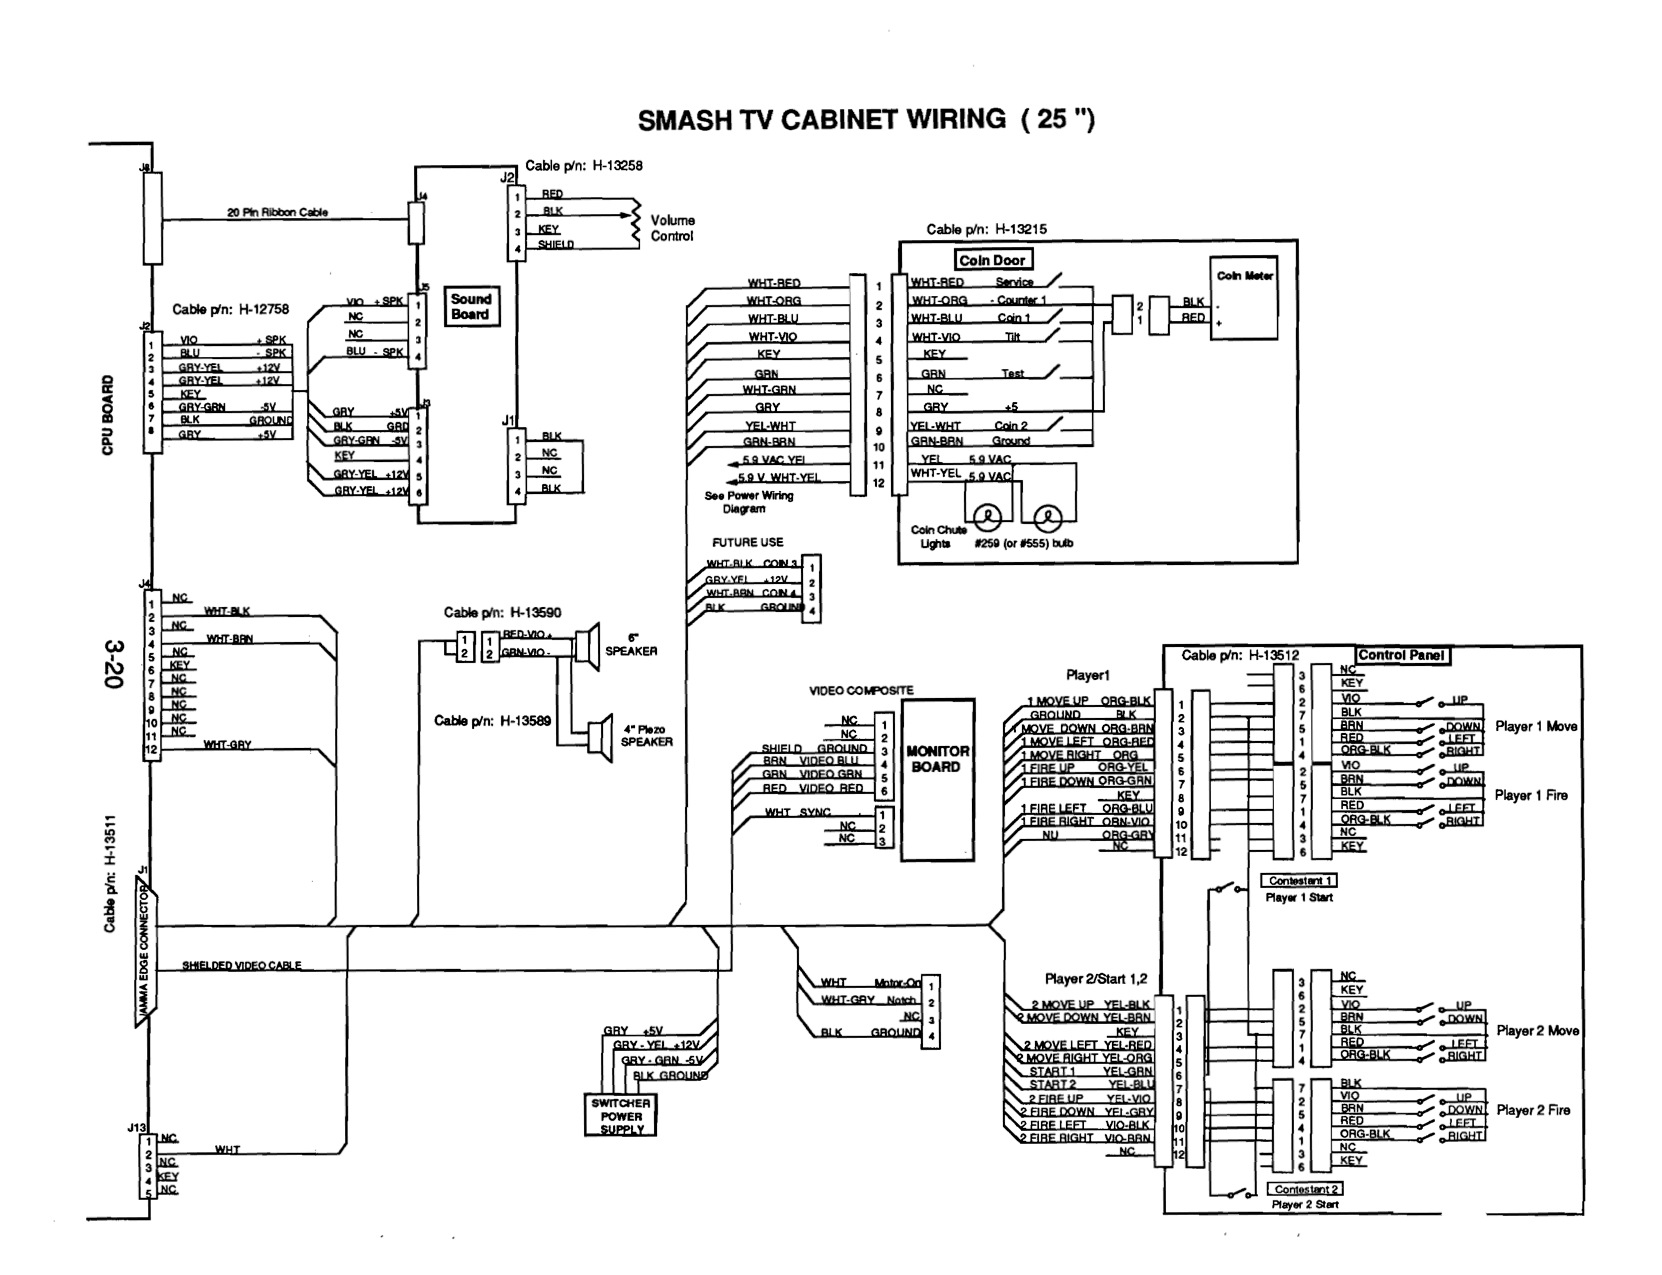
I know. All the numbers represent various molex connectors with certain numbers of pins. There are a lot of color names shortened in there which is the wiring itself (and luckily I had an original harness so it matched up), and essentially a flow chart of what gets plugged in where. So between the CPU, sound board, speakers, monitor, coin door, and control panel this layout would show where everything needed to be hooked up.
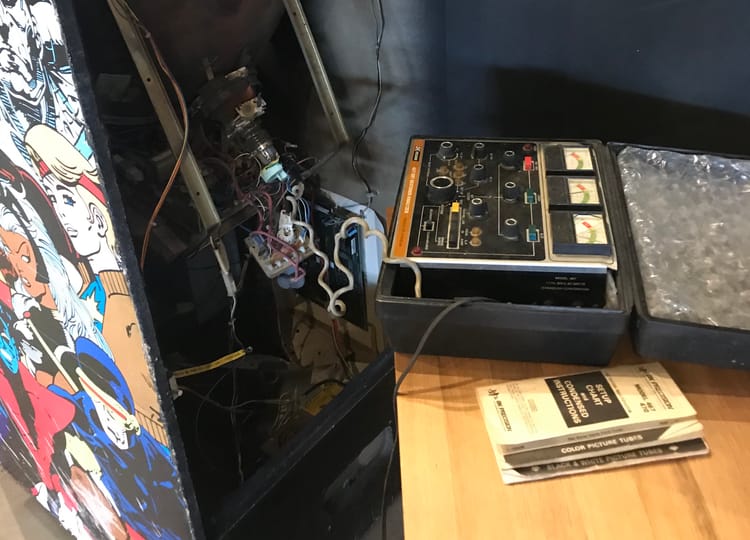
I figured to start diagnosing the monitor I didn't need much more than getting power situated. However around 2 months ago after doing some tests I realized the switching power supply in the cabinet was dead. So I ordered a new one and had that sitting in a box so I got that installed in the cabinet, hooked up all the power into it, and then plugged the monitor in and turned it on. If it worked I should at least hear the faint crackle of electrons and some glow in the neck tube. Sadly, I had nothing. Tested for power to the chassis and it was getting power but nothing was happening. I'm pretty bad when it comes to monitor diagnosis but I have been trying to learn. This was (I thought) a Wells Gardner K7000 and a lot of what I was reading was that a part called the flyback can go back pretty often. I ordered a new one and kept reading. The more I read and the images I found made it seem like 1. The flyback wasn't the right one I needed and 2. There could be a lot of other stuff causing this.
At this point I decided my hail mary was to see about having someone more knowledgeable take a look. There are folks in the various forums I follow that will let you send in the chassis and they'll clean it up, recap it, and fix any issues for a fee. I had just recently watched a video on YouTube from a channel I subscribe to where someone named "Buffett" was an expert at this stuff and as it turned out he lived in Northern Virginia!
That's a long video but well worth checking out to see the scale of what that guy is working with. Monitors everywhere, every part on hand, he had everything and here he was fairly close to me. So I figured on a whim yesterday I would shoot him an email and see where it went. To my surprise he responded within an hour and said "Can you come over tonight? Anytime 5PM - 2AM. Bring the monitor and we'll get it fixed." Holy shit! I mean seriously, what are the chances of that?! Of course I had to go and so last night I was at Buffetts house until 1AM talking shop while he meticulously repaired the Smash TV chassis and cleaned up a few other monitors for me to buy from him as spares for various games. As it turns out it was the flyback that had gone bad, but also a few other transistors (and the one I had ordered would never have worked, so I was thanking my lucky stars I didn't wait for it). He replaced the flyback (twice actually, the first replacement was also bad 🤦♂️), recapped the monitor, reflowed all the various solder pins and points, tested the tube and rejuvenated it, and hooked it all up and tested it and lo and behold we had action!
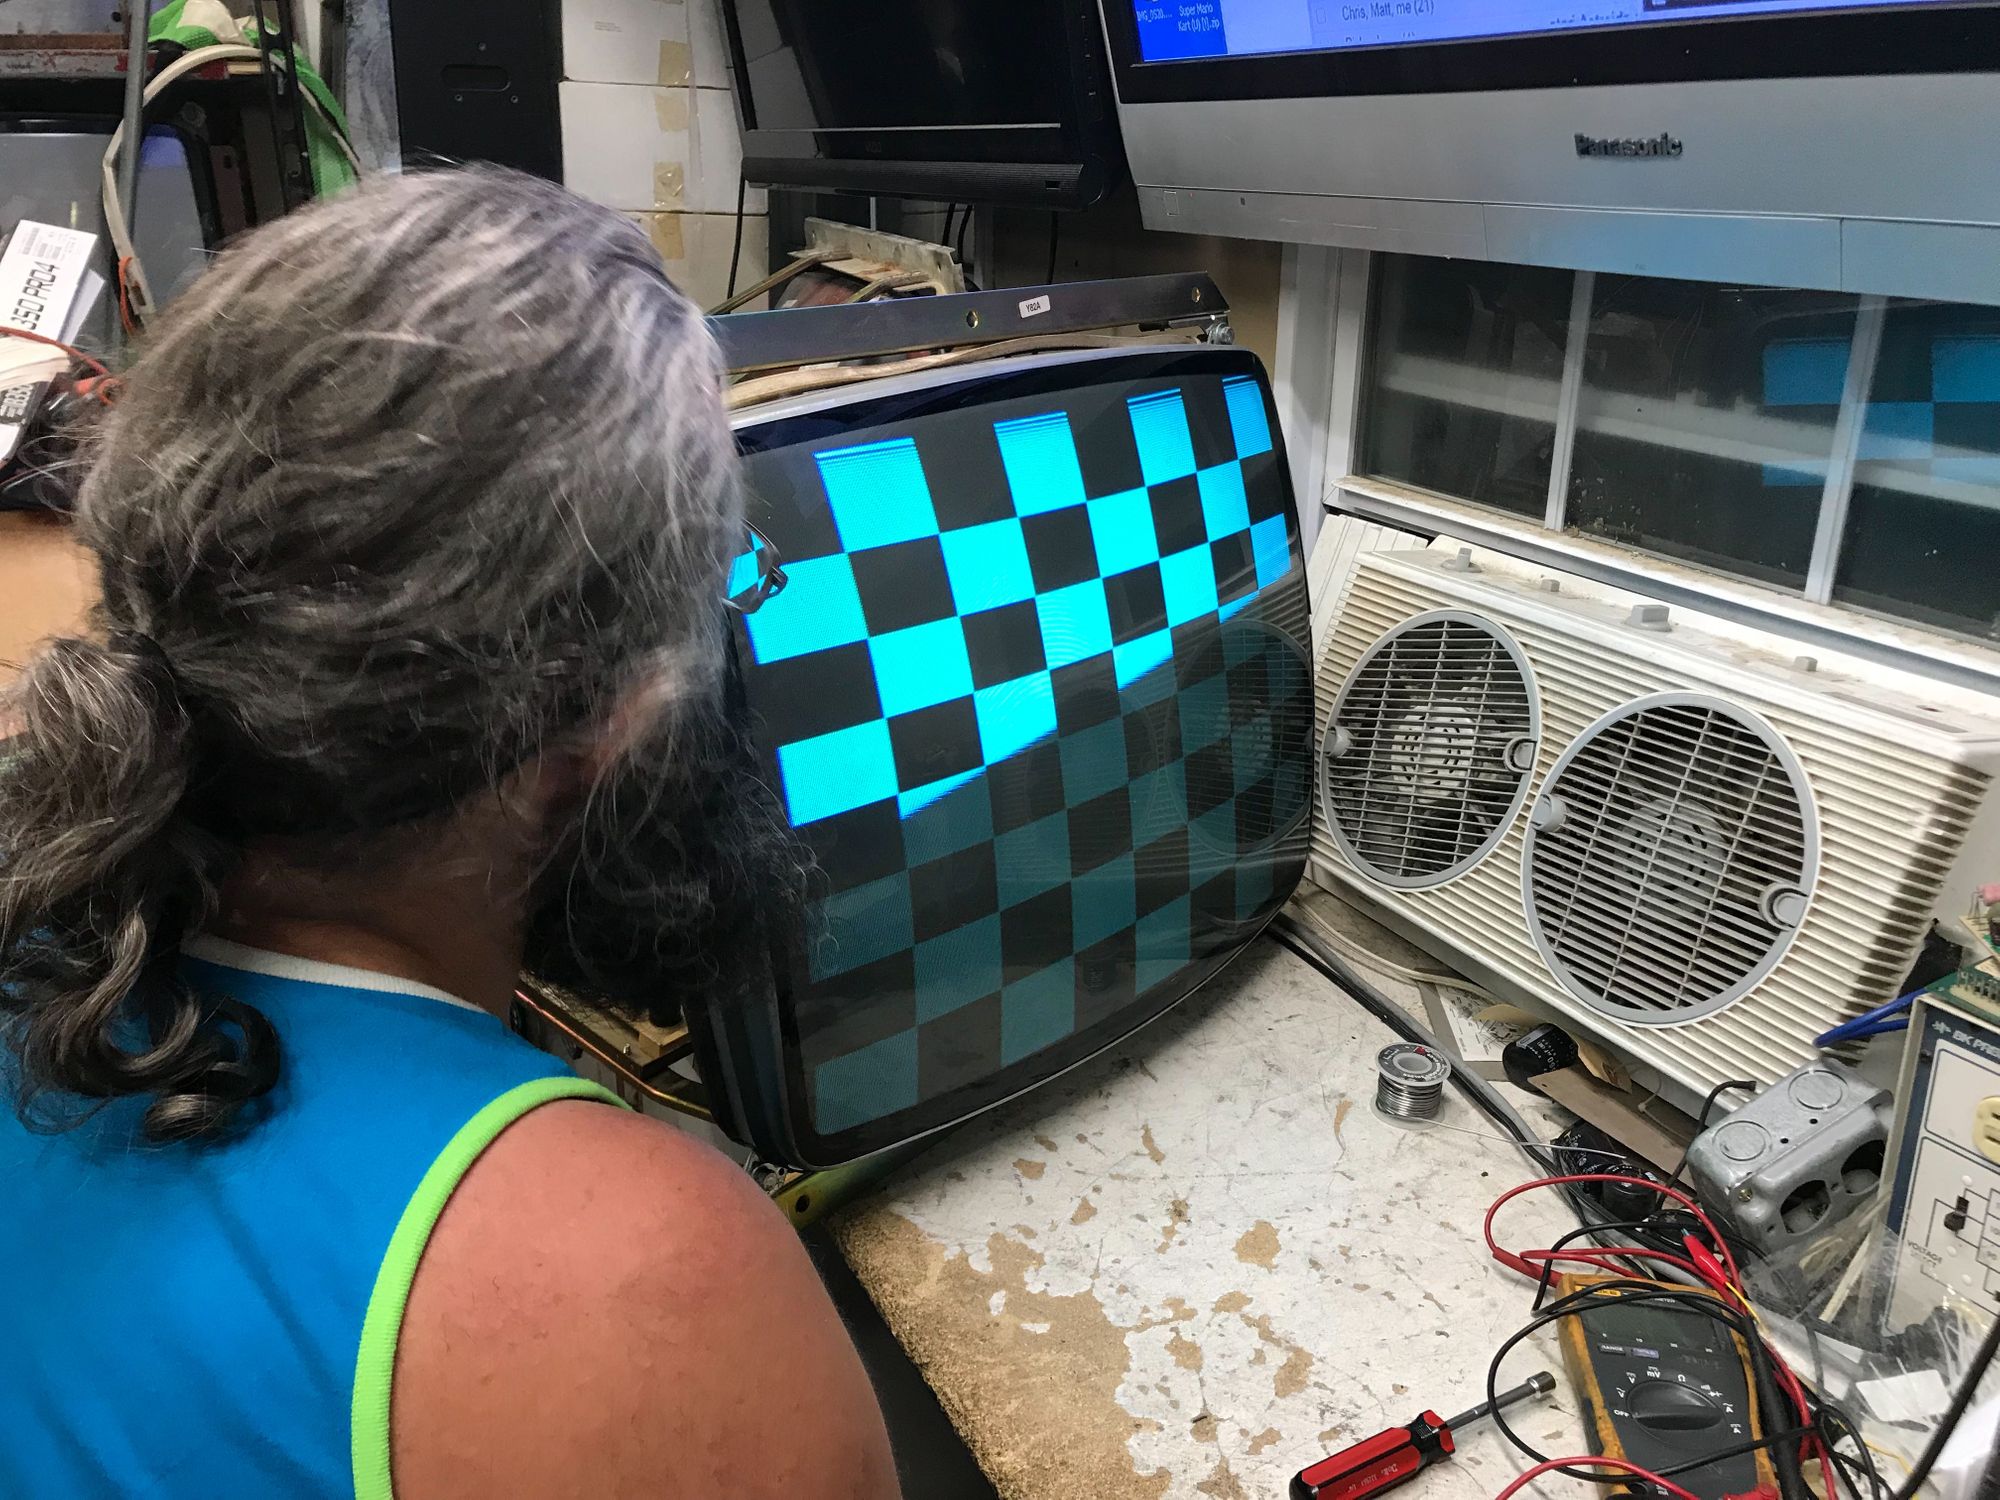
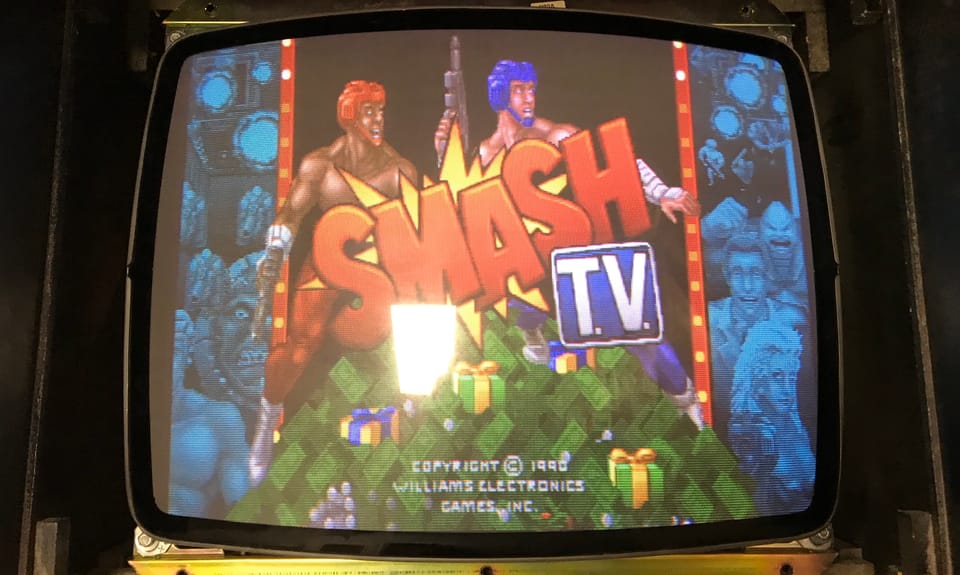
Even though it was late I had to go back to the office and drop the monitor back in to test. I had already hooked up all the power and plugged the Jamma connection in so I took the monitor cable out of that and plugged it into the now working monitor and it was like Christmas morning for me.
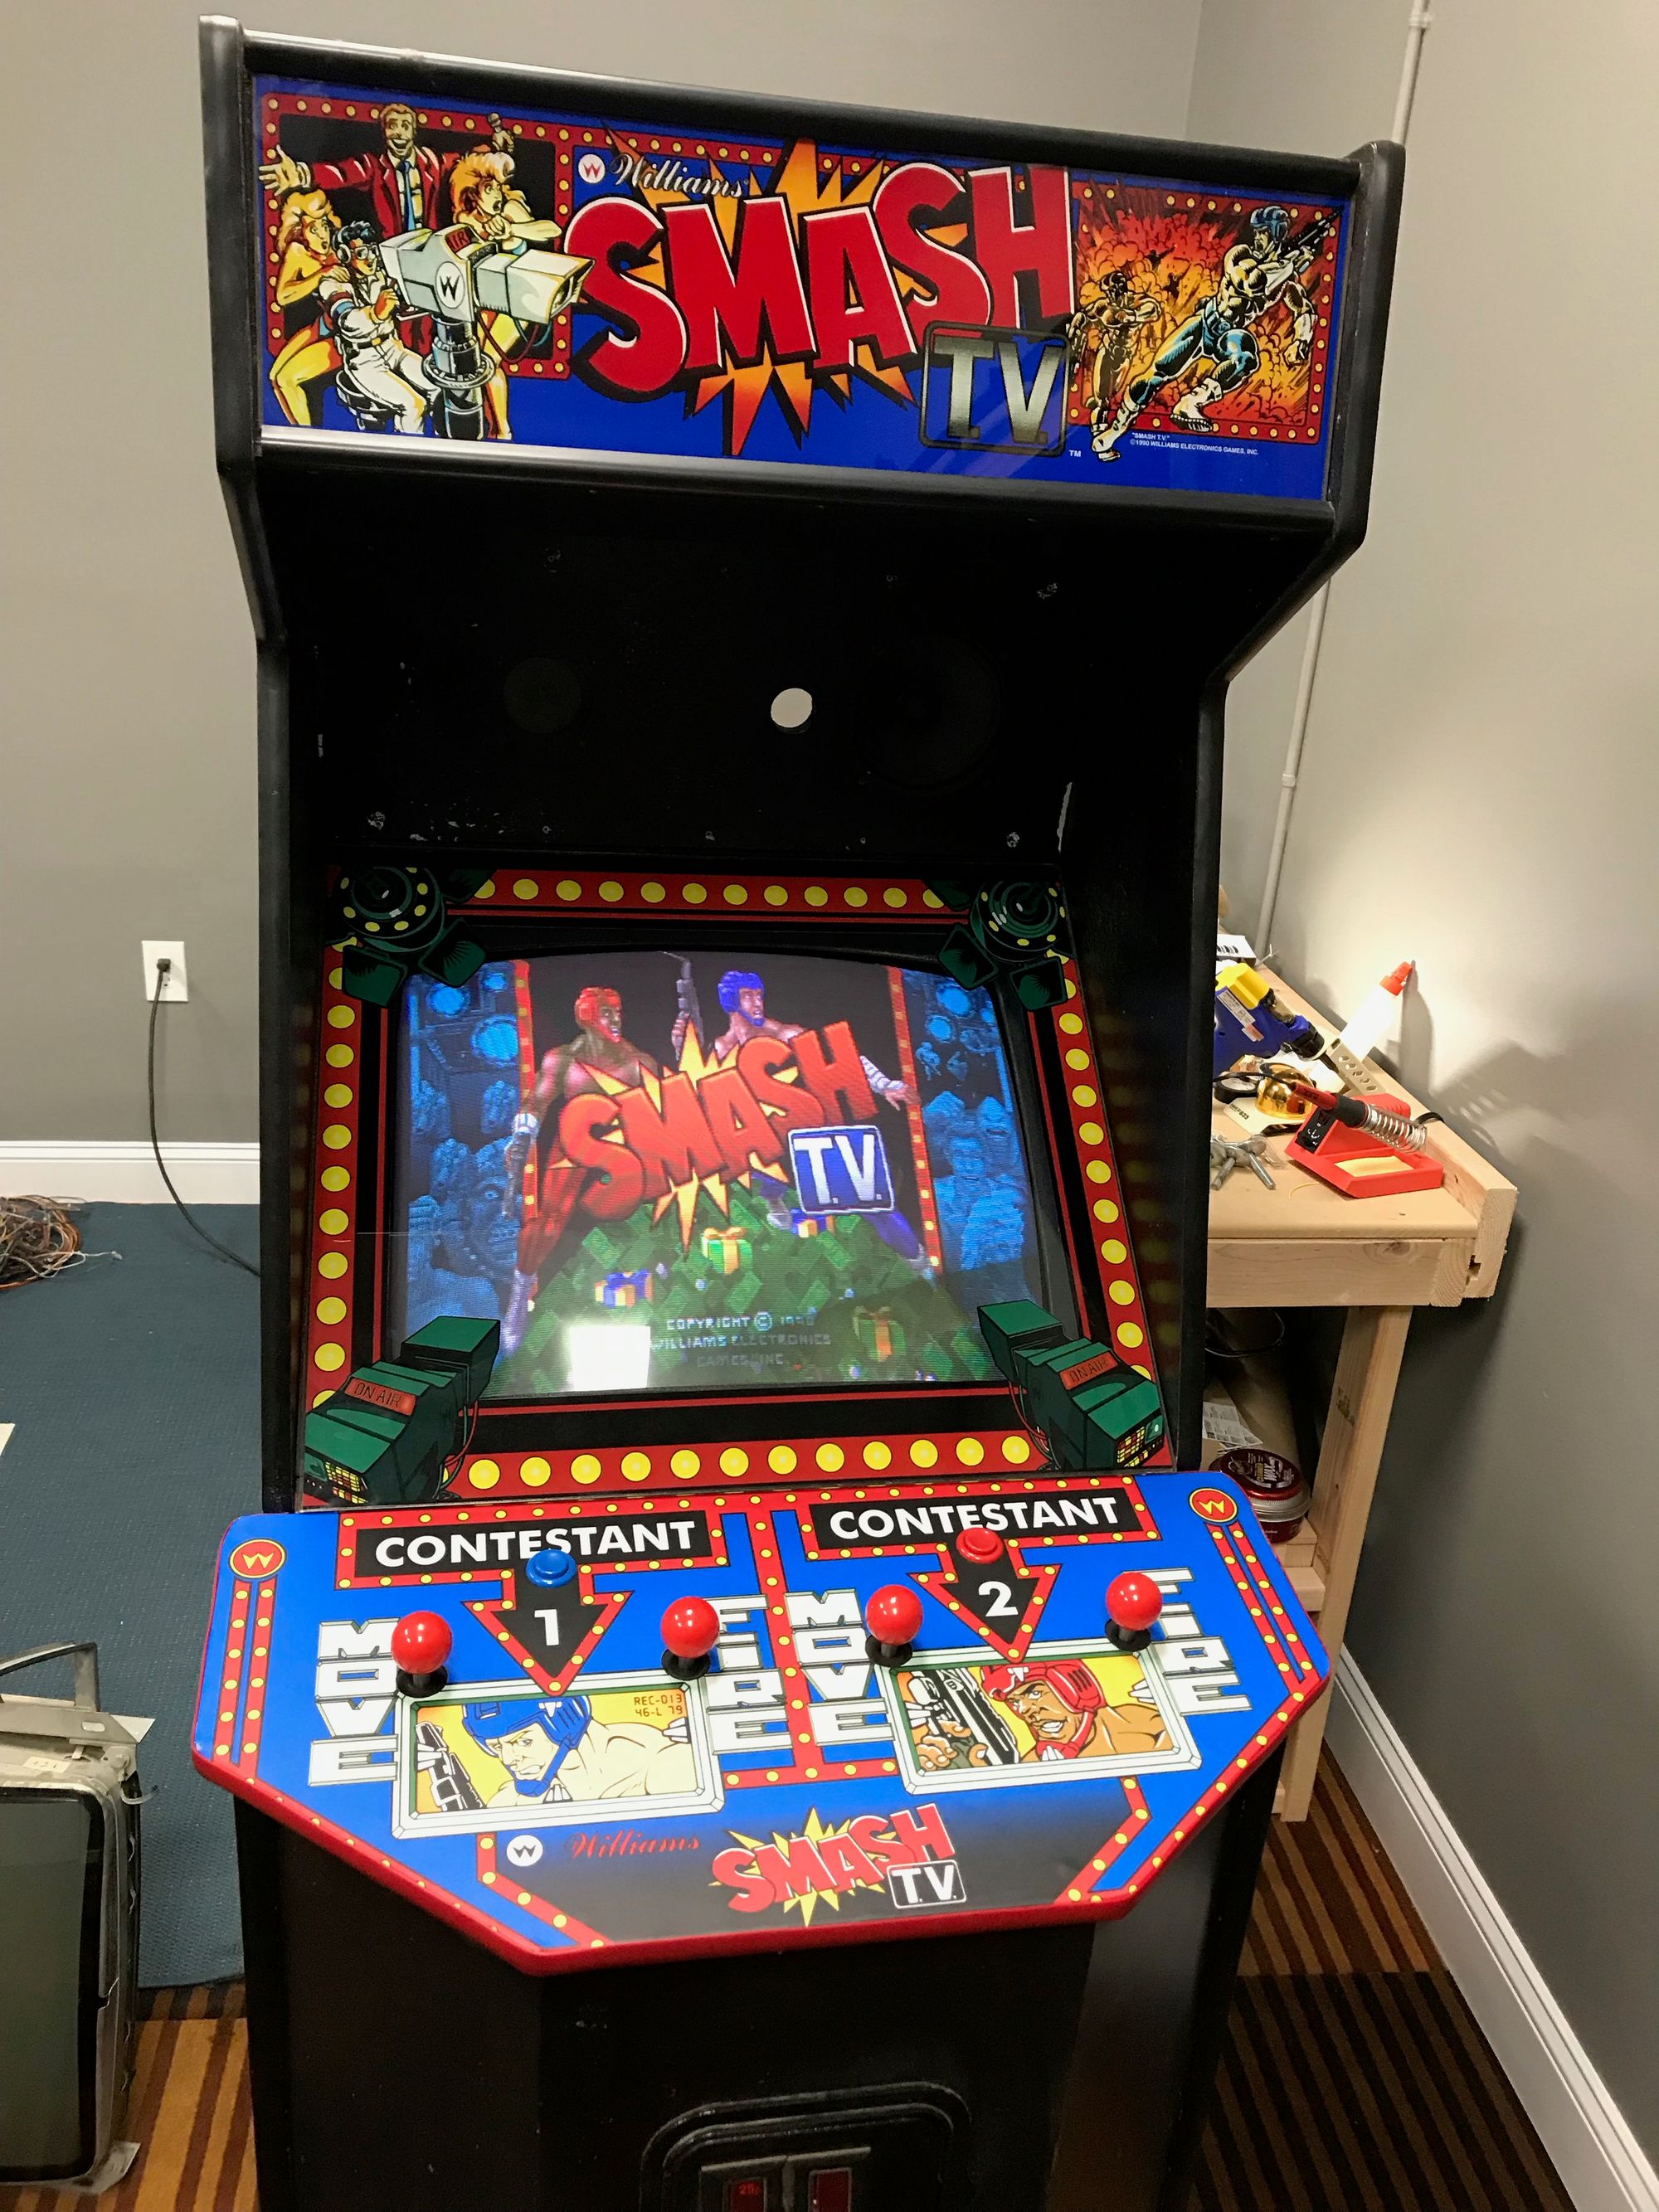
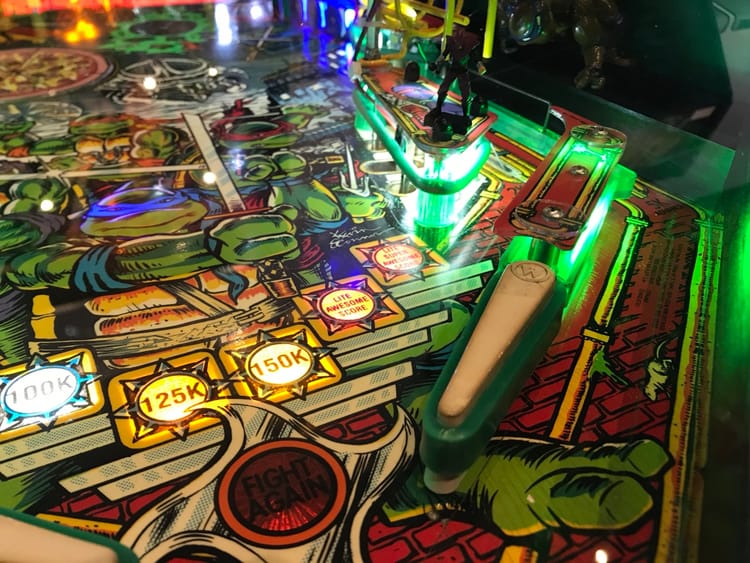
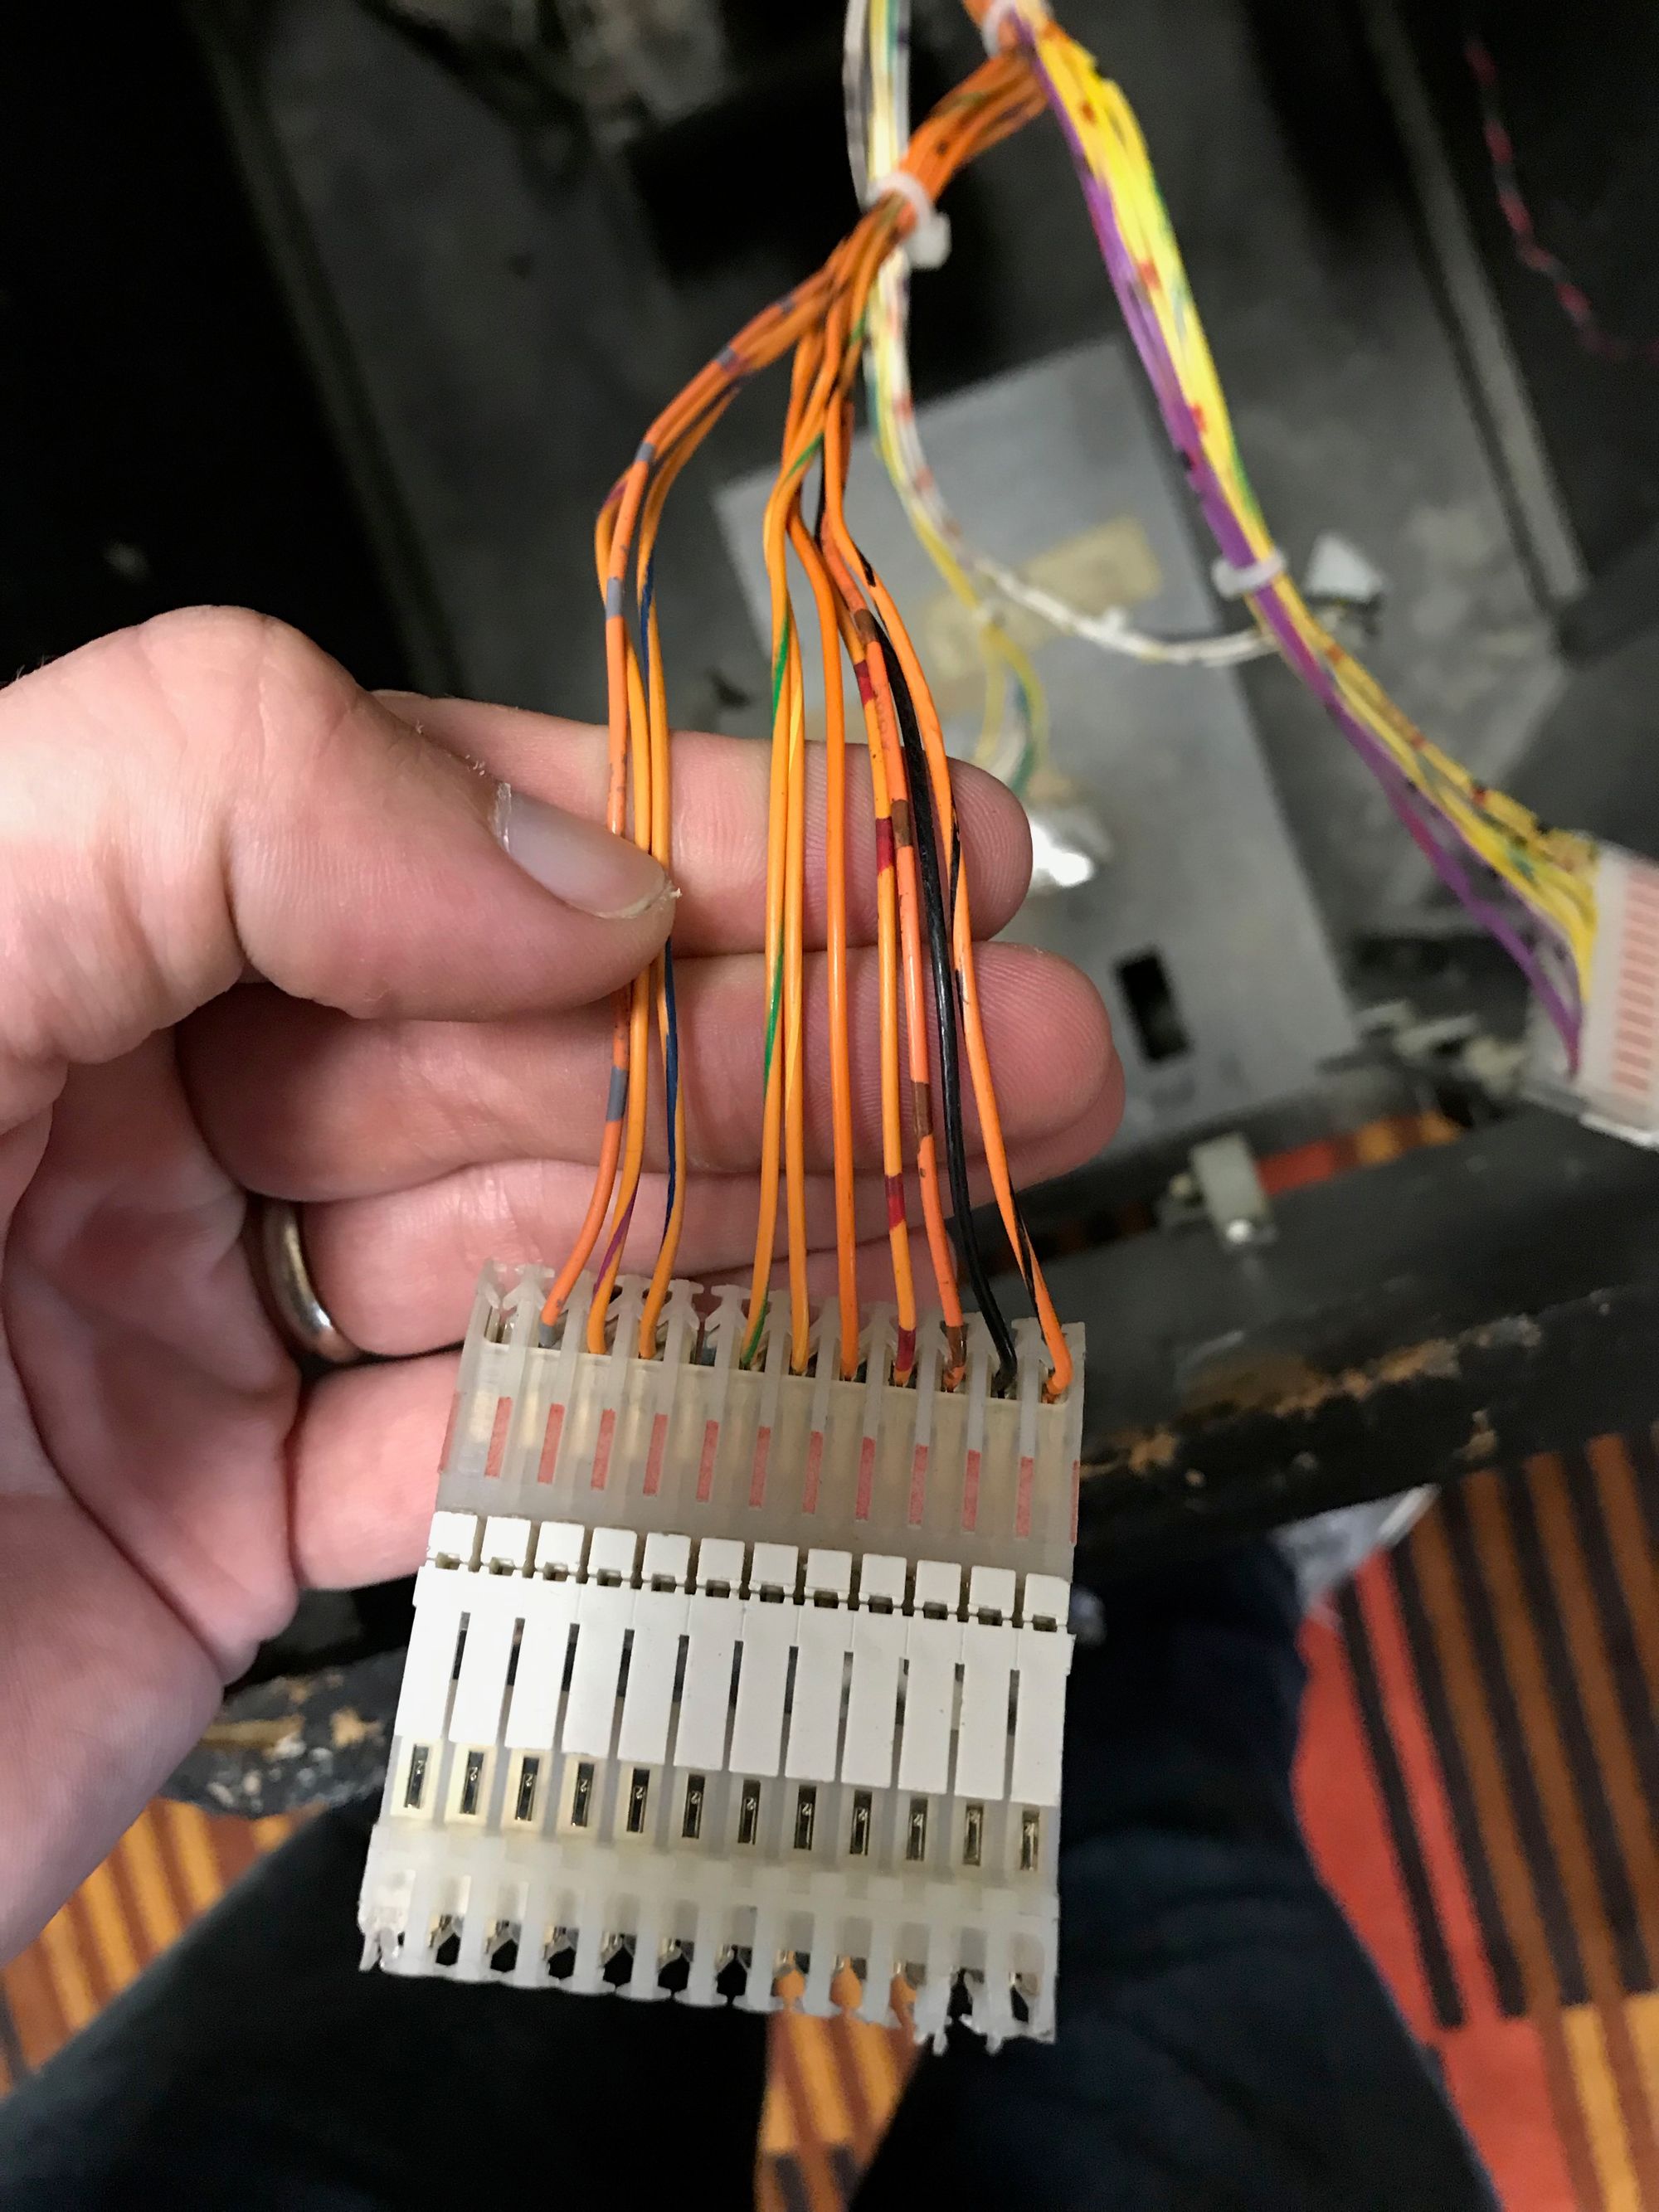
I've waited so long to see that beautiful image. The next day I was determined to keep working on it and hopefully get it to a playable state. I made a few cables to connect various parts of the CPU to the sound board (I actually still have a 20 pin cable en route to me from eBay that should be here Monday so I won't have sound yet but figured I'd get the rest done). And then I started hooking up each direction on the control panel into the molex connector that goes to the board. Since you have 4 8-way joysticks (move and fire for 2 players) you have essentially 16 wires to solder and connect not to mention ground wires running throughout. Luckily player 1 was already done and had been sitting there waiting along with most all of the ground wiring so I just had to clean that up and connect it all along with the start buttons. I'll tackle player 2 side next week and cable management will come later, I'm thinking of 3D printing some screw-in cable guides.

With everything hooked up now I was able to finally fire it up and play an inaugural game. I noticed the joysticks were really hard to get working which turned out to be a foolish but easily fixable mistake. The Wico joysticks have a plastic actuator that moves around when you move the joystick to activate the leaf switches. It's a wide actuator in this case because you have 8 directions (left, right, up, down, and diagonal between the 4 directions) and I was having a hard time particularly getting the diagonal directions to register. Turns out the actuator was upside down and the wide part was not sitting against the leaf switches. Flip it around and we were in business!
Big Money, Big Prizes! We're in the final stretch of this restoration project.