Square Pegs in Round Holes
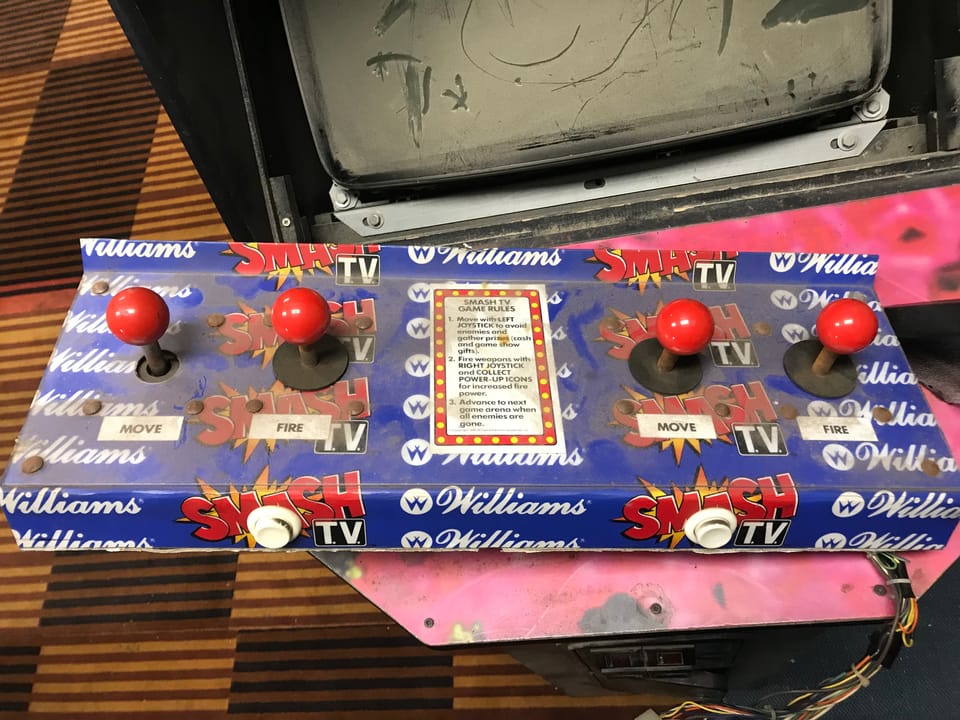
I've been tackling various parts to the Smash TV restore project at once and the nice thing about it is that when I get bored with one thing or need to do some research I can always step away from that and find 10 other areas I need to eventually work on so there's no shortage of mini projects. One in particular I wanted to tackle was getting the 4 Wico joysticks out of the old control panel and cleaning them up.
The term "Wico" may not be familiar to you but the Wico Corporation has a pretty interesting history. They made their fortune primarily in parts for games and not exclusively arcade either. There were aftermarket joysticks made for Atari, Coleco, and more. Apparently at one point they even dabbled in moving up the chain and resold Sega hardware and had a few pinball machines under their brand. They filed for bankruptcy in 2001 and so there are no more original parts being made but their brand name has a cult following in arcade circles due to the extremely high quality and durability of their joysticks. For this part of the project we have 4 original red 8-way Wico sticks to take out of a converted control panel and clean up and move to our original panel.
What I thought would be the easiest part of the process proved to be the most challenging part of the whole thing, removing the old joysticks. You can see here an exploded view of how these joysticks are put together:
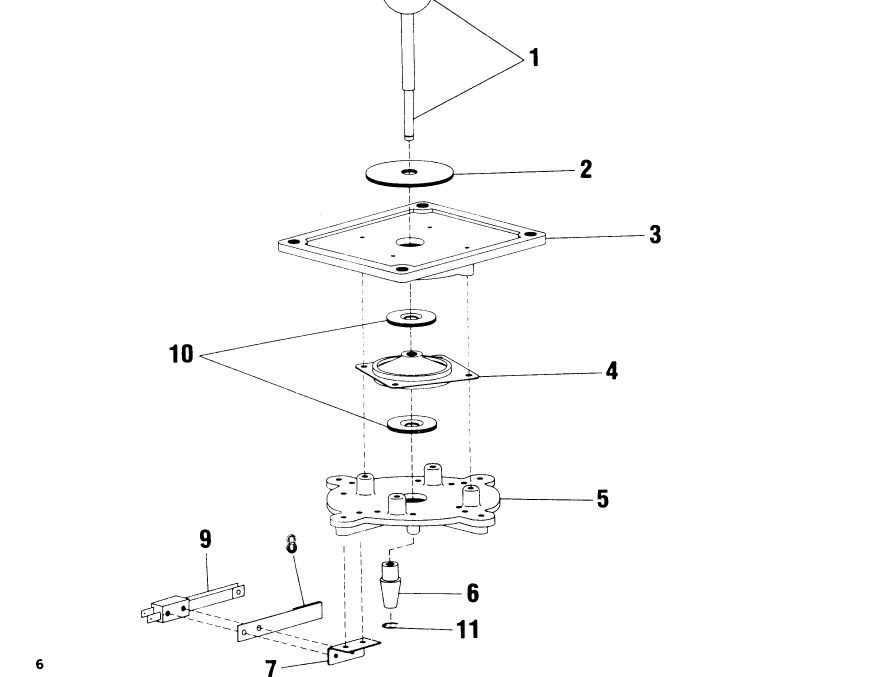
From that diagram the mounting plate (3) would be screwed to the bottom of the control panel with with everything but the head of the joystick (1) and dust cover (2) coming underneath. Of course the hole for the joystick is smaller than the drilled hole naturally so I had to take it apart which should have been as simple as removing the e-clip (11) and pulling the joystick up and out. In reality no matter how hard I pulled the rubber grommet (4) that centers the stick in the assembly would not release it. So much rust and sediment had built up that it was basically fusing itself to the joystick.
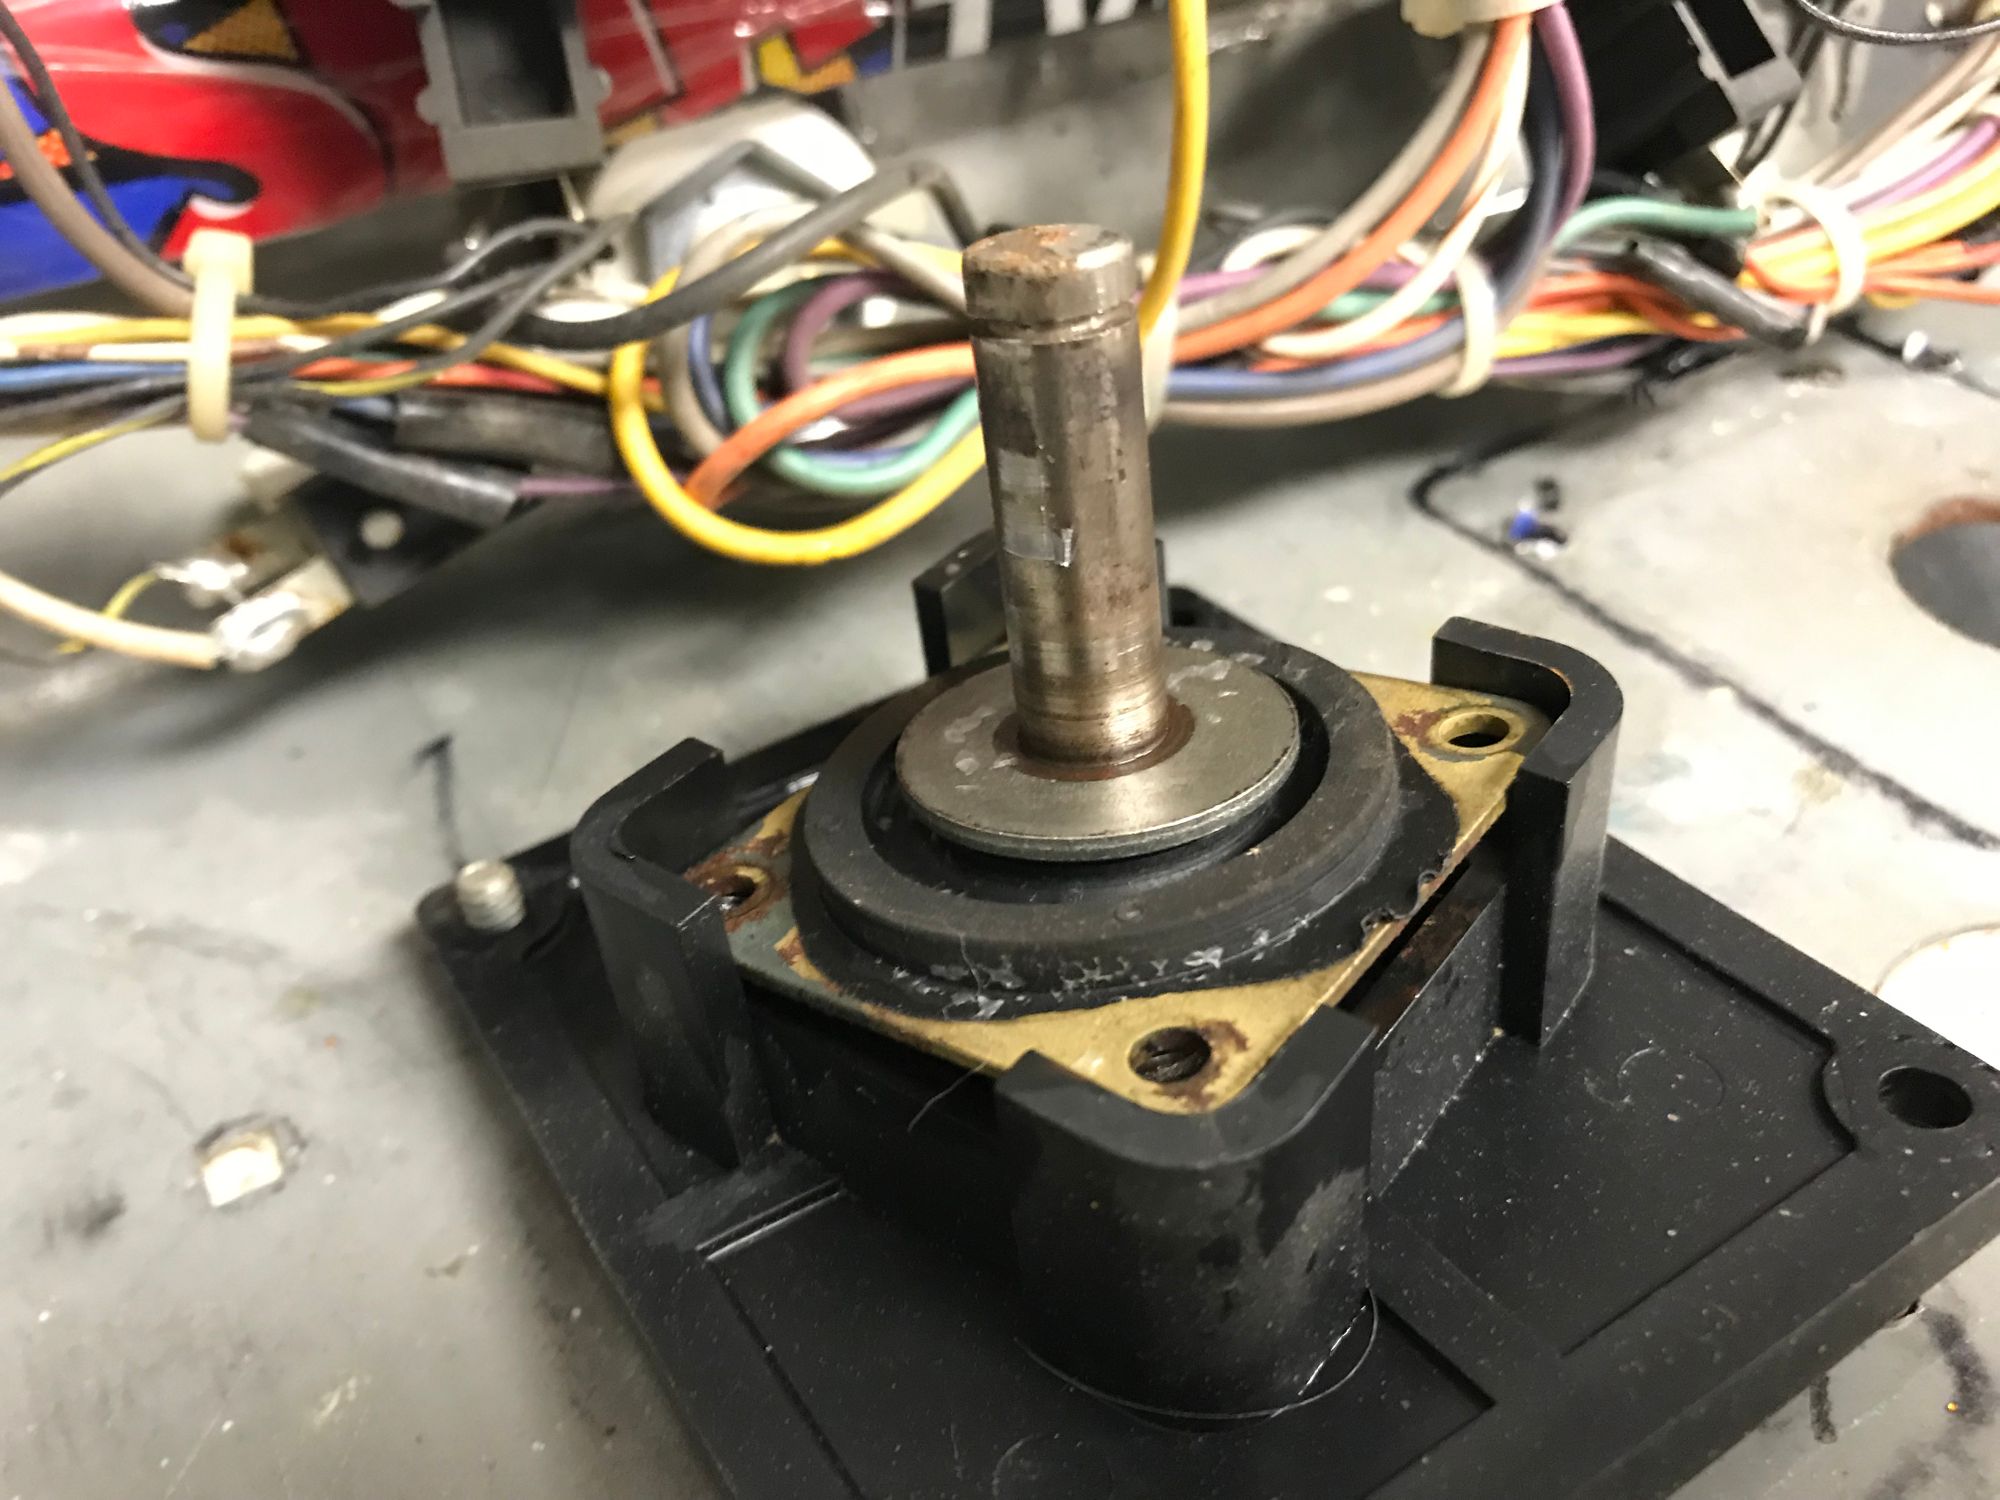
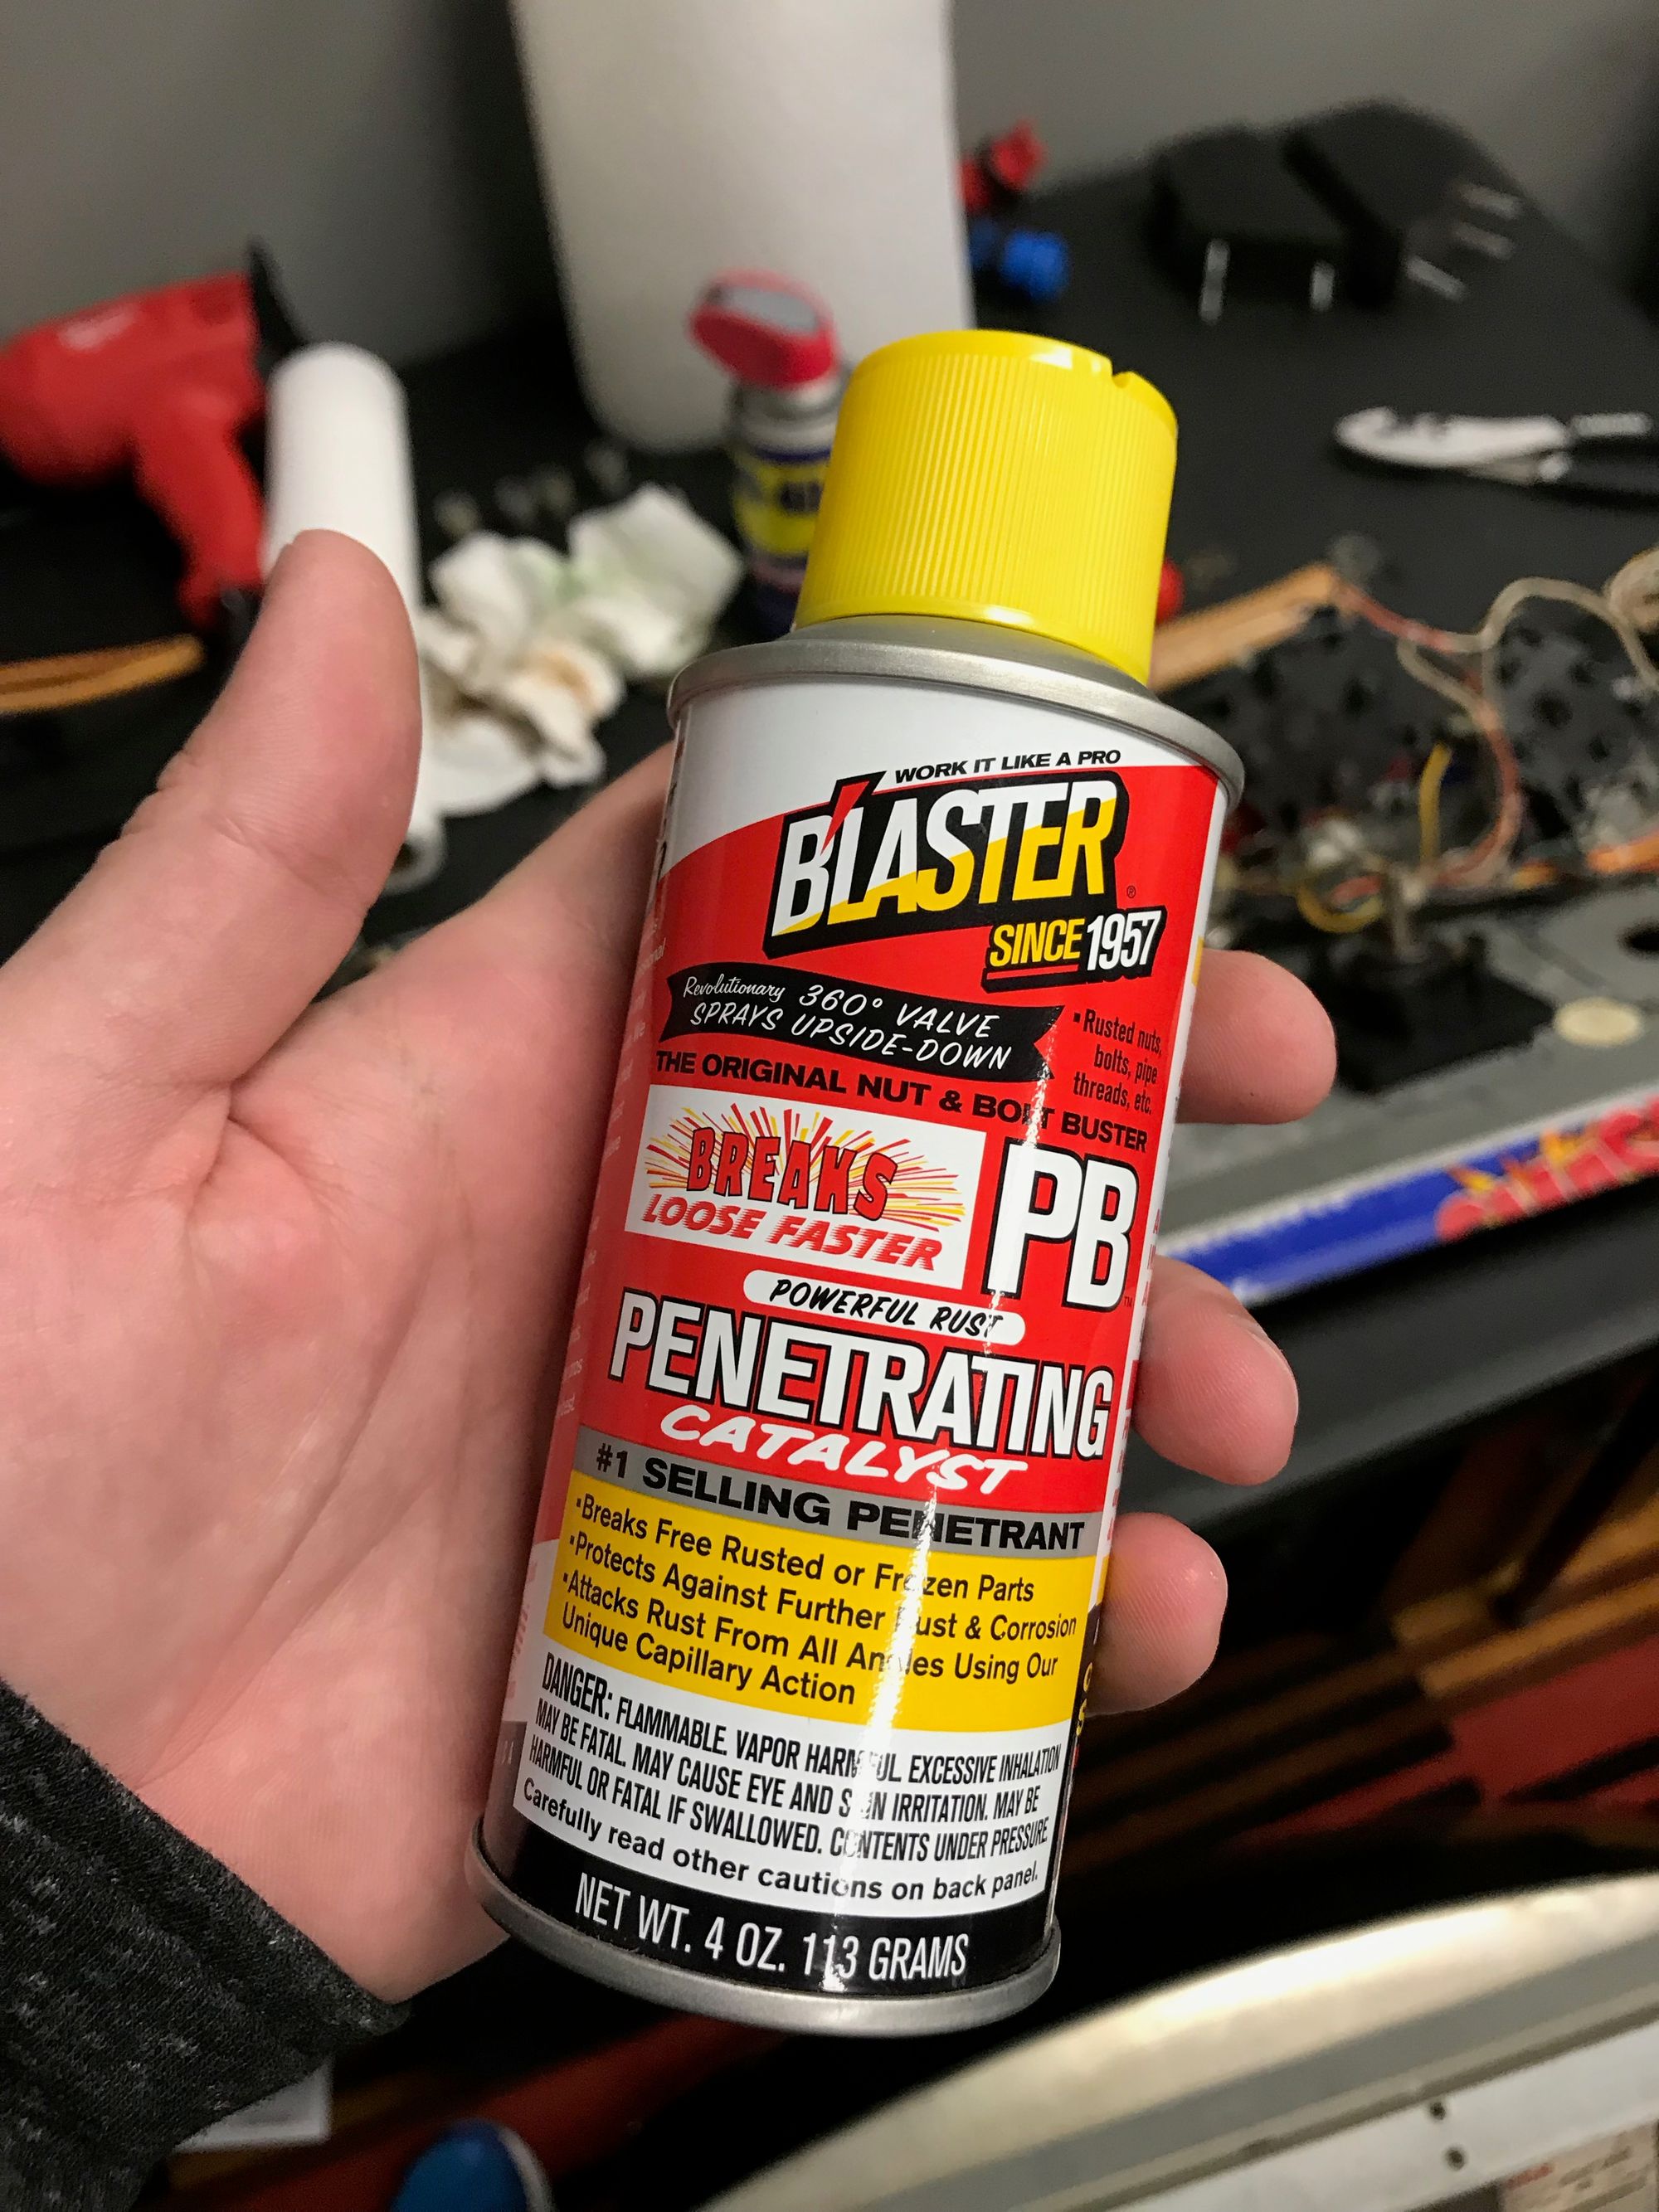
I had a can of WD-40 so I figured I would first try that. With a few applications I was able to remove 2 of the 4 joysticks. The other two would not budge. A lot of what I was reading (this is apparently a common issue) was to just sacrifice the rubber grommet and go at it with a Dremel. But I didn't own a Dremel and that seemed like a last resort. So I stopped by Home Depot for a few things and grabbed some penetrating oil (PB Blaster) and applied that and let it sit for a few hours. 1 of the 2 came loose. Progress. I flipped the last joystick over in the control panel and applied more PB Blaster and let that one sit overnight since it was almost time to leave the office. Next day, nothing. More PB Blaster, gripping pliers, hammer, heat, not a damn thing worked. I finally decided to sacrifice the grommet and cut it out but even then the bushing was so fused to it even with a hacksaw I was getting nowhere. I finally own a Dremel and all 4 joysticks are free :)
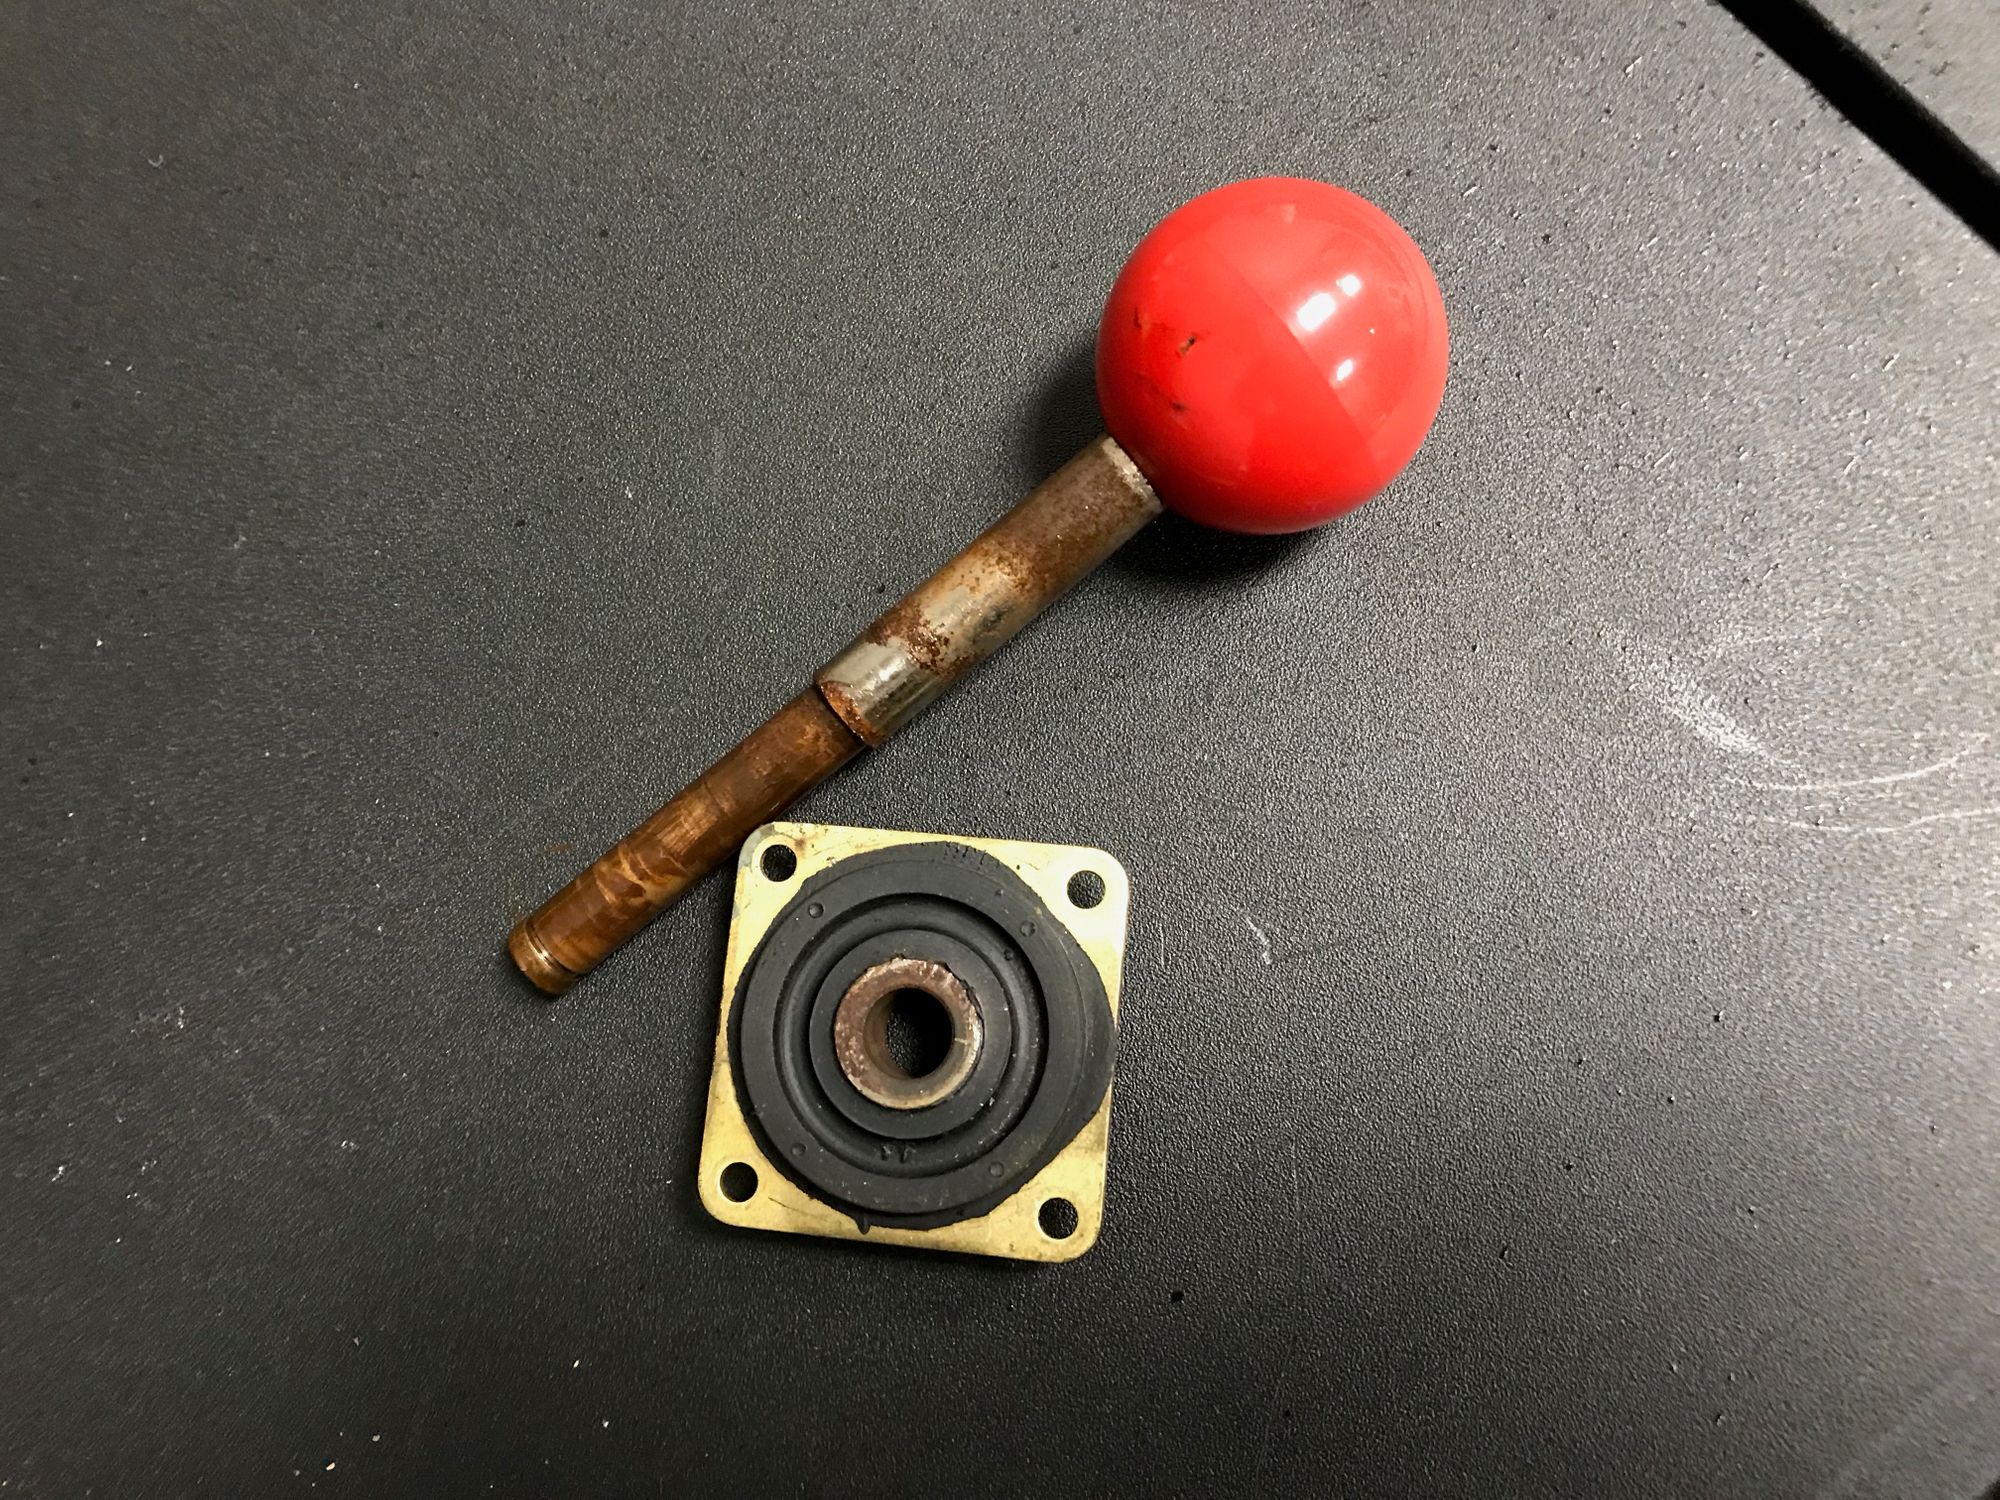
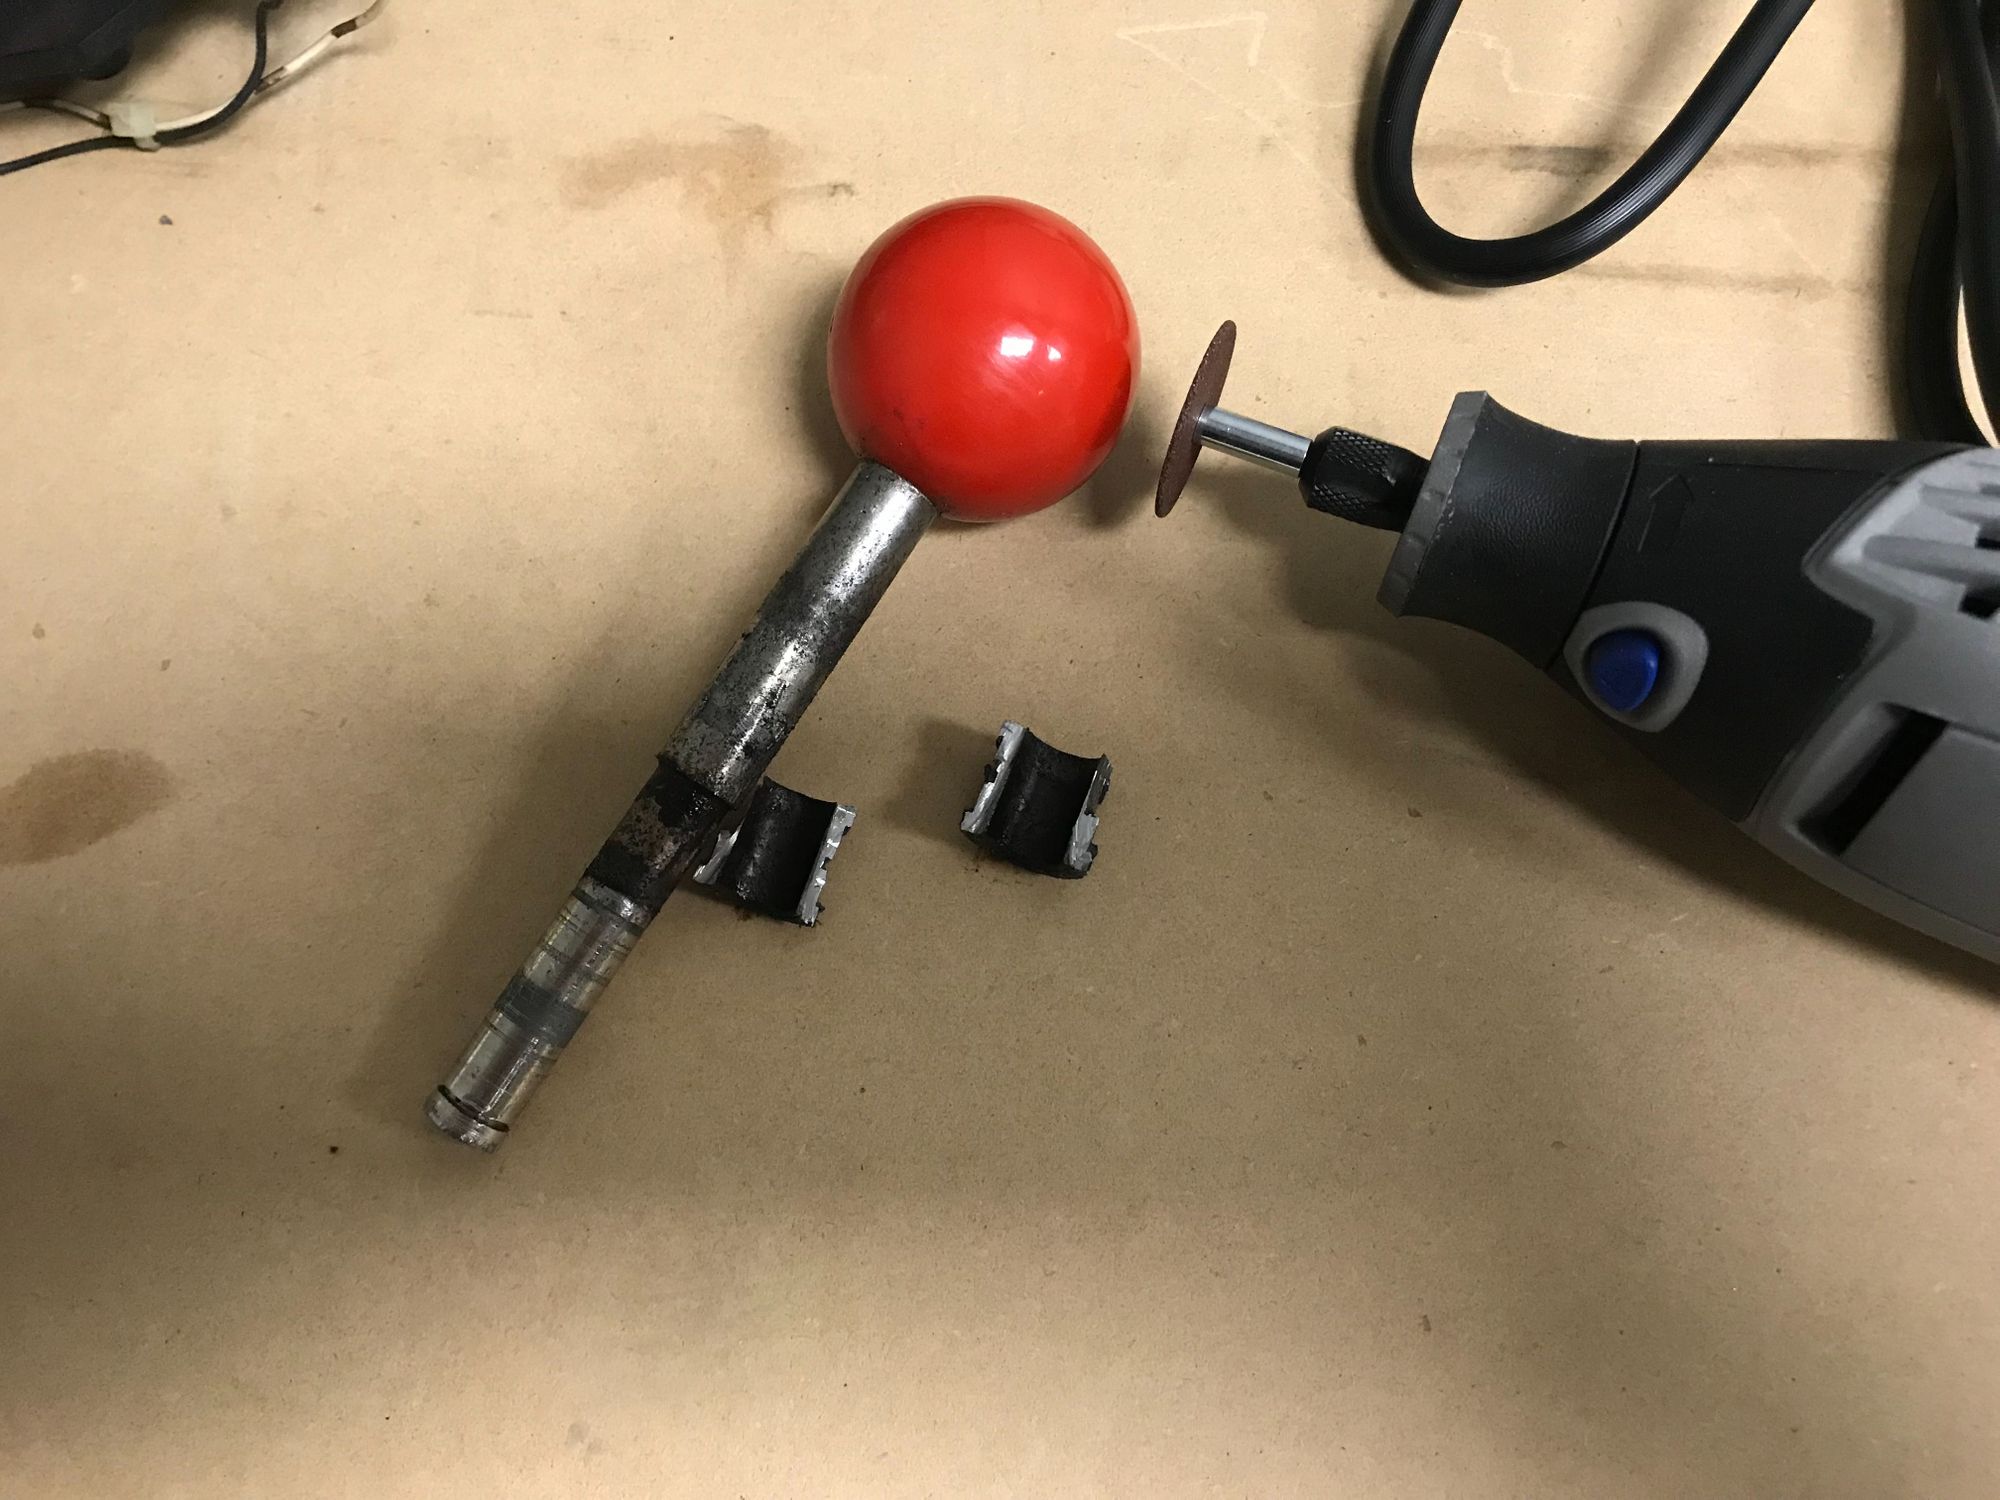
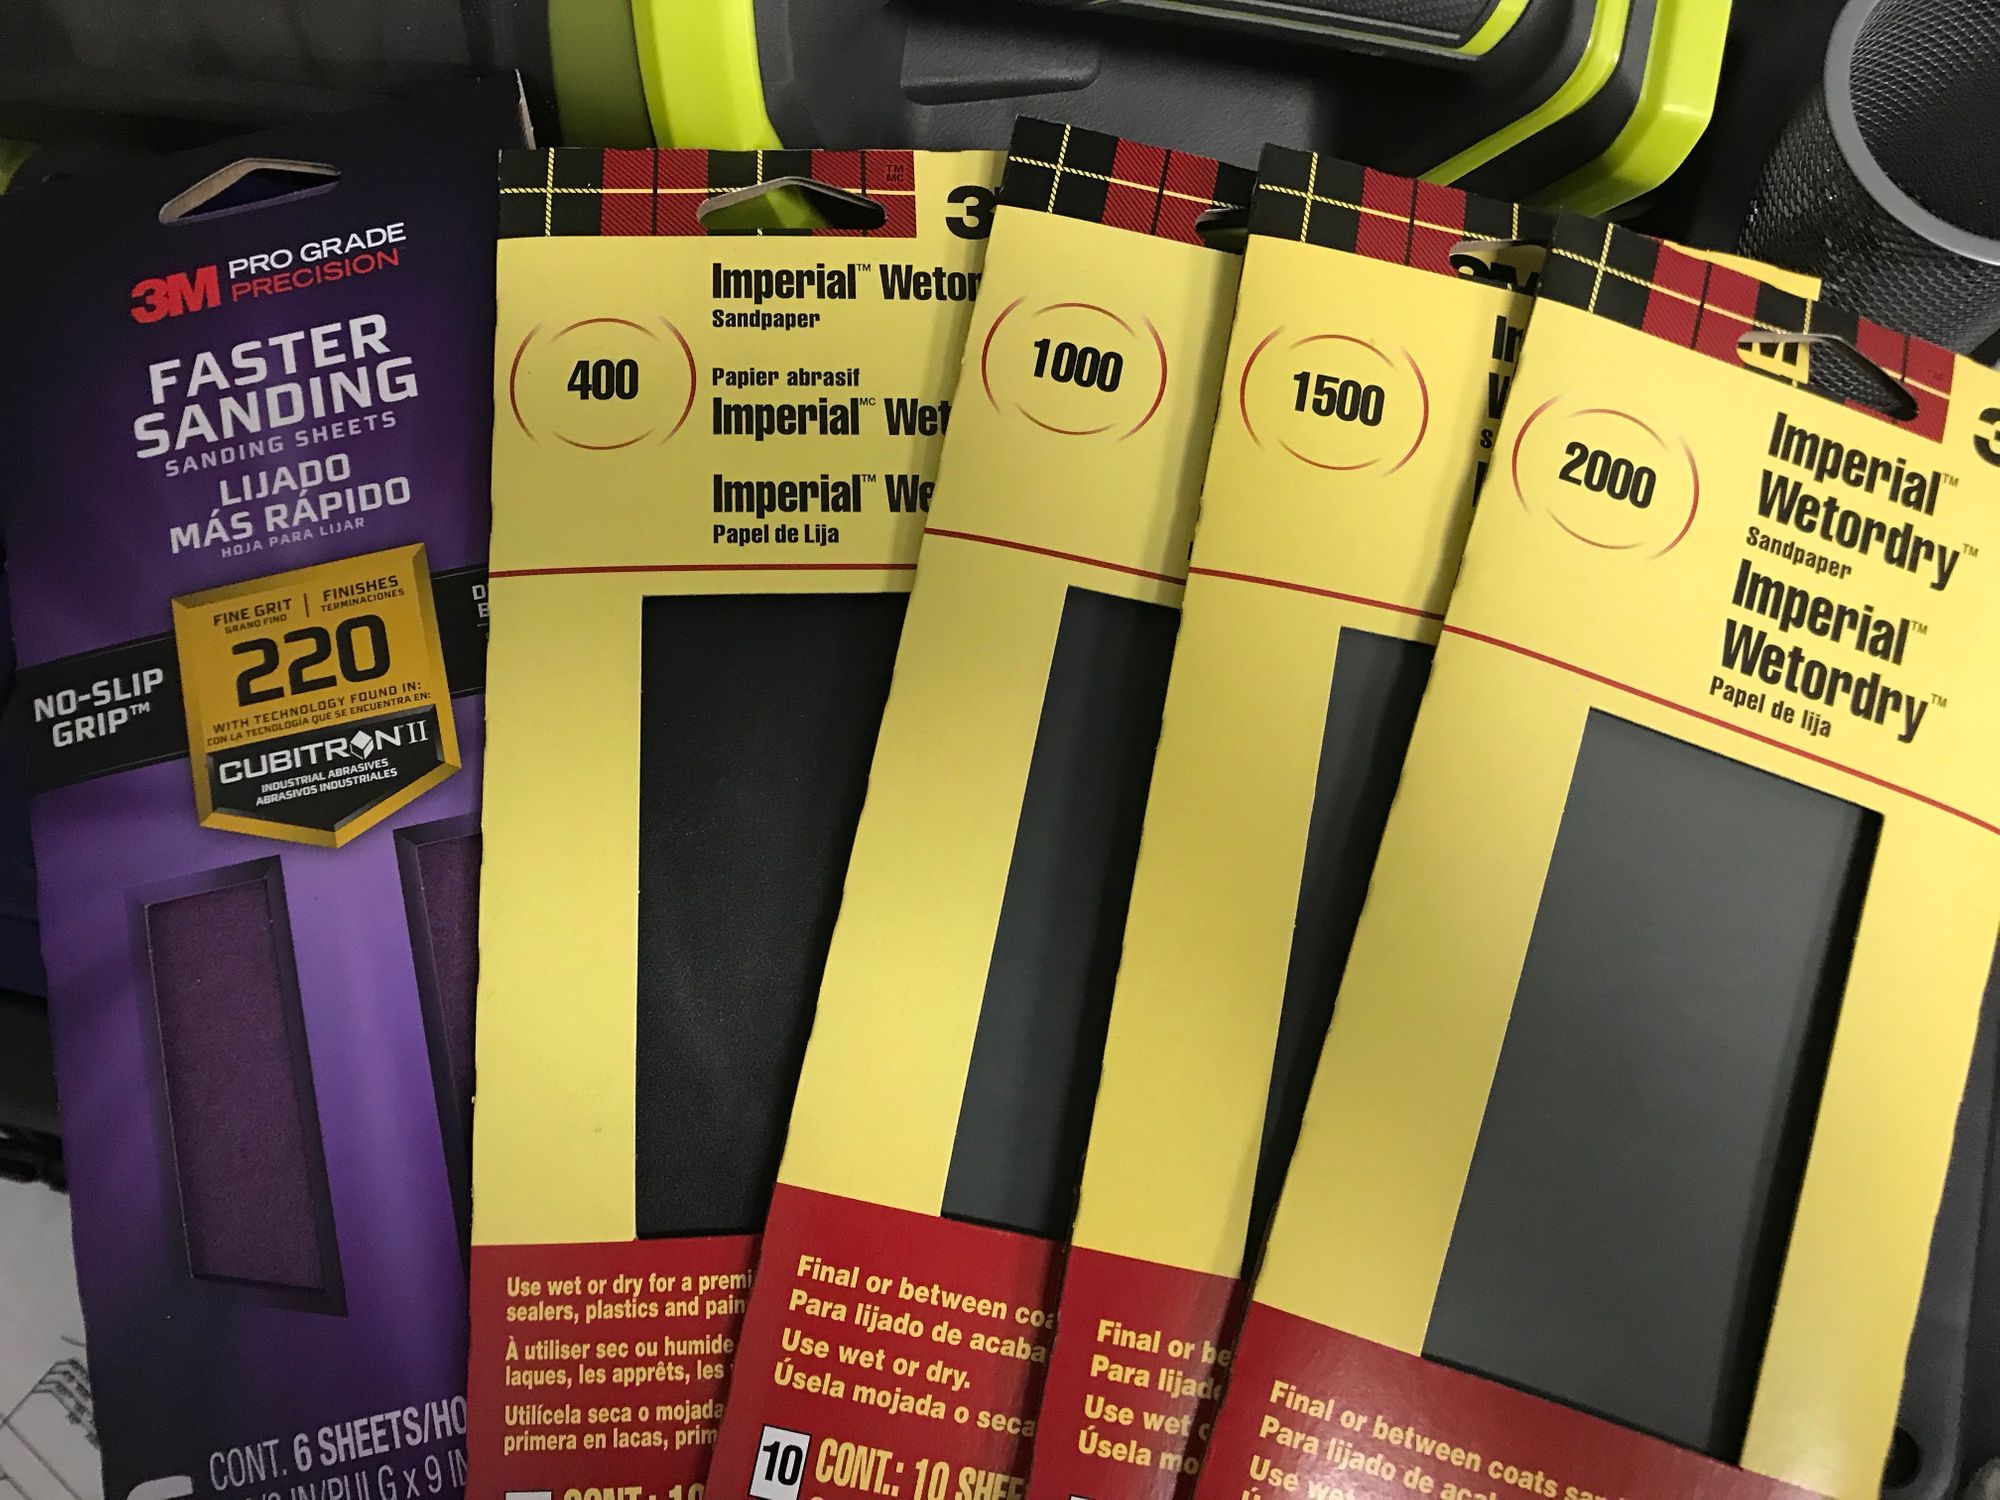
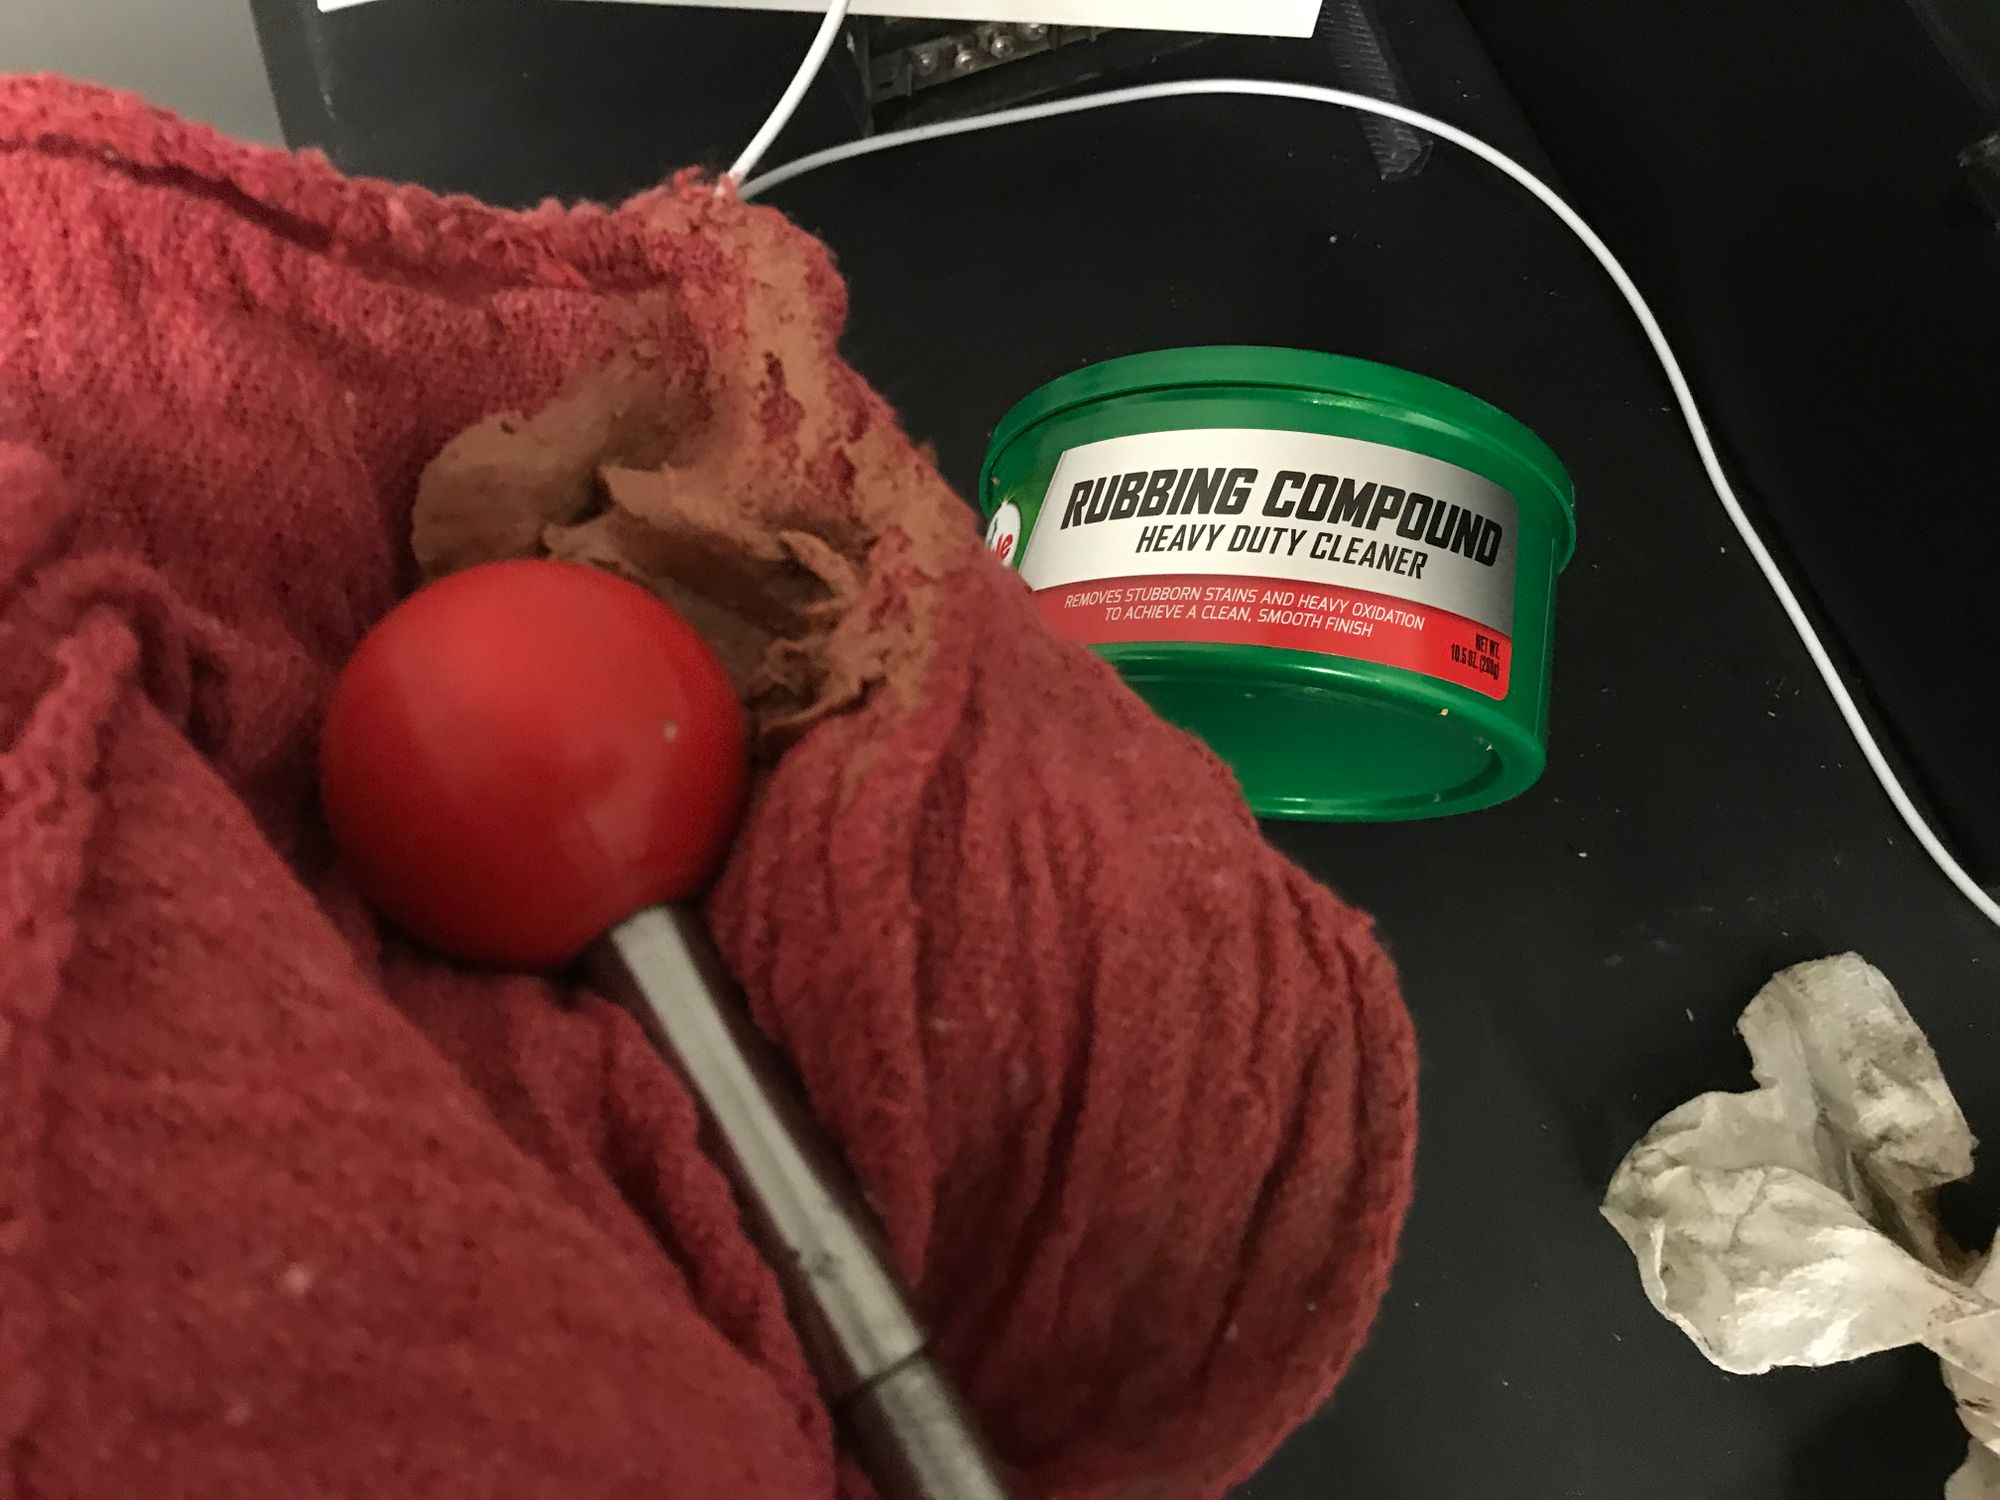
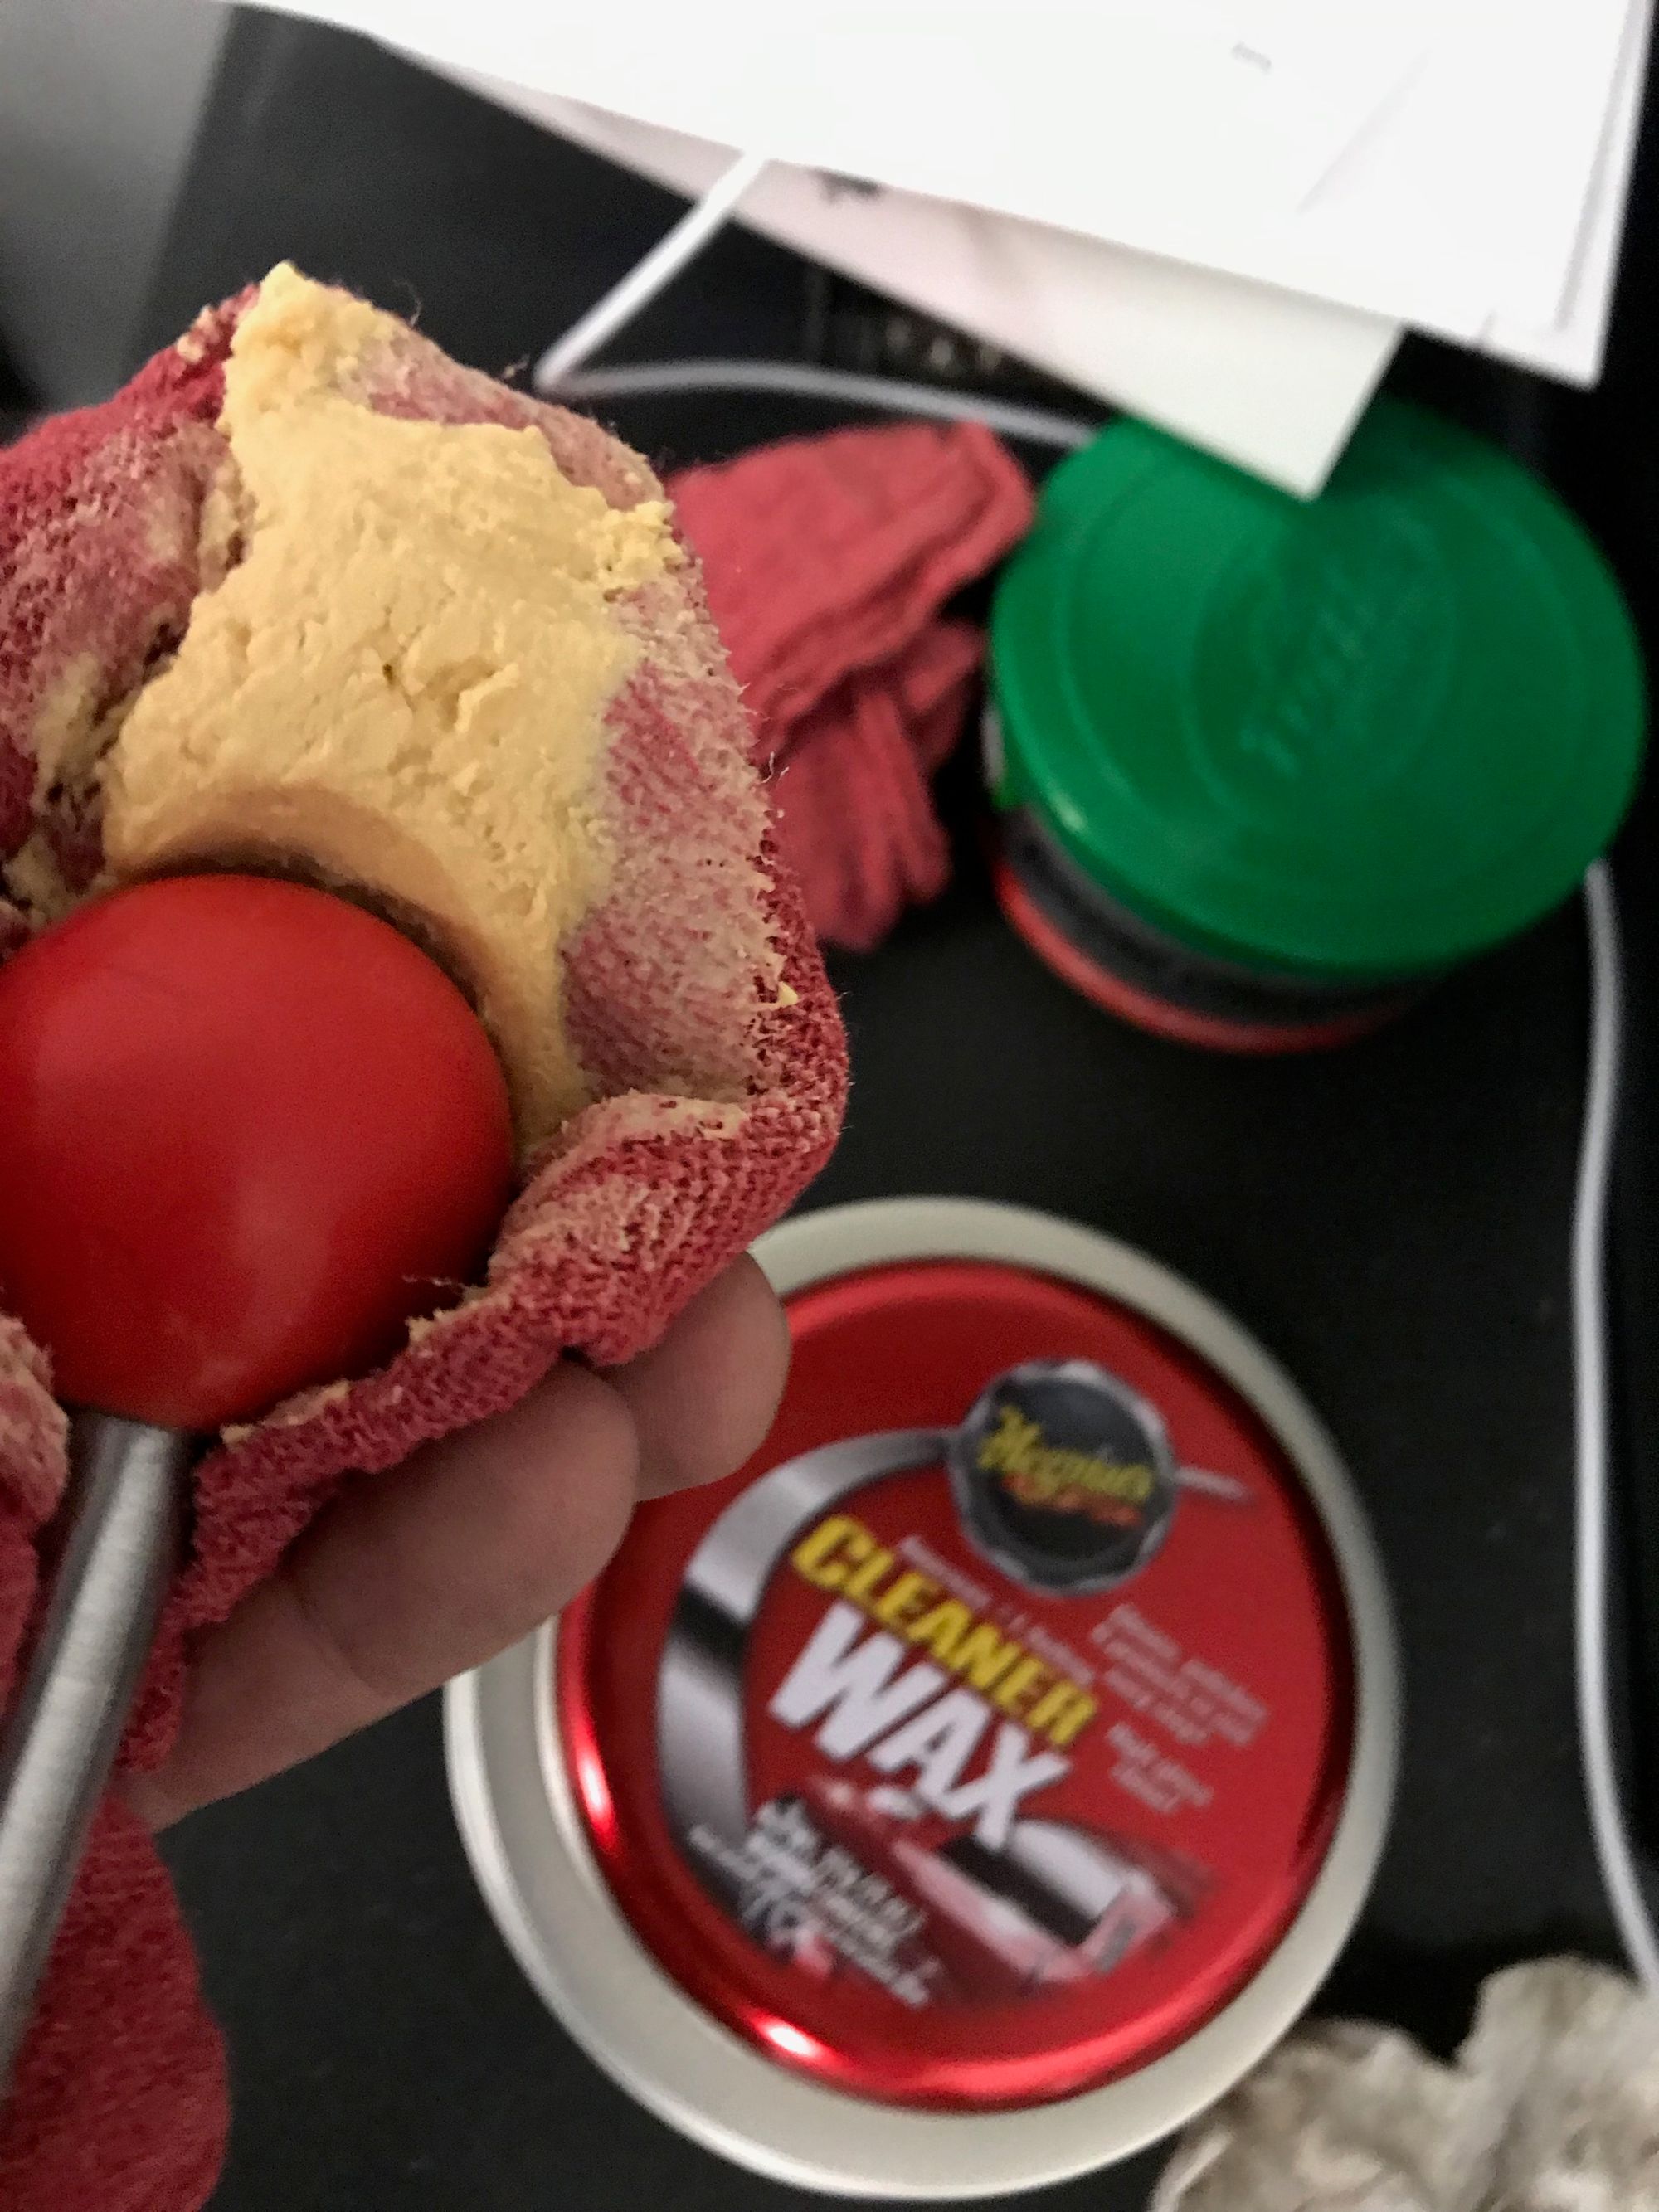
With all the joysticks out the next step was to clean up the shaft and ball (stop laughing). I found a great video on YouTube that explains the process which basically involves anchoring the joystick in your drill and then using dry and wet sandpaper at increasingly finer grades to clean it up. You then use a towel with rubbing compound and finally some polish to give it shine.
I rushed some of these a bit compared to that video but I'm not looking for perfection, just something nicer than what I had previously. Here are a few in-progress shots as well as the final result compared to one of the old ones:
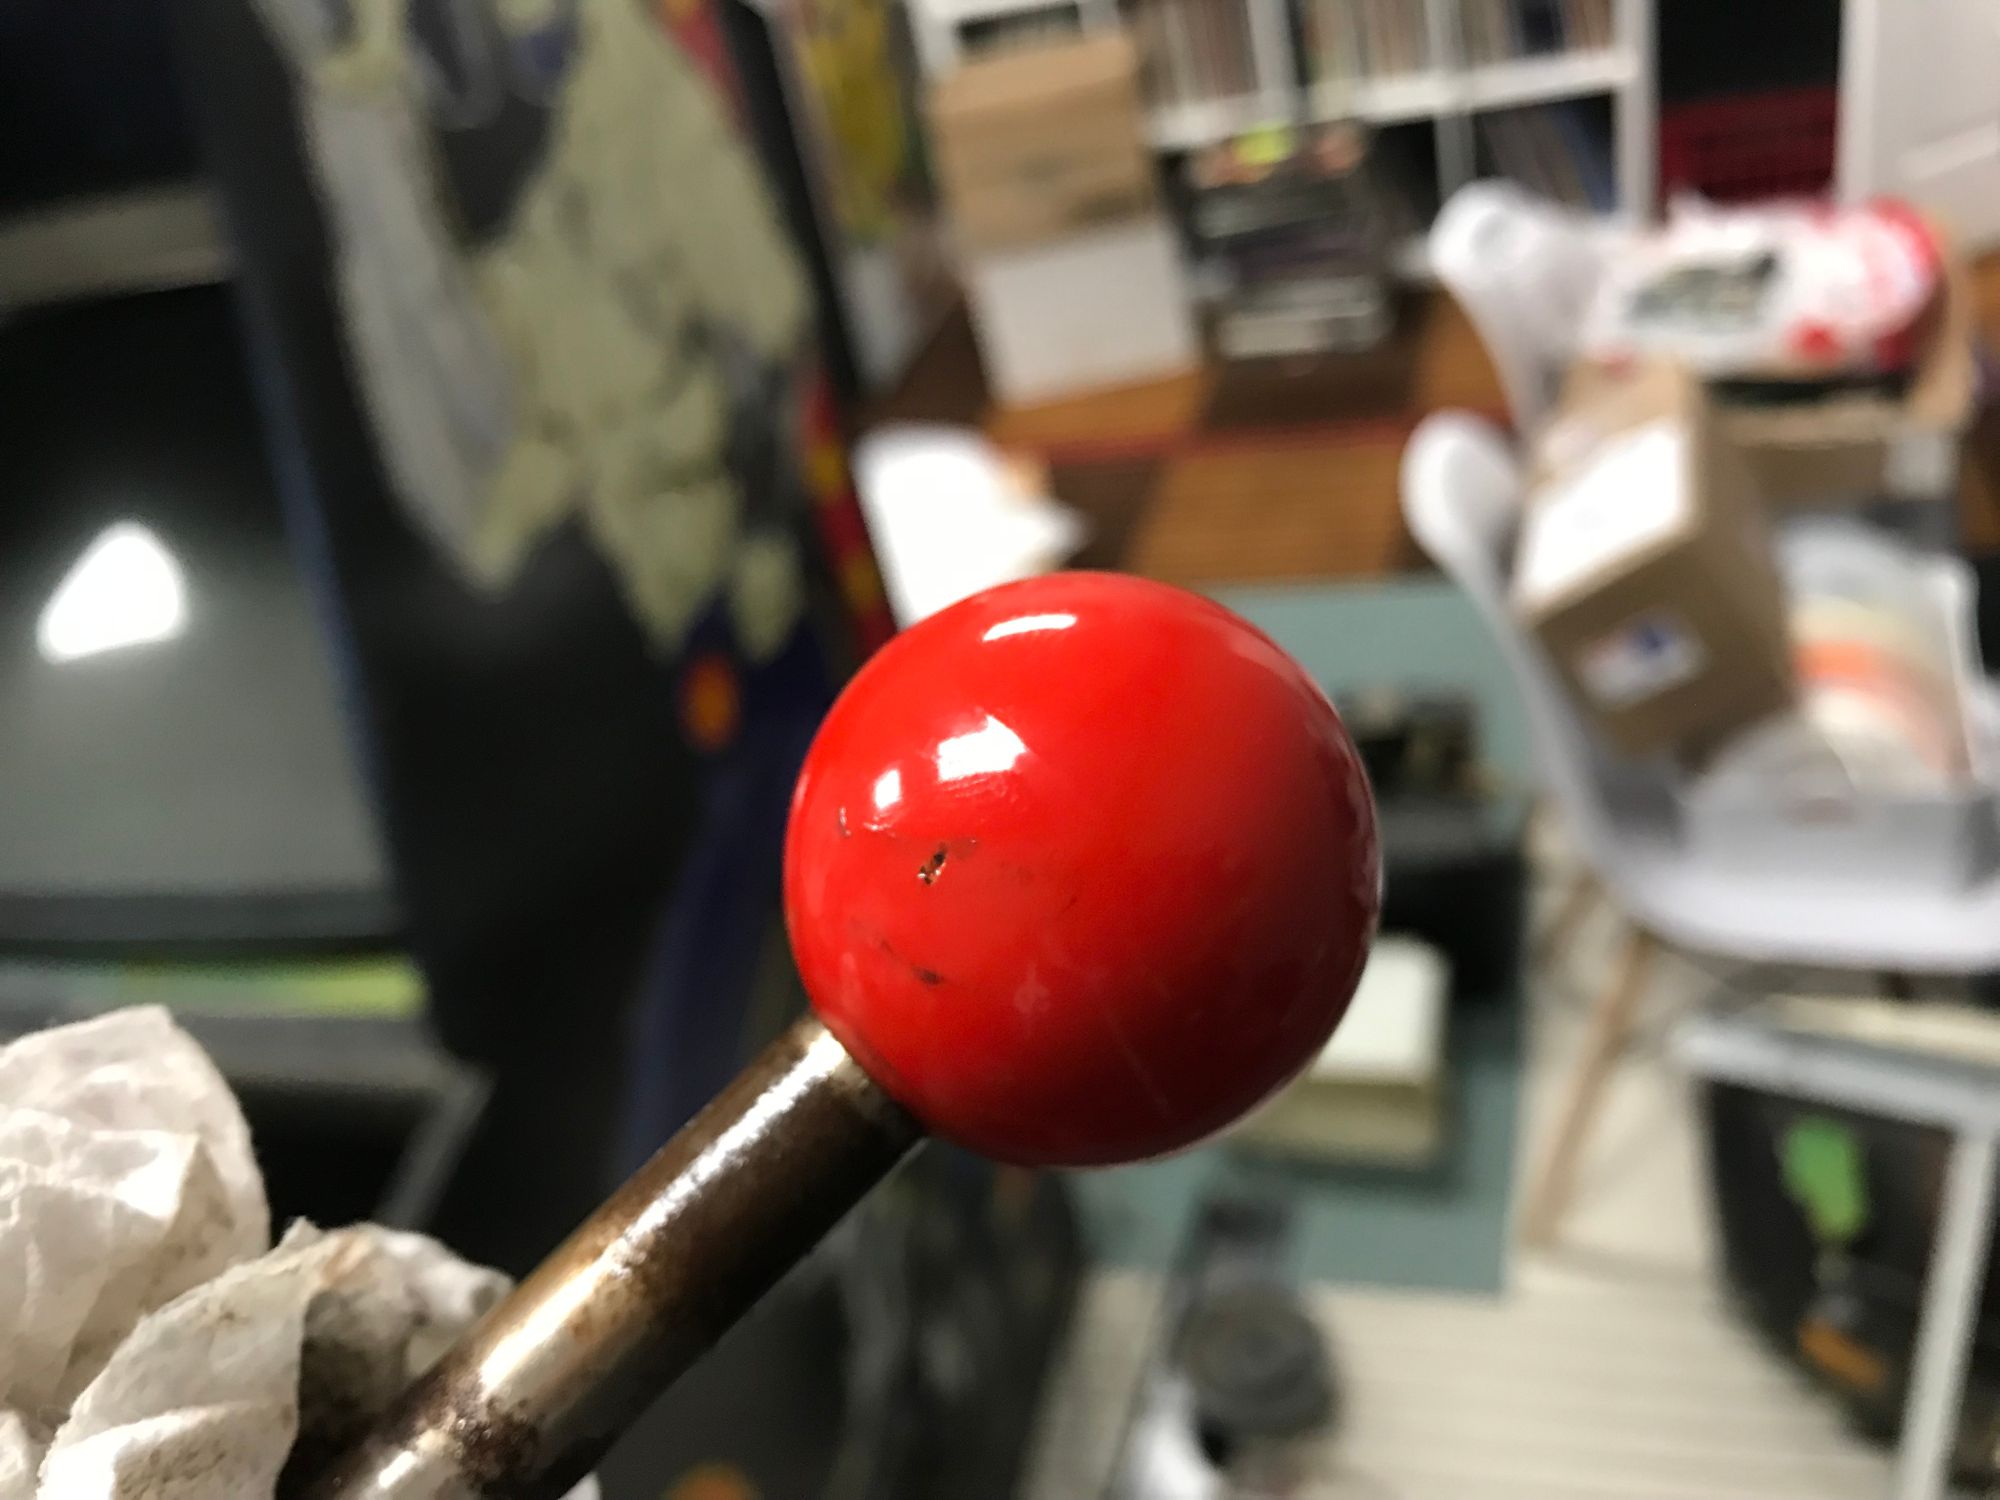
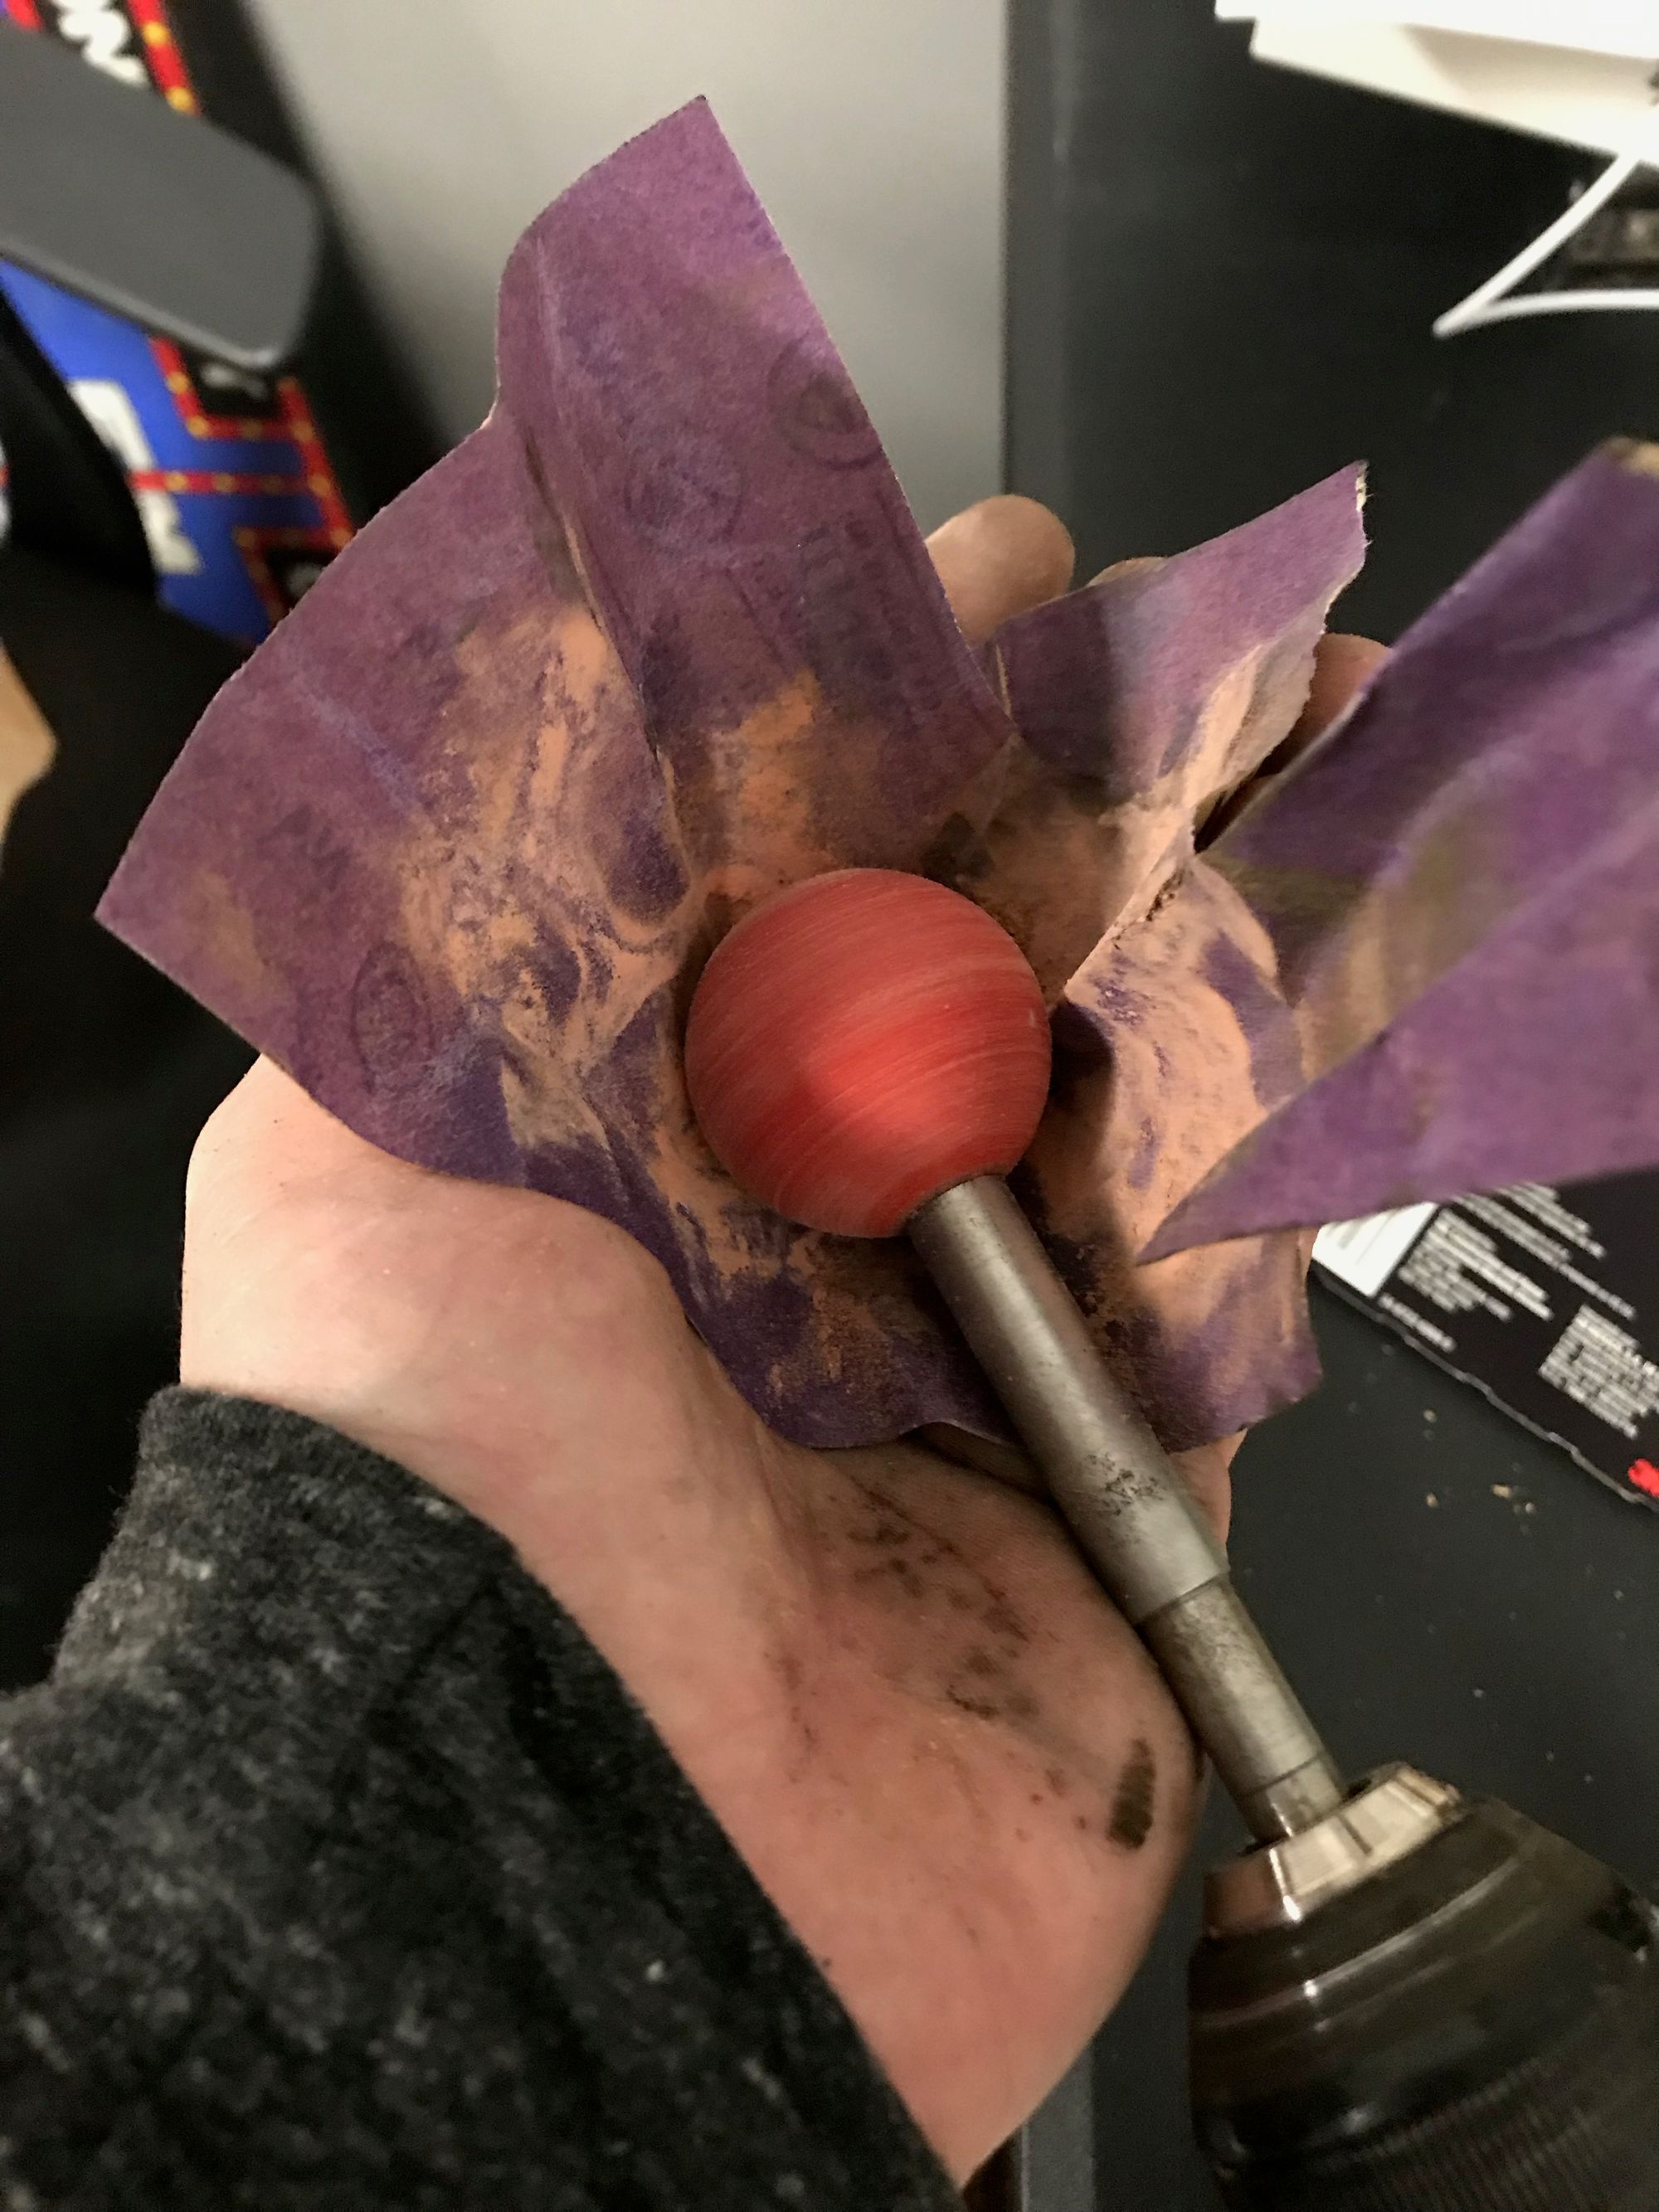
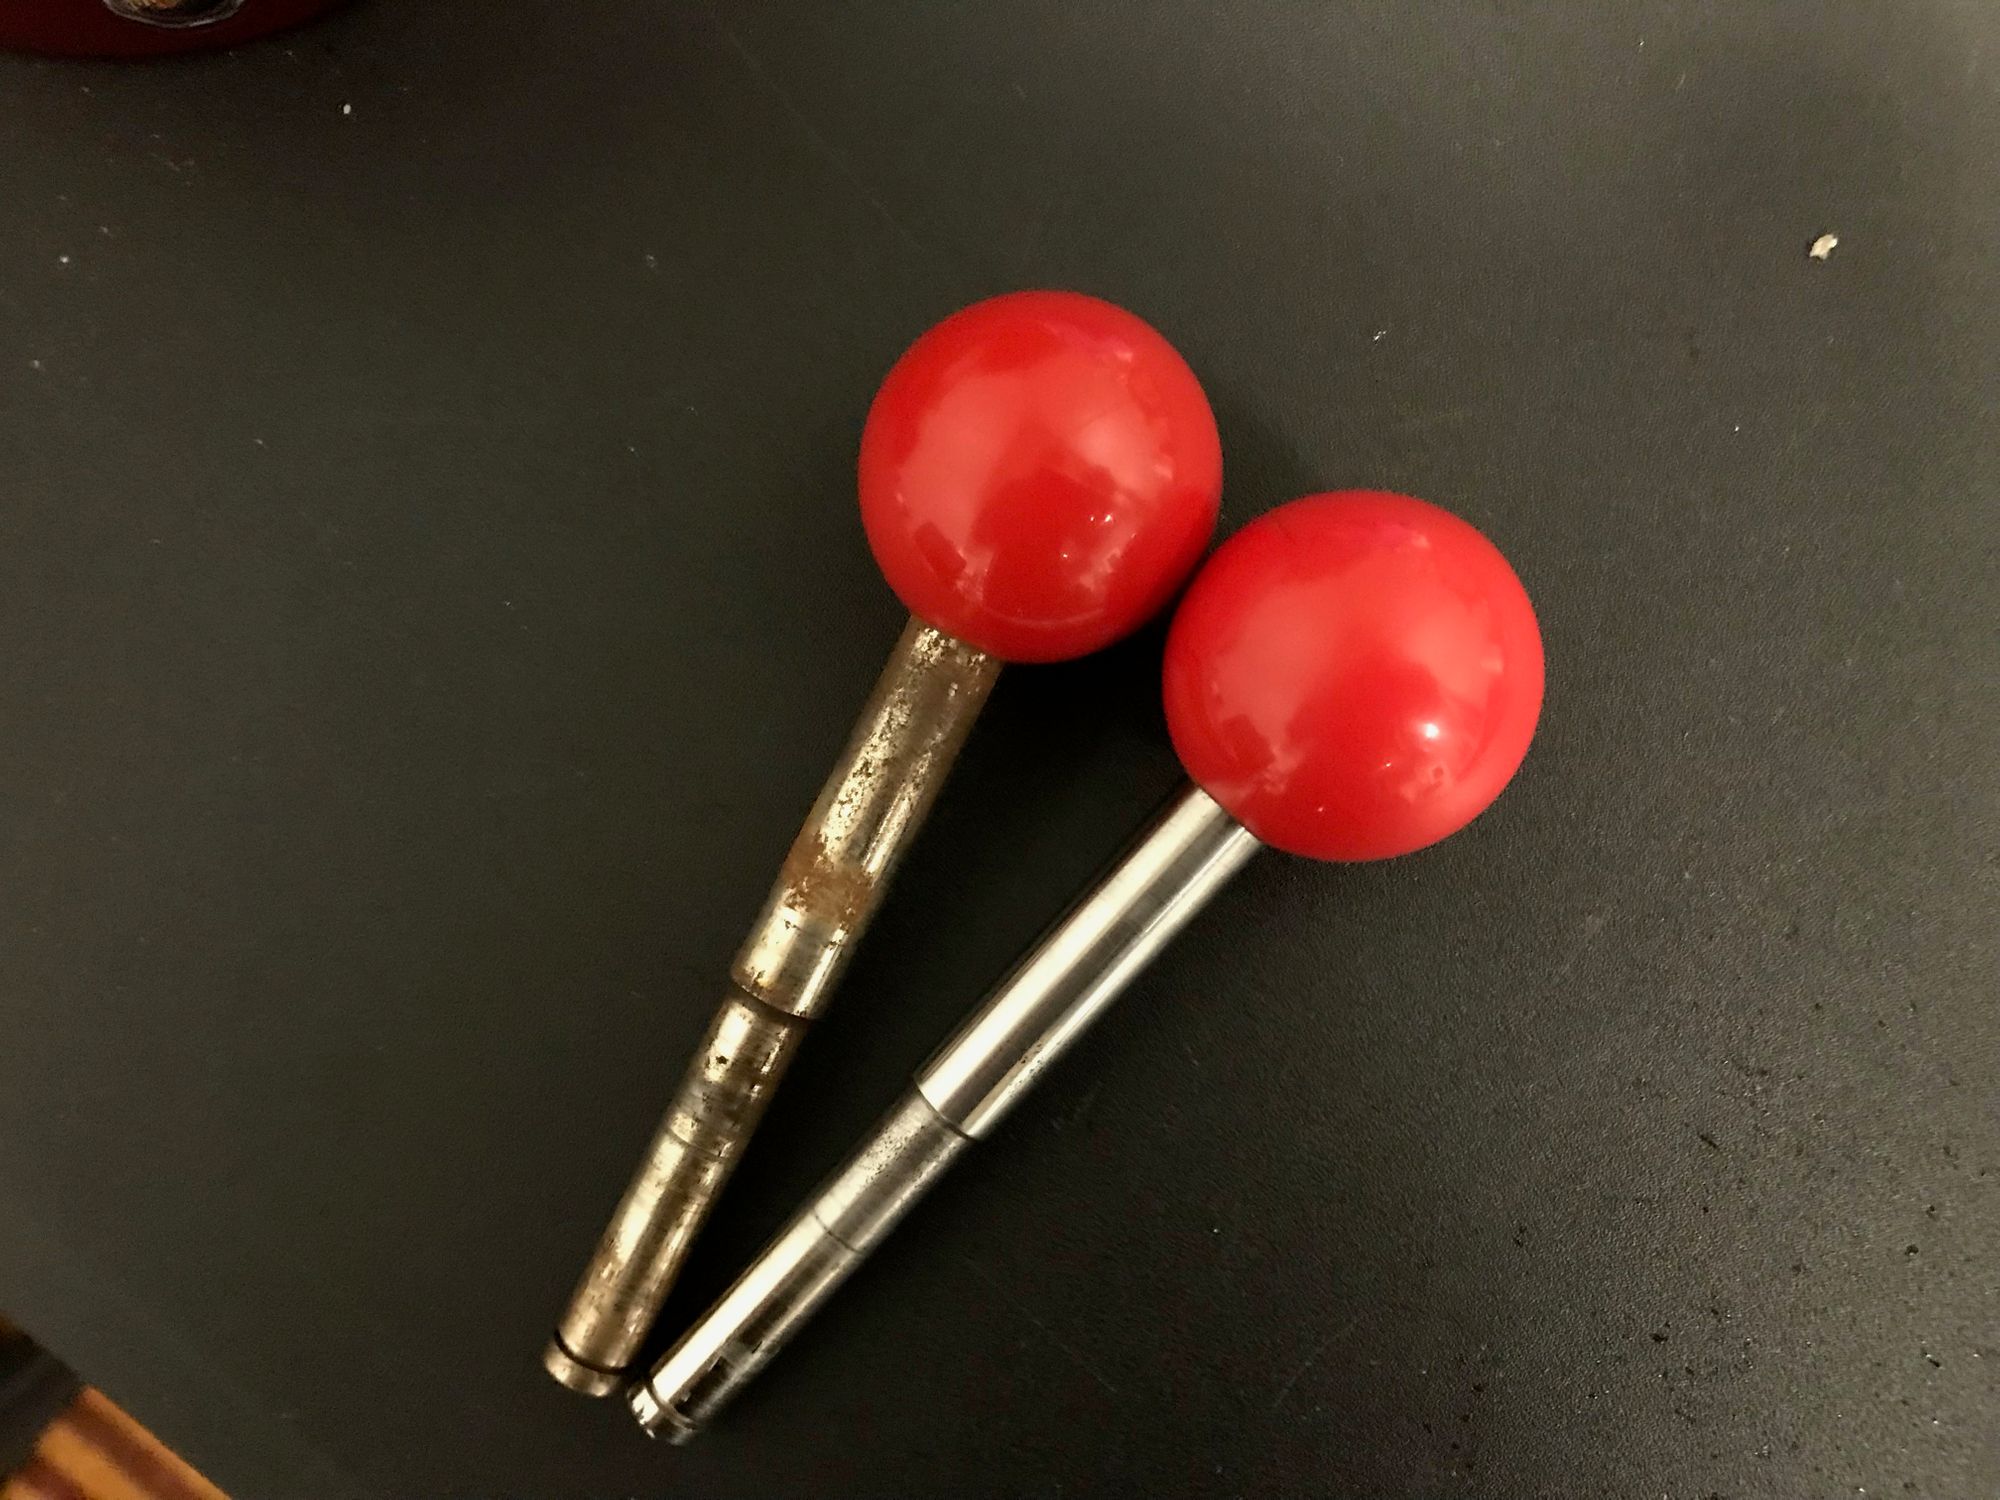
I'm not quite as happy with the polish (but these weren't too bad to begin with) and will maybe put some more time into that soon, but the way the metal cleaned up is pretty amazing. Given how much harder it would be to clean up, I've decided to get replacement grommets (needed one anyway and the others are so rusted), springs, and e-clips from Arcade Shop. I still have to tackle getting the old control panel overlay removed, sanding down the panel, and then applying the new one before the joysticks will be permanently housed but if feels good to get this part finished. I've got a few other things on order and several more mini projects on the list that I'll be blogging about, but as a visual person seeing the progress just gets me that much more excited and the learning process has been super rewarding.