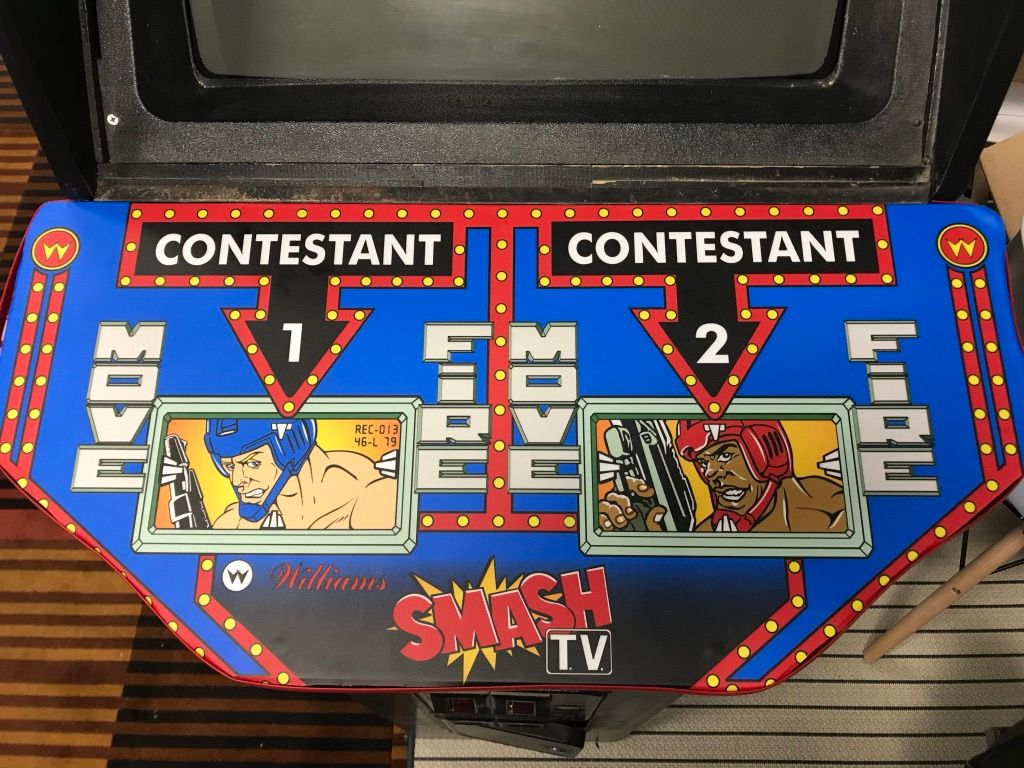
Smash TV Control Panel
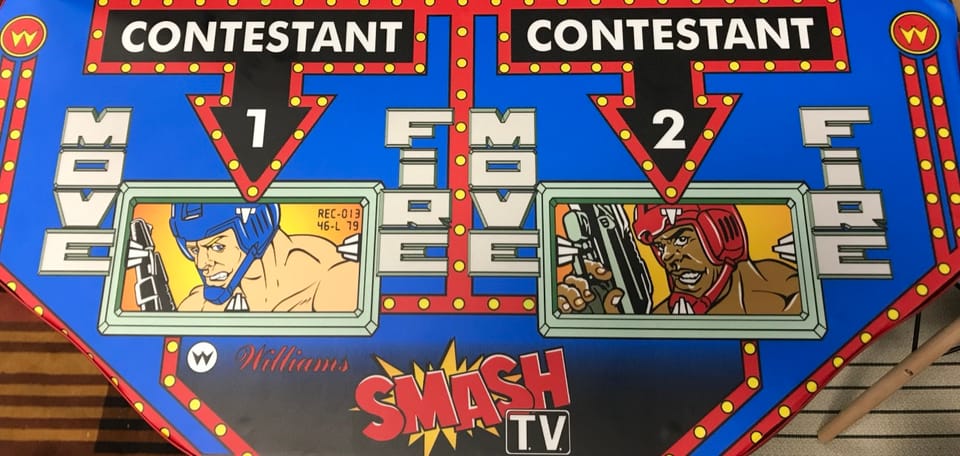
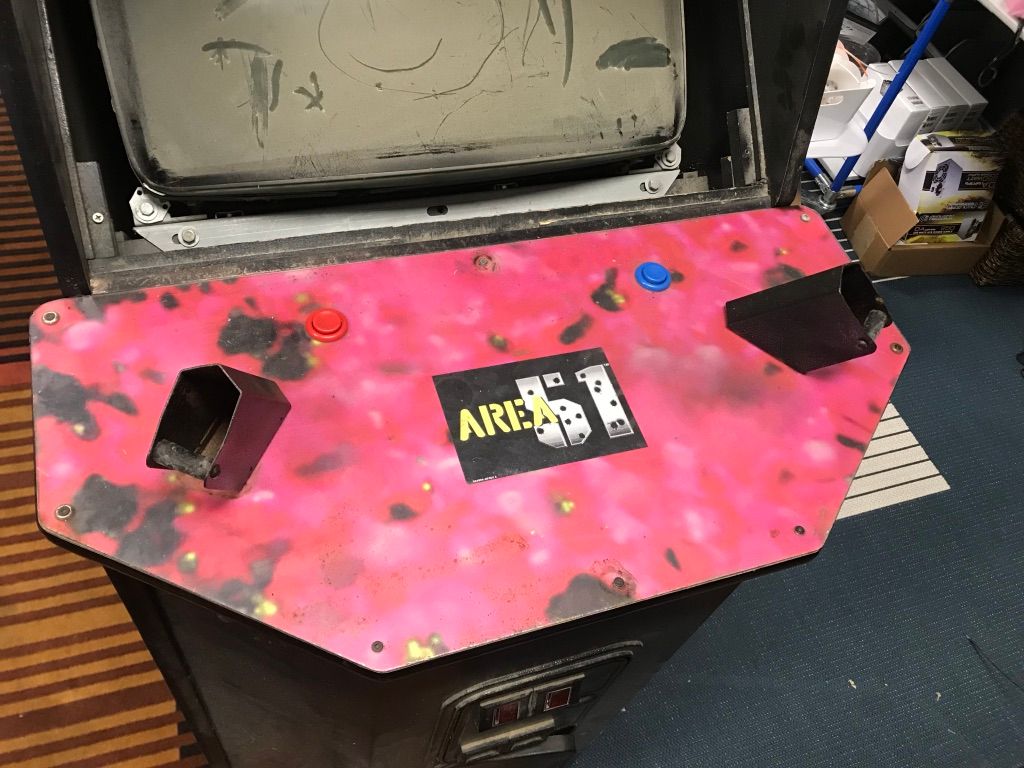
As the work continues on Smash TV I can quickly see that this will be a very special game to me. I'm learning a ton (probably a common theme in these blog posts) and all the sweat and hours I've spent just heighten the anticipation of getting to play the game in all its glory. As I finish up restoring the joysticks I've been slowly working away at the control panel. As you may remember the control panel I was given was converted to an Area 51 complete with gun holsters, but hidden beneath the surface was an original Smash TV overlay so some quick heat gun work and it was unveiled.
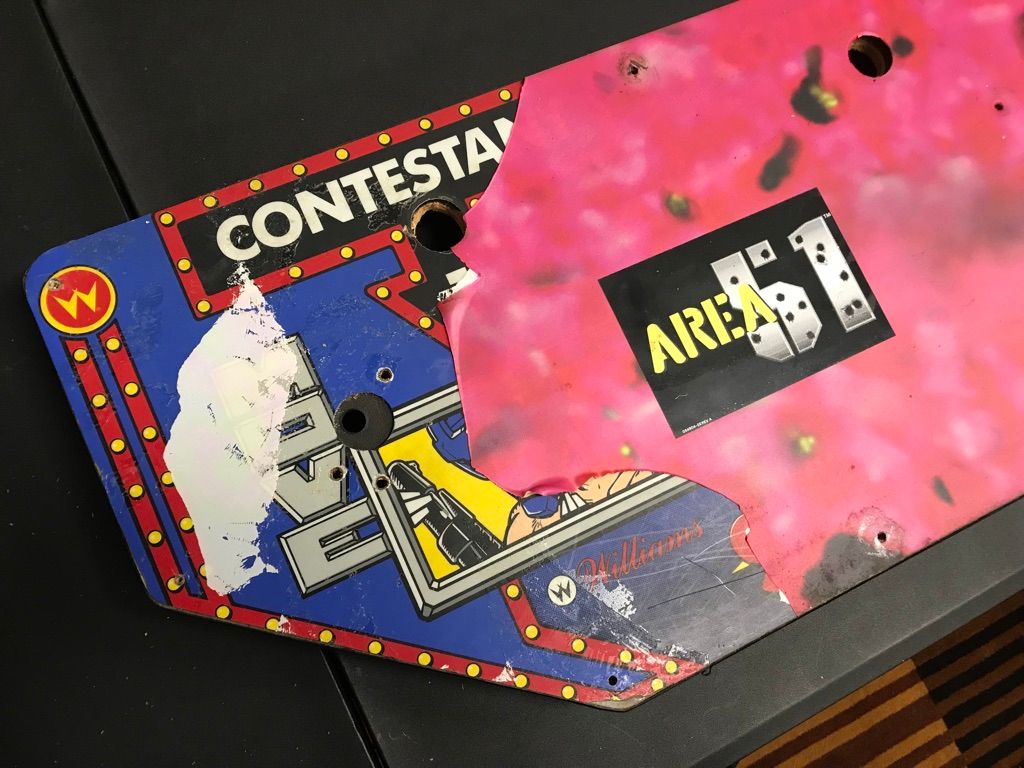
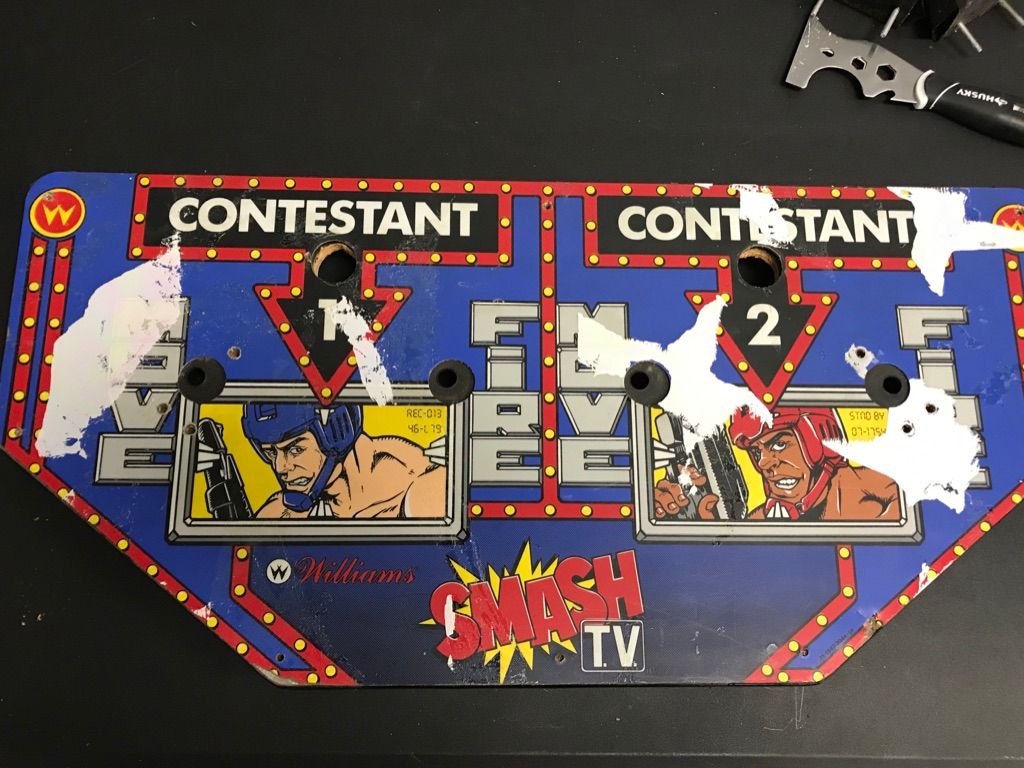
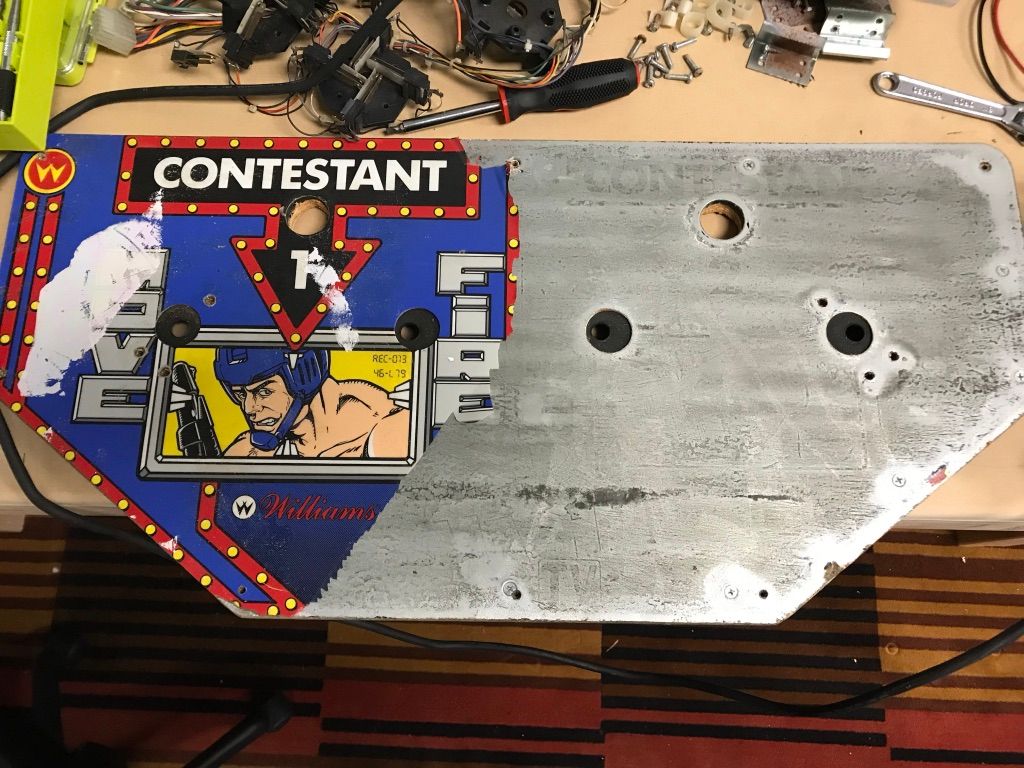
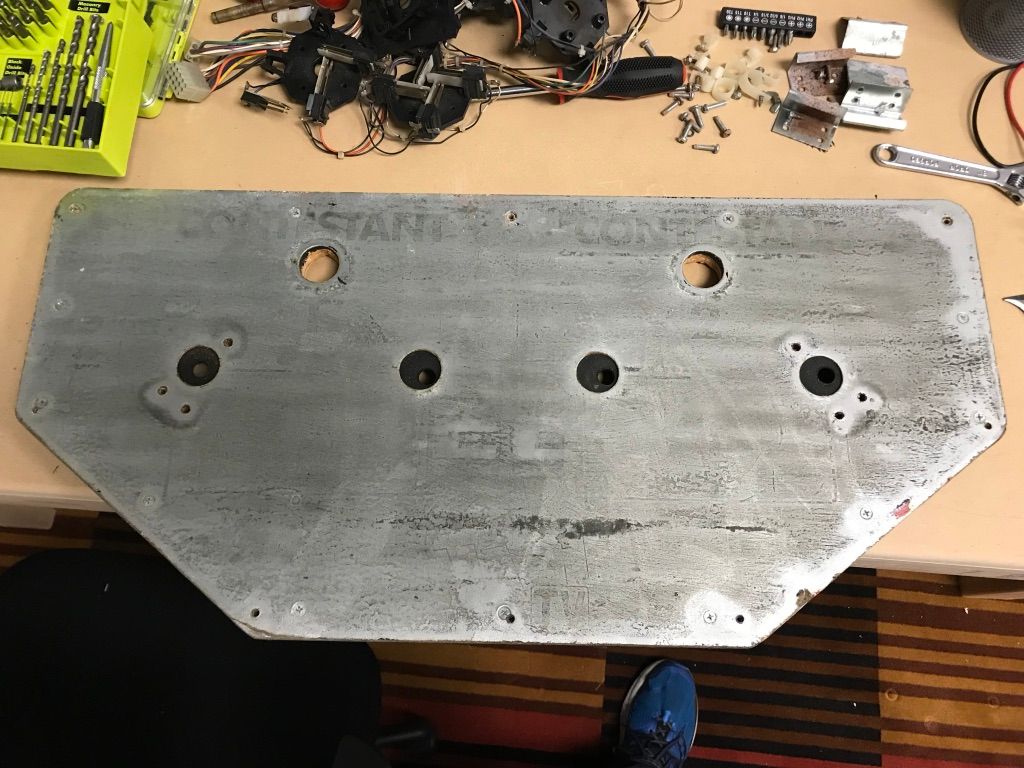
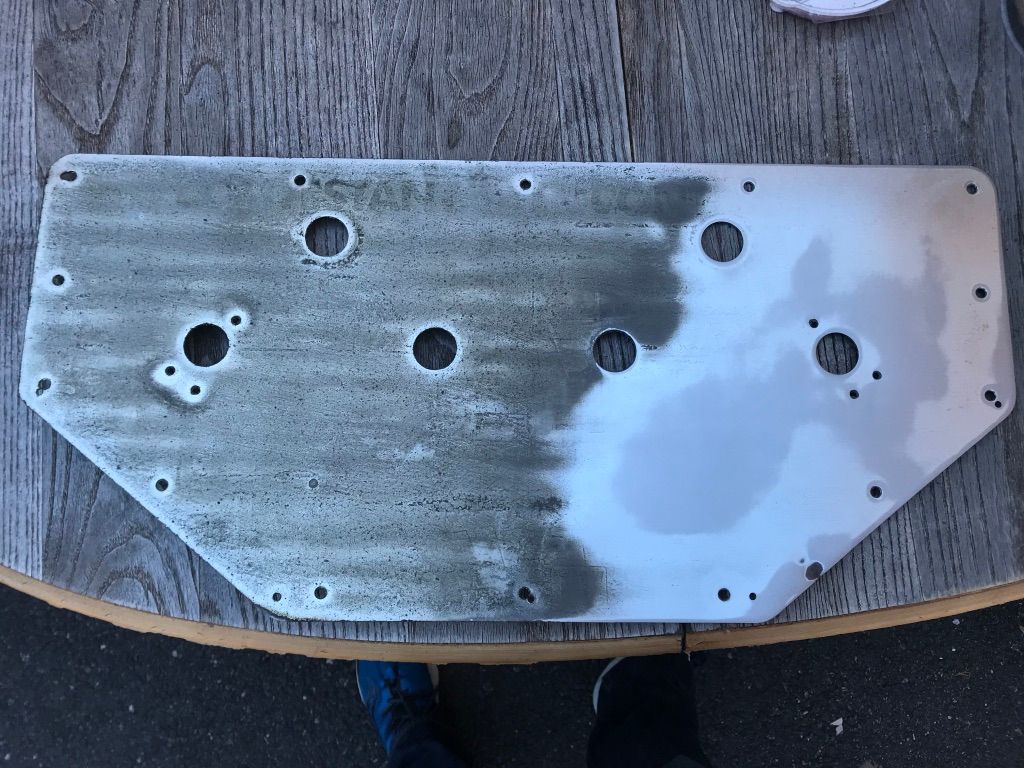
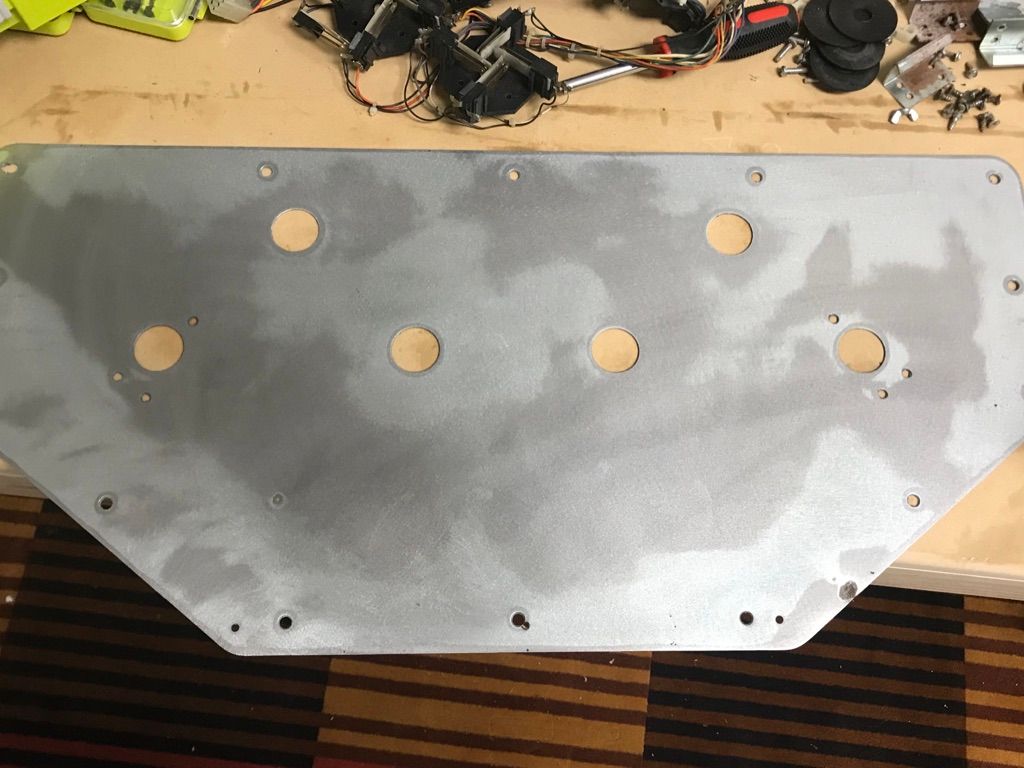
I was a bit surprised by the quality of the overlay underneath, but at the end of the day there were enough problems with it and I had the artwork to replace it with so it had to go. Getting the overlay off was easy enough, again with a heat gun, but the glue underneath took a combination of Goo Gone and then a rotary sander. Finally I patched all the small holes from the holster up with J-B Weld Steelstik which easily can mold into holes and cures in an hour to sand down to a smooth surface.
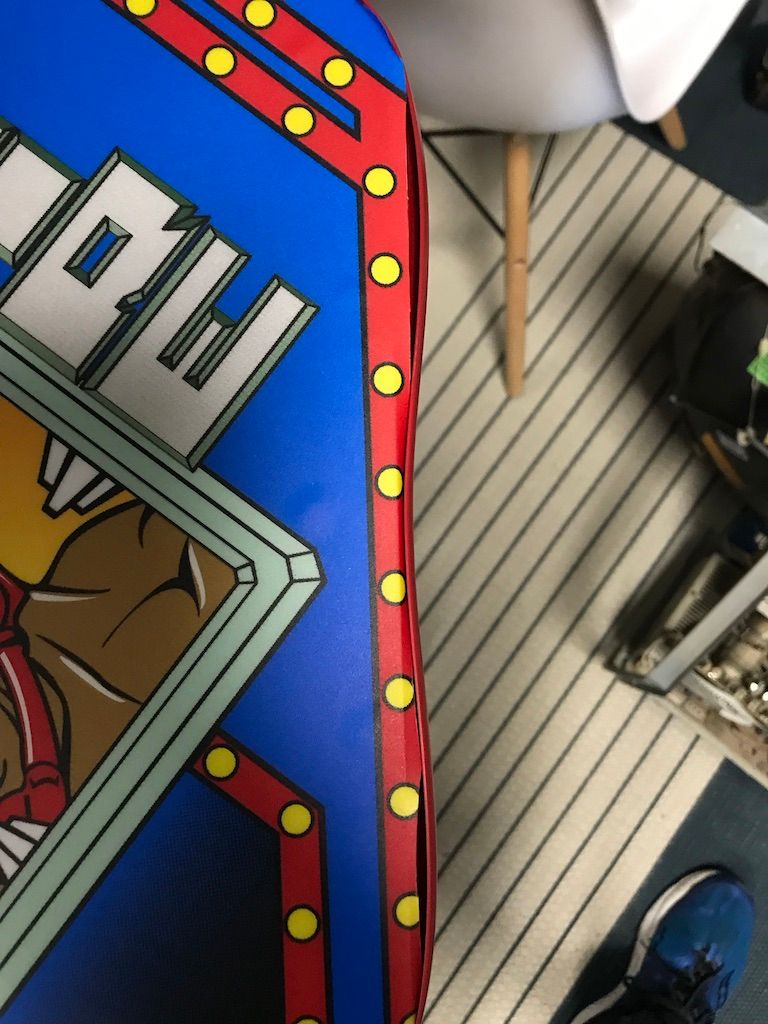
Finally it was time to get the new overlay on. I had some difficulty getting things aligned but I'm pretty happy with how it turned out. On one hand it was great there was plenty of extra print to the new artwork, but it also made it hard to know where things were supposed to cut off on the control panel. I also got some red T-Molding and cut the vinyl in a way where I could tuck it underneath the molding for clean corners. But I had to get a glue gun and go to town because the wood was not grabbing the tiny barbs of the molding. Easy enough to fix and I guess someone who was super anal at restoring would have bondo'd and redrilled all the channels but I certainly wasn't going to take it to that level. The control panel is now ready for some careful X-acto knife work to cut the holes for the 4 joysticks and 2 start buttons and then the refinished joysticks are going in.