Building Reclaim Studio: The Green Screen
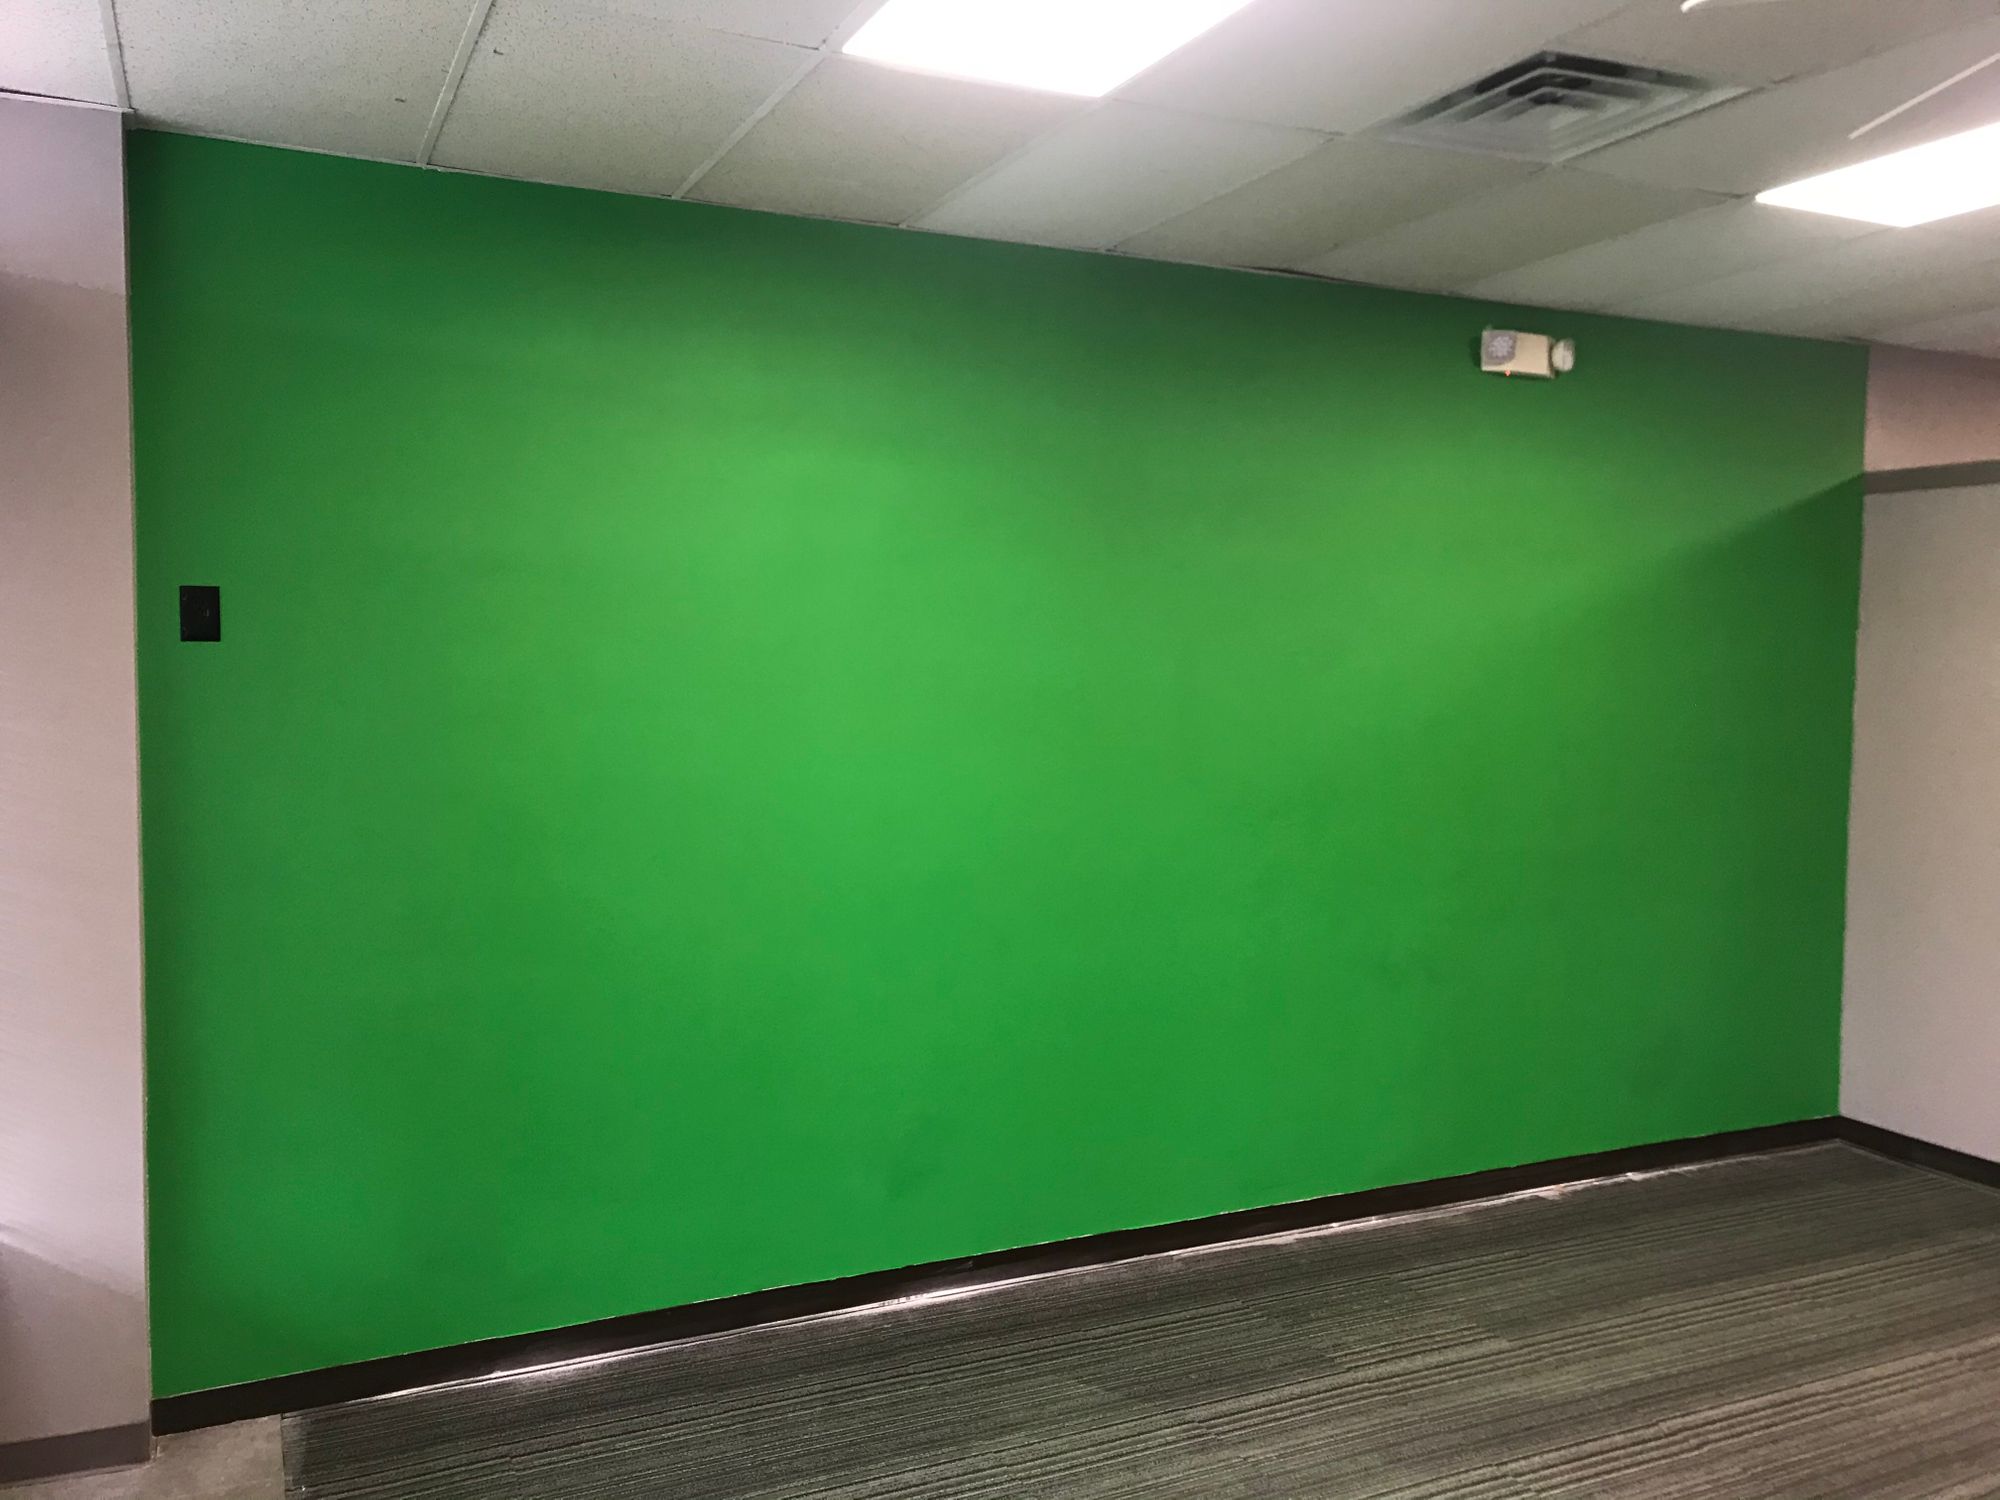
Jim and I are currently reworking our plans for Reclaim Arcade and we will be looking to reduce the large amount of construction that was to take place and make better use of the existing space we have. That leaves us with this rather large room right between Reclaim Hosting and Reclaim Arcade that originally was meant to be a shared space (Conference Room by day and Private Party Room by night).
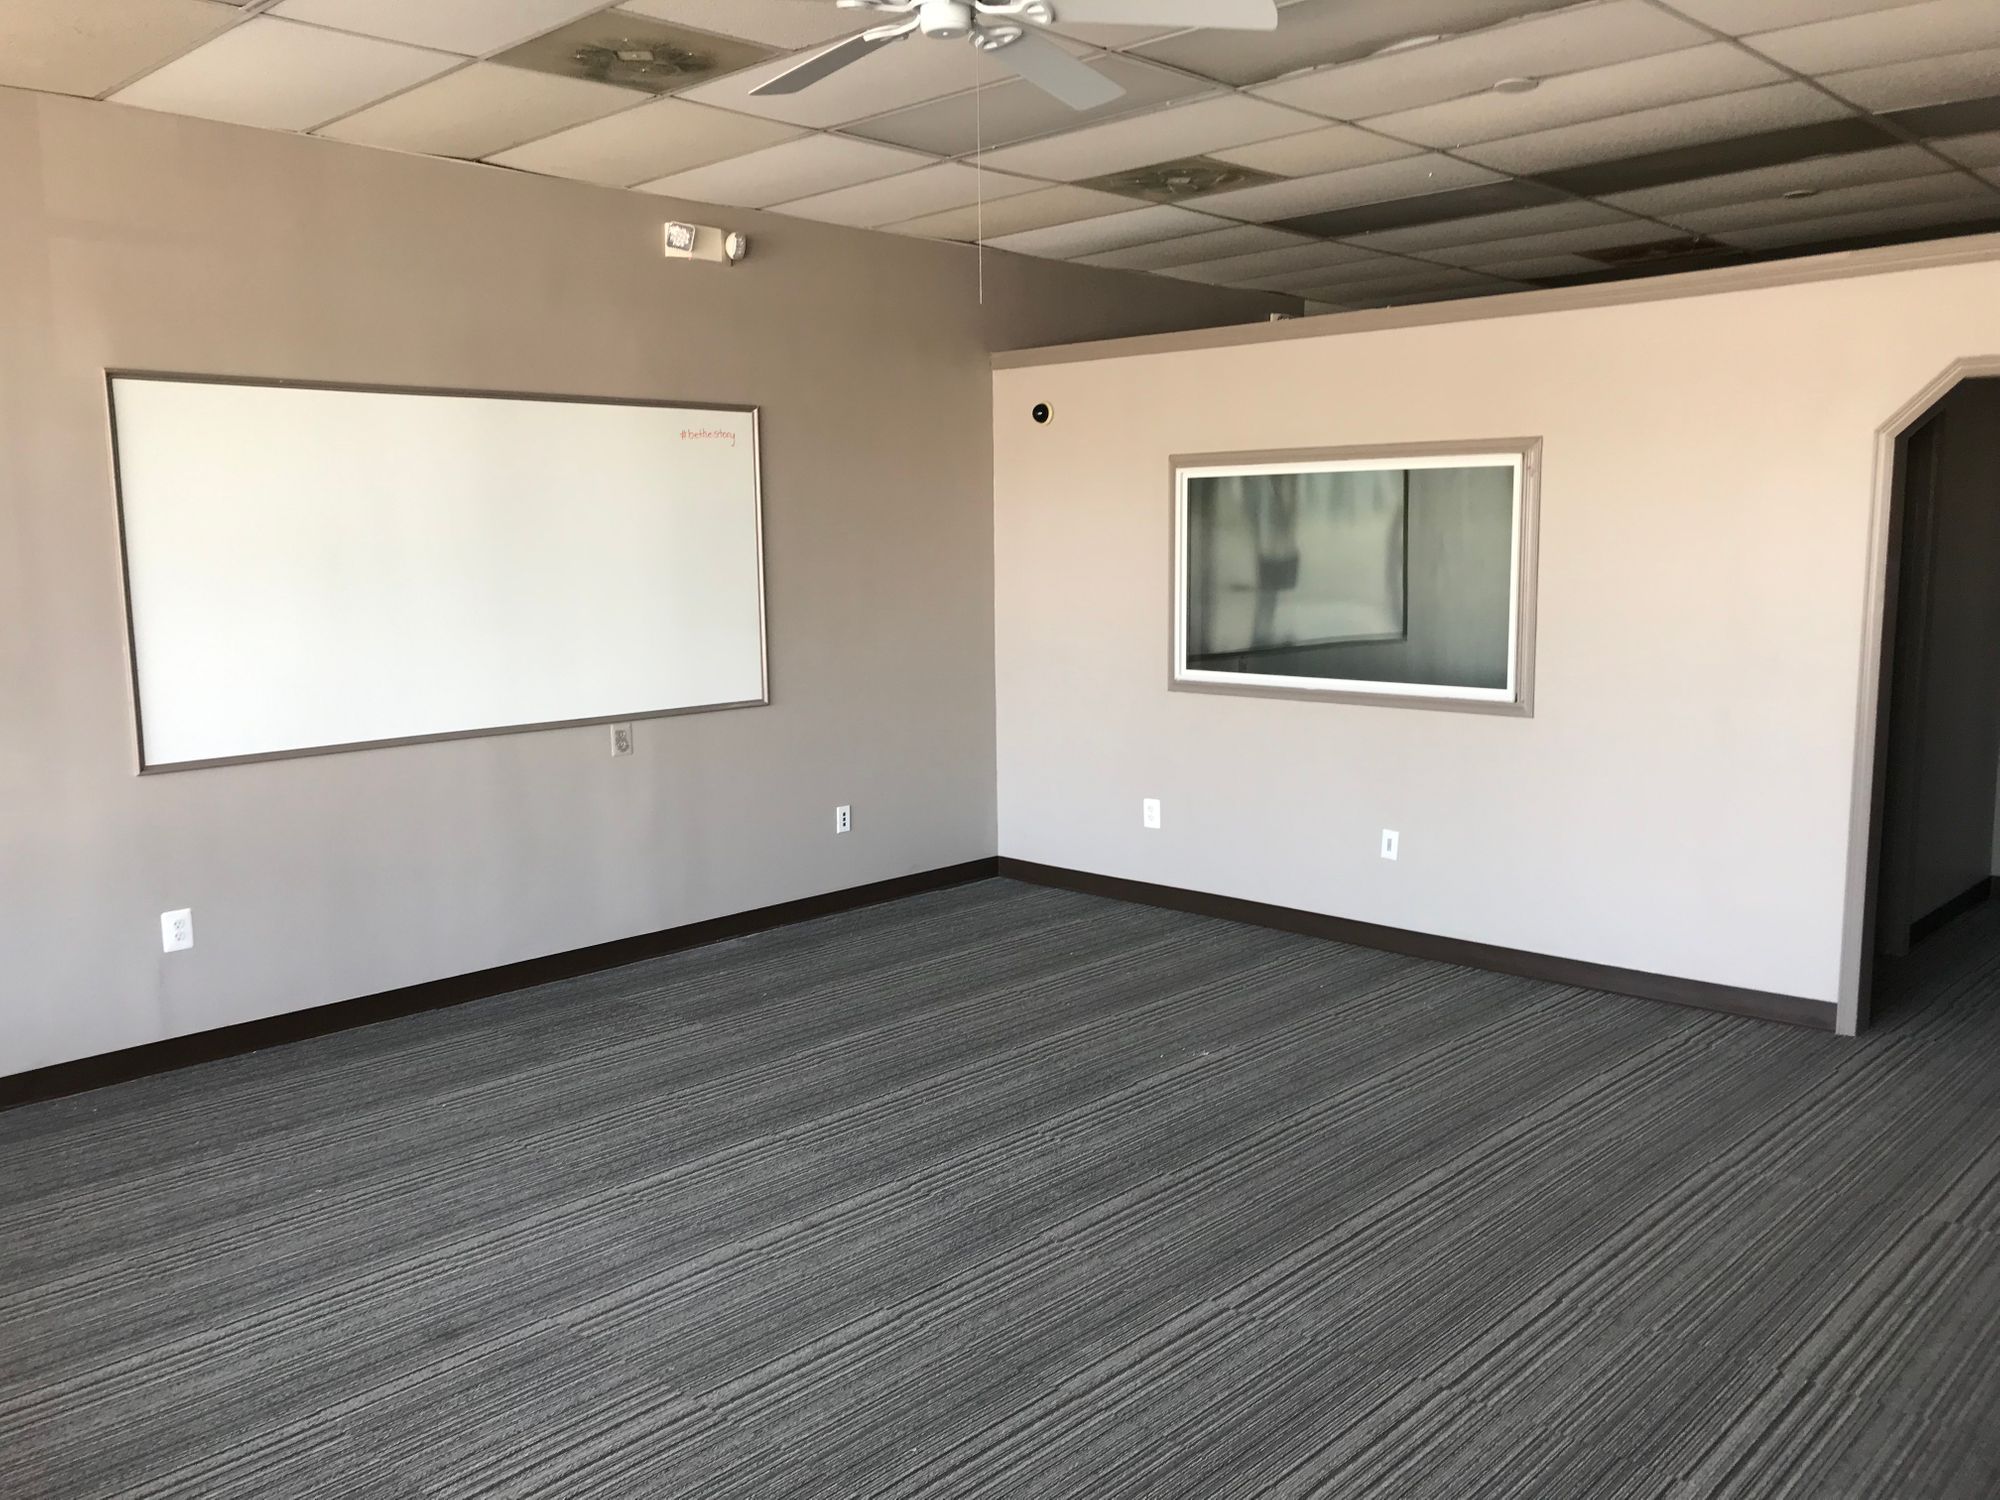
While we could certainly still go that route, we frankly don't have enough people in the office to warrant a big conference room, we've worked fairly well with 3/4 of a conference table up against a side of our wall with a TV and equipment and it being close gives me memories of working at UMW and being able to quickly head to the table to look at something with a colleague.
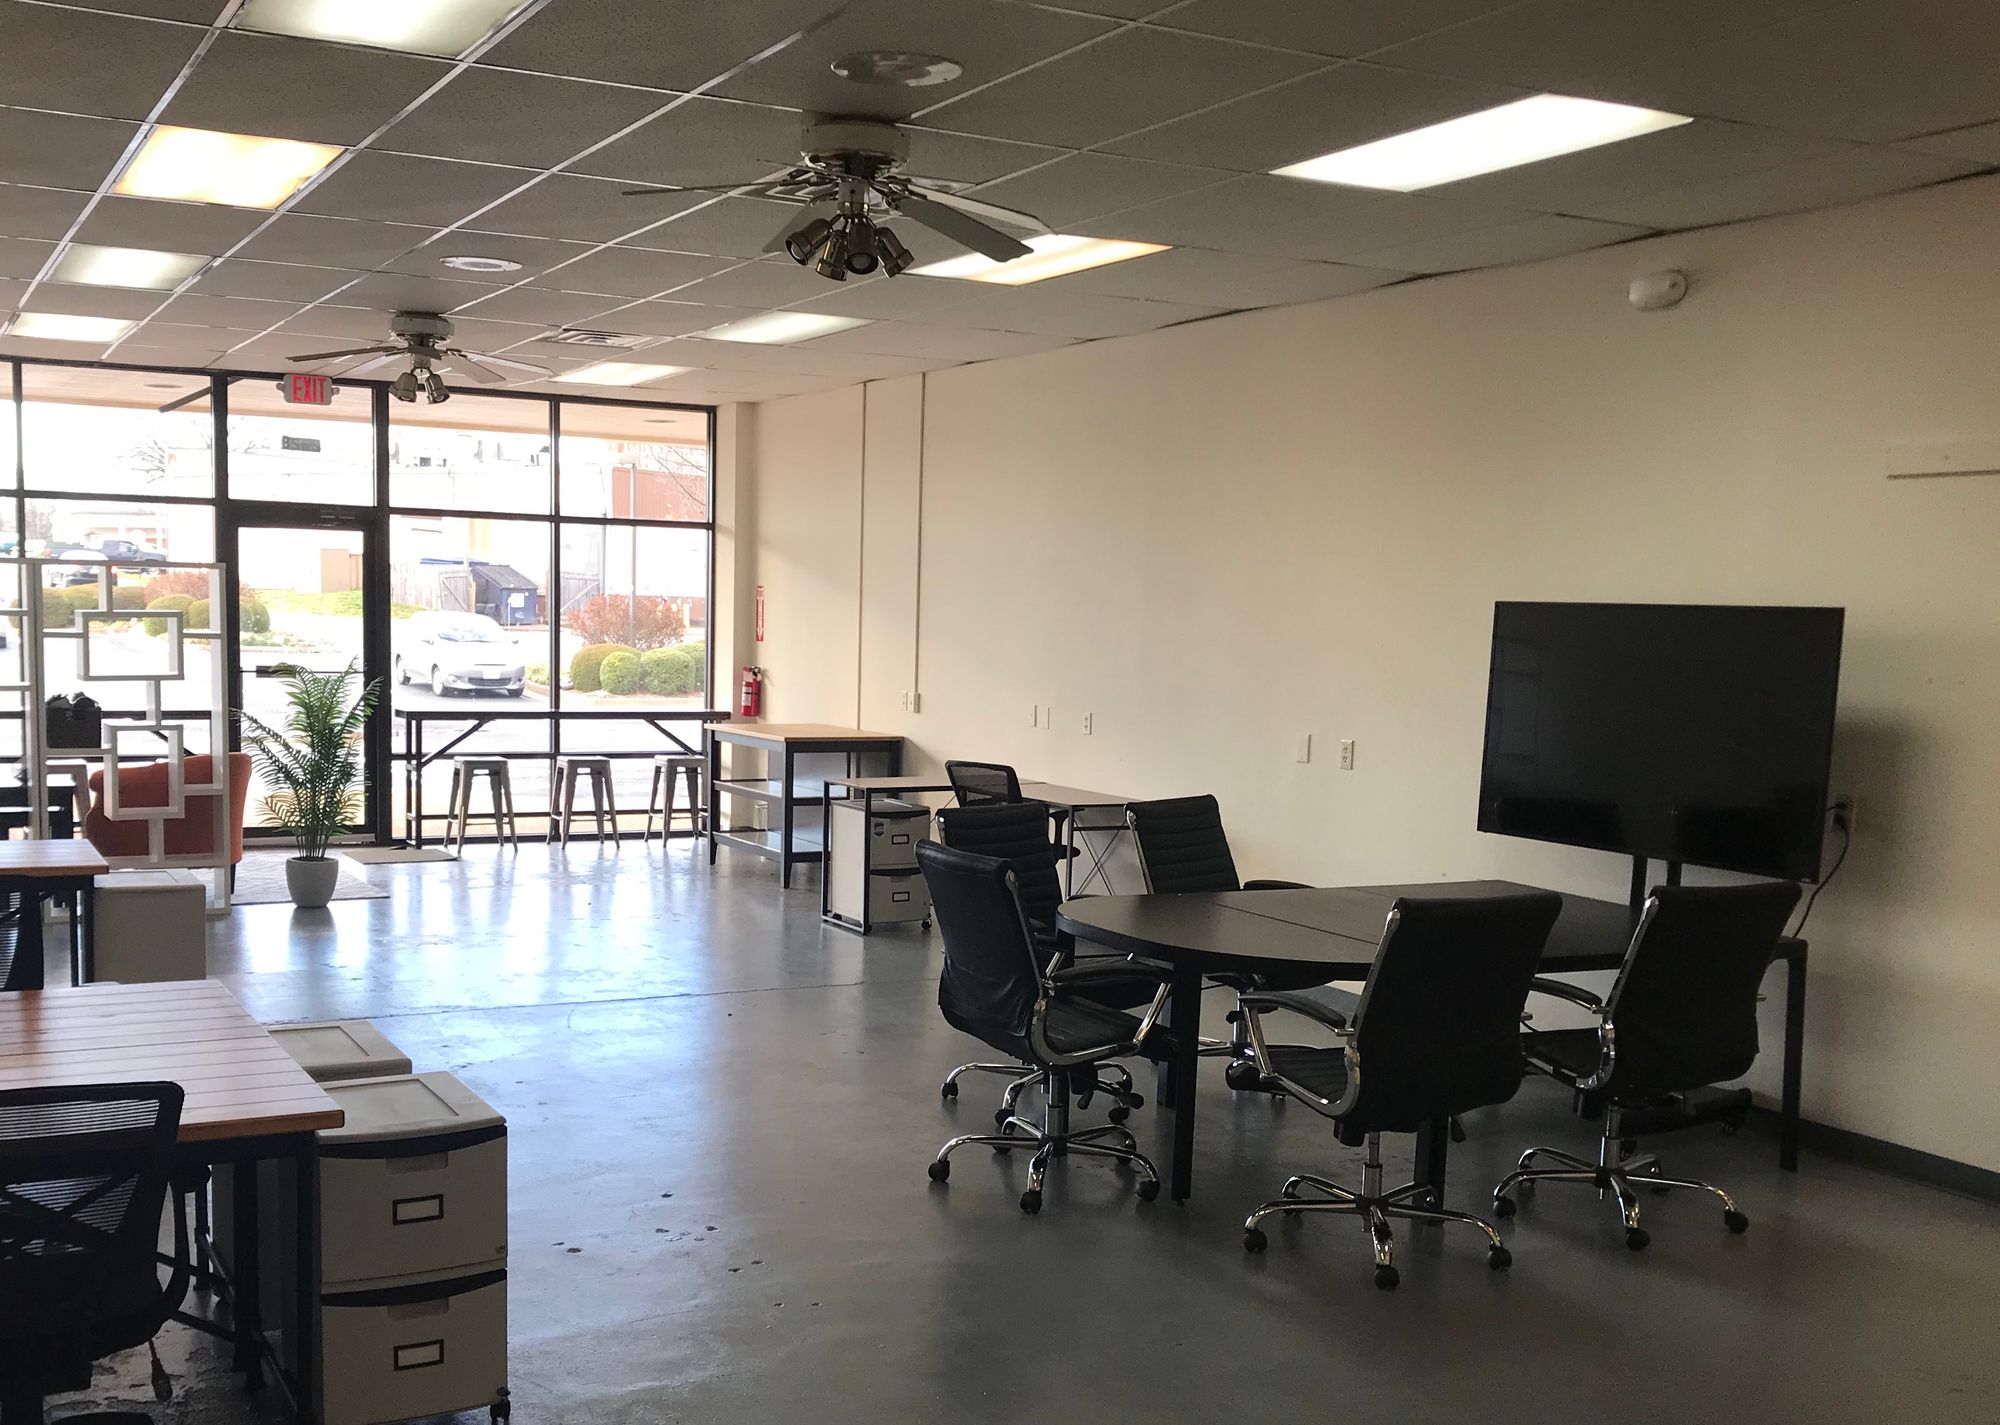
So our new idea for that larger room is to build a studio. It's clear this pandemic has a lot of people thinking more about what producing video online looks like and this also scratches a personal itch I've had ever since I had to say goodbye to the ITCC at UMW right as the incubator classroom and production studio were getting off the ground there. But DIY is more my ilk anyway and who better than to give us some solid advice on getting it off the ground than Andy Rush?
Jim blogged about our conversation we had with him on Reclaim Today at https://bavatuesdays.com/live-from-jacksonville/ and it's a long episode but if you're at all interested in this stuff I think you'll get some good advice. I know I did. I've already ordered a handful of equipment to start building this thing. One key takeaway from the conversation was that green screen paint is much easier to work with than dealing with paper or fabric. So this weekend I set about to do just that with the wall that currently houses a large but cheap whiteboard. So down it went along with removing most all of the outlets and telephone jacks.
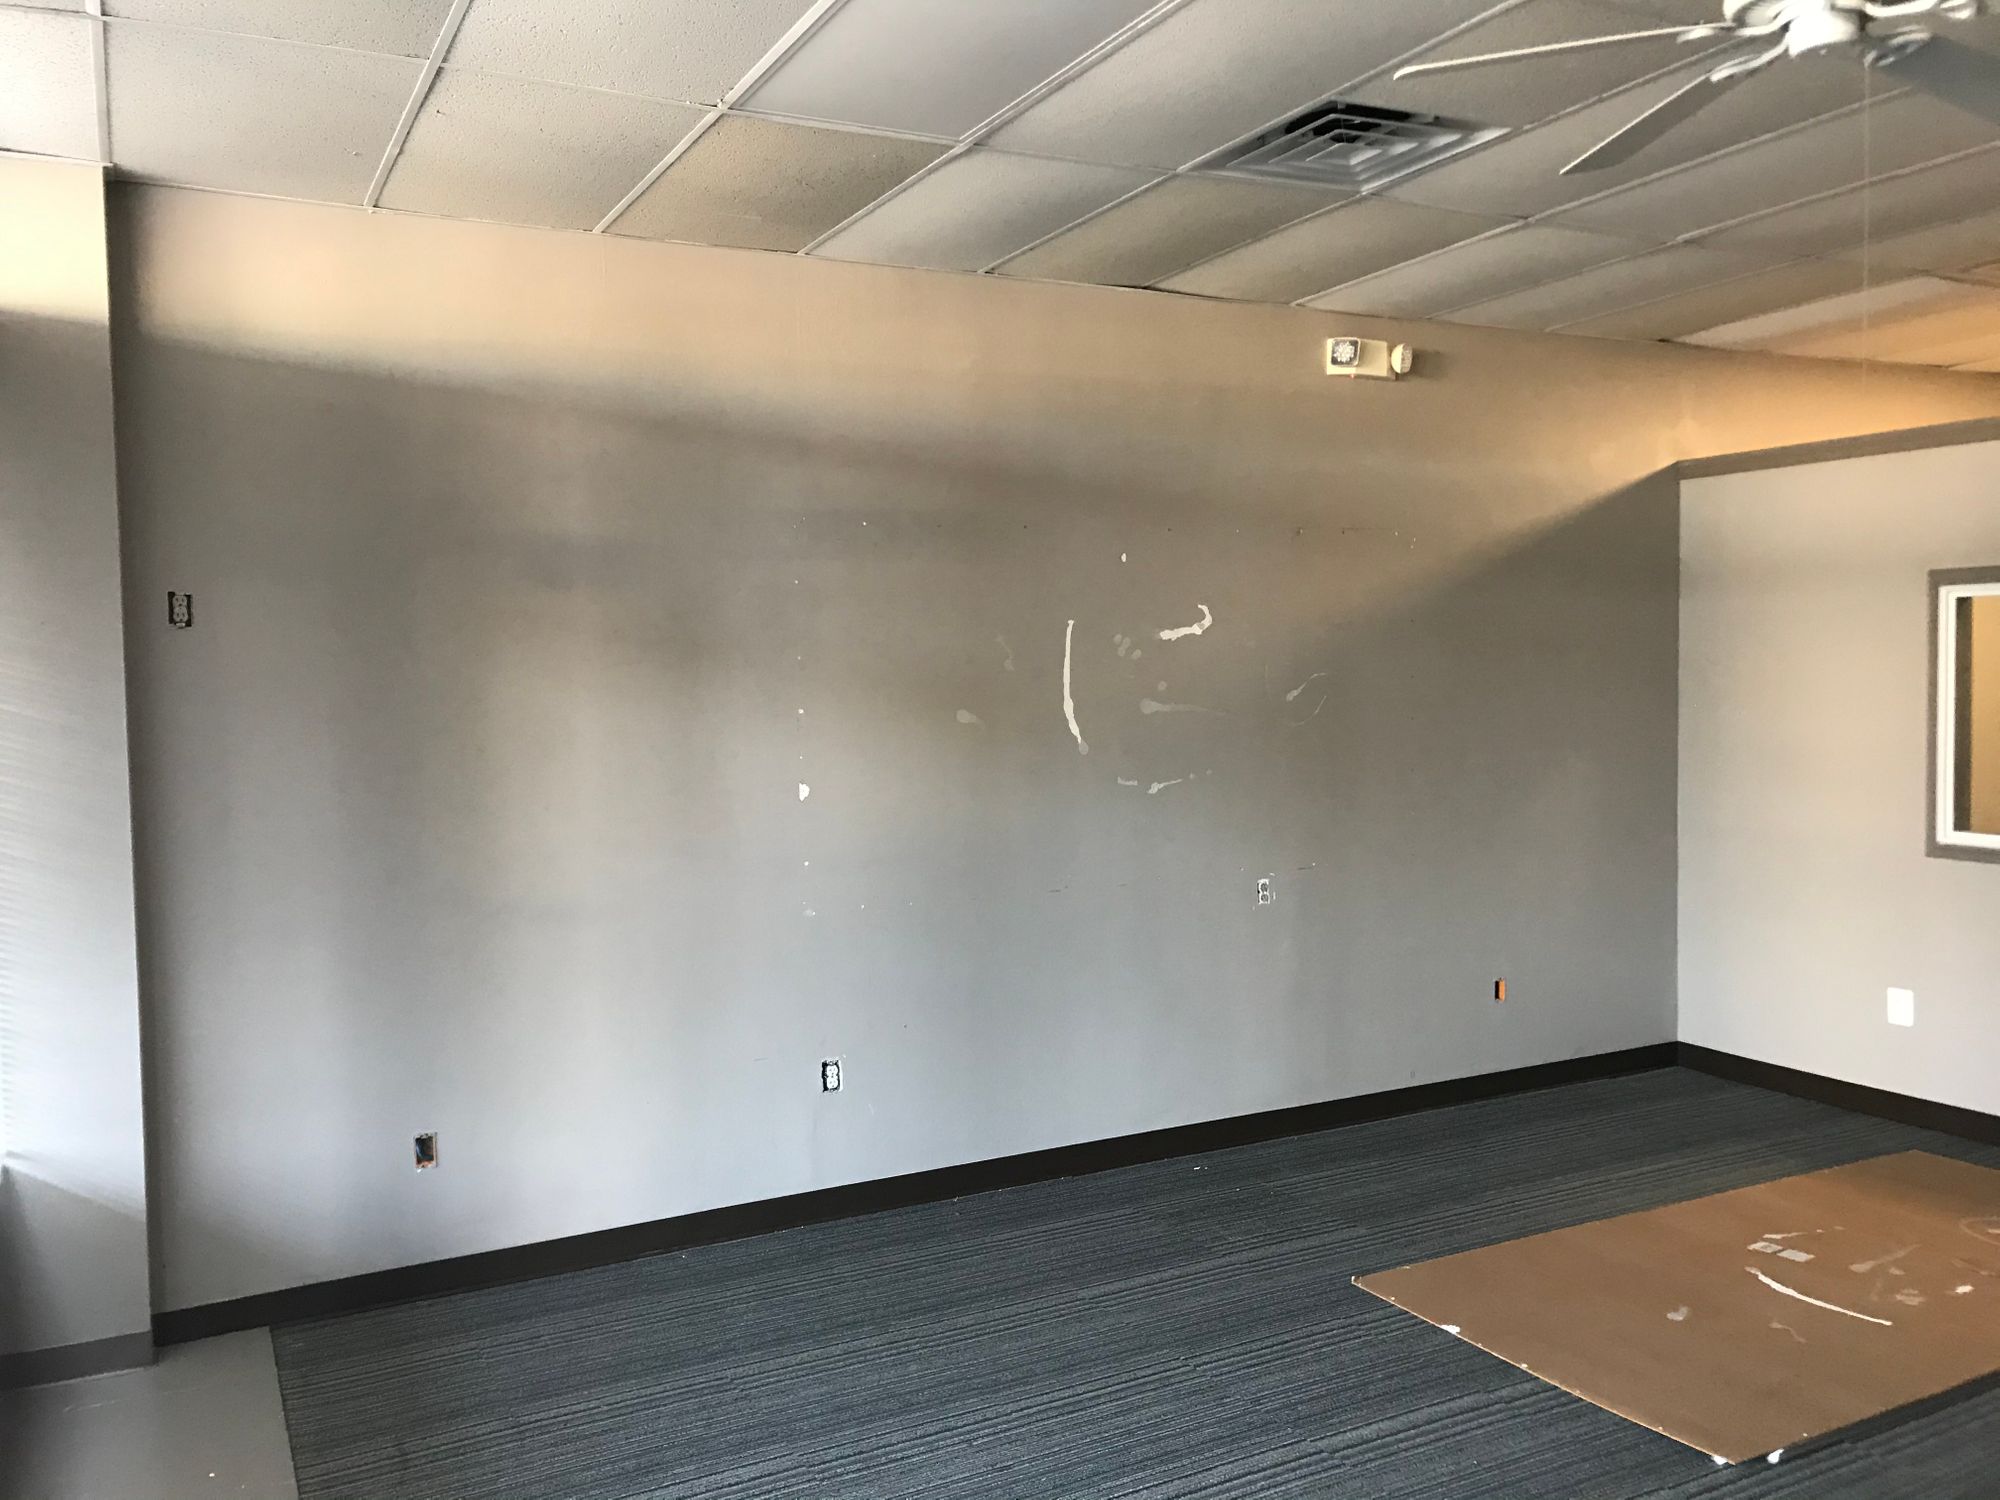
I kept the outlet in the far left that's fairly high up because on one hand I doubt we'll need to extend recording that far and also because there are no outlets to the left wall of that as it is the glass front of the building and I'll want a way to get power to lighting from that side.
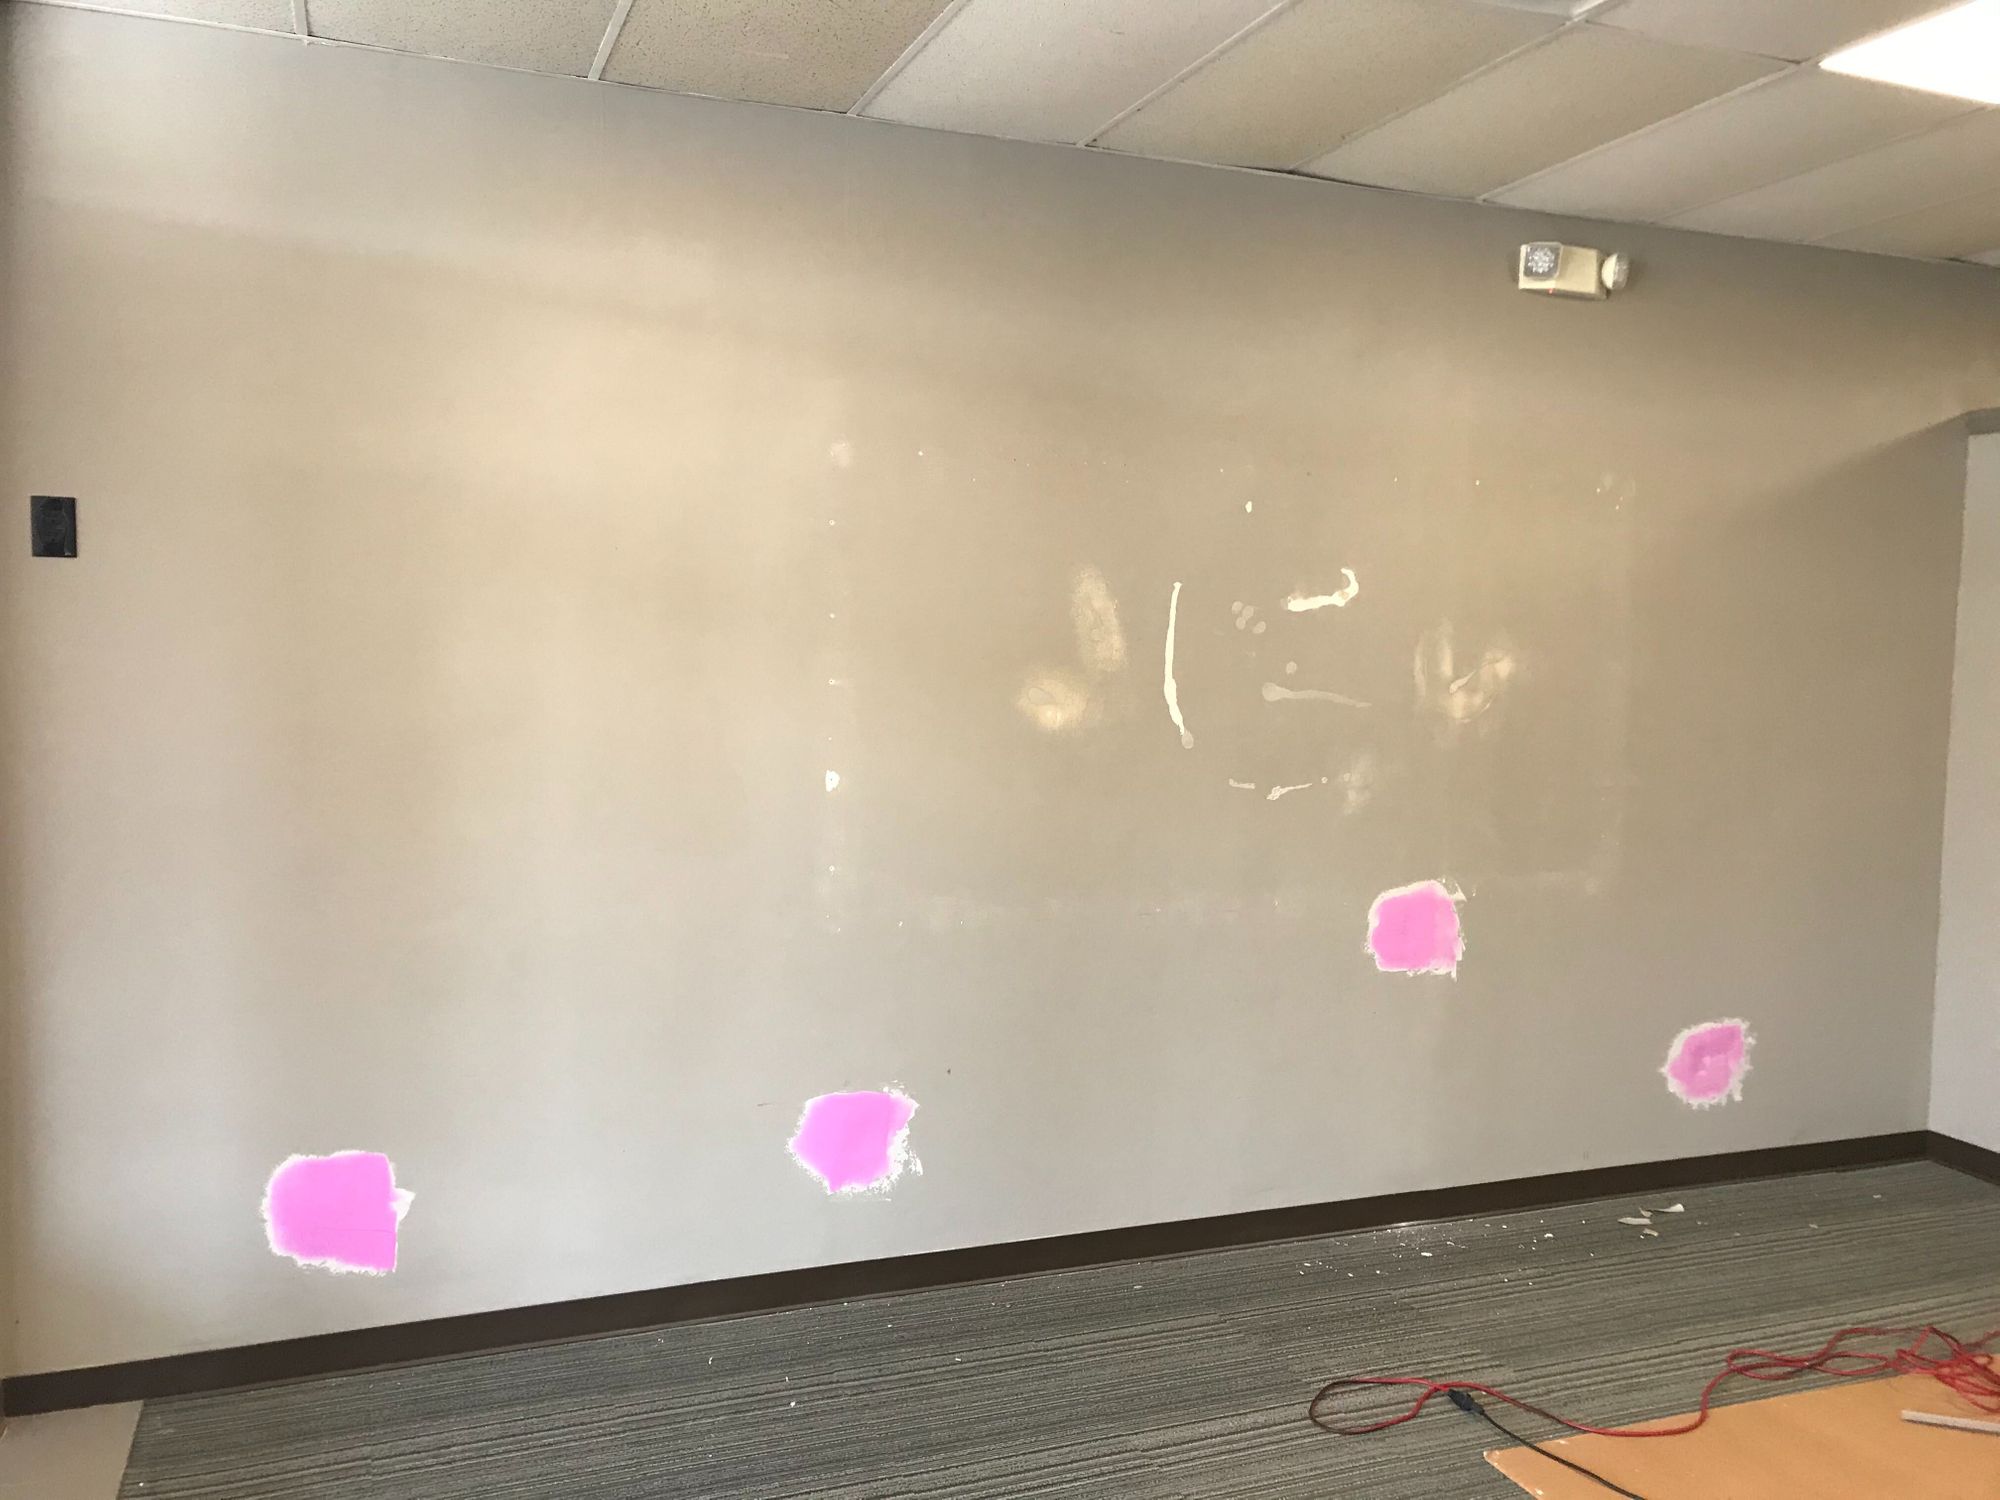
I replaced the outlet with a black one because the old one had this gray paint on it and I figured black would look cool. Here I have used those wireform patches you can buy to cover all of the various outlet and telephone boxes (I put wire nuts over all wires to prevent any fires) and started to mud over all the various holds and spots.
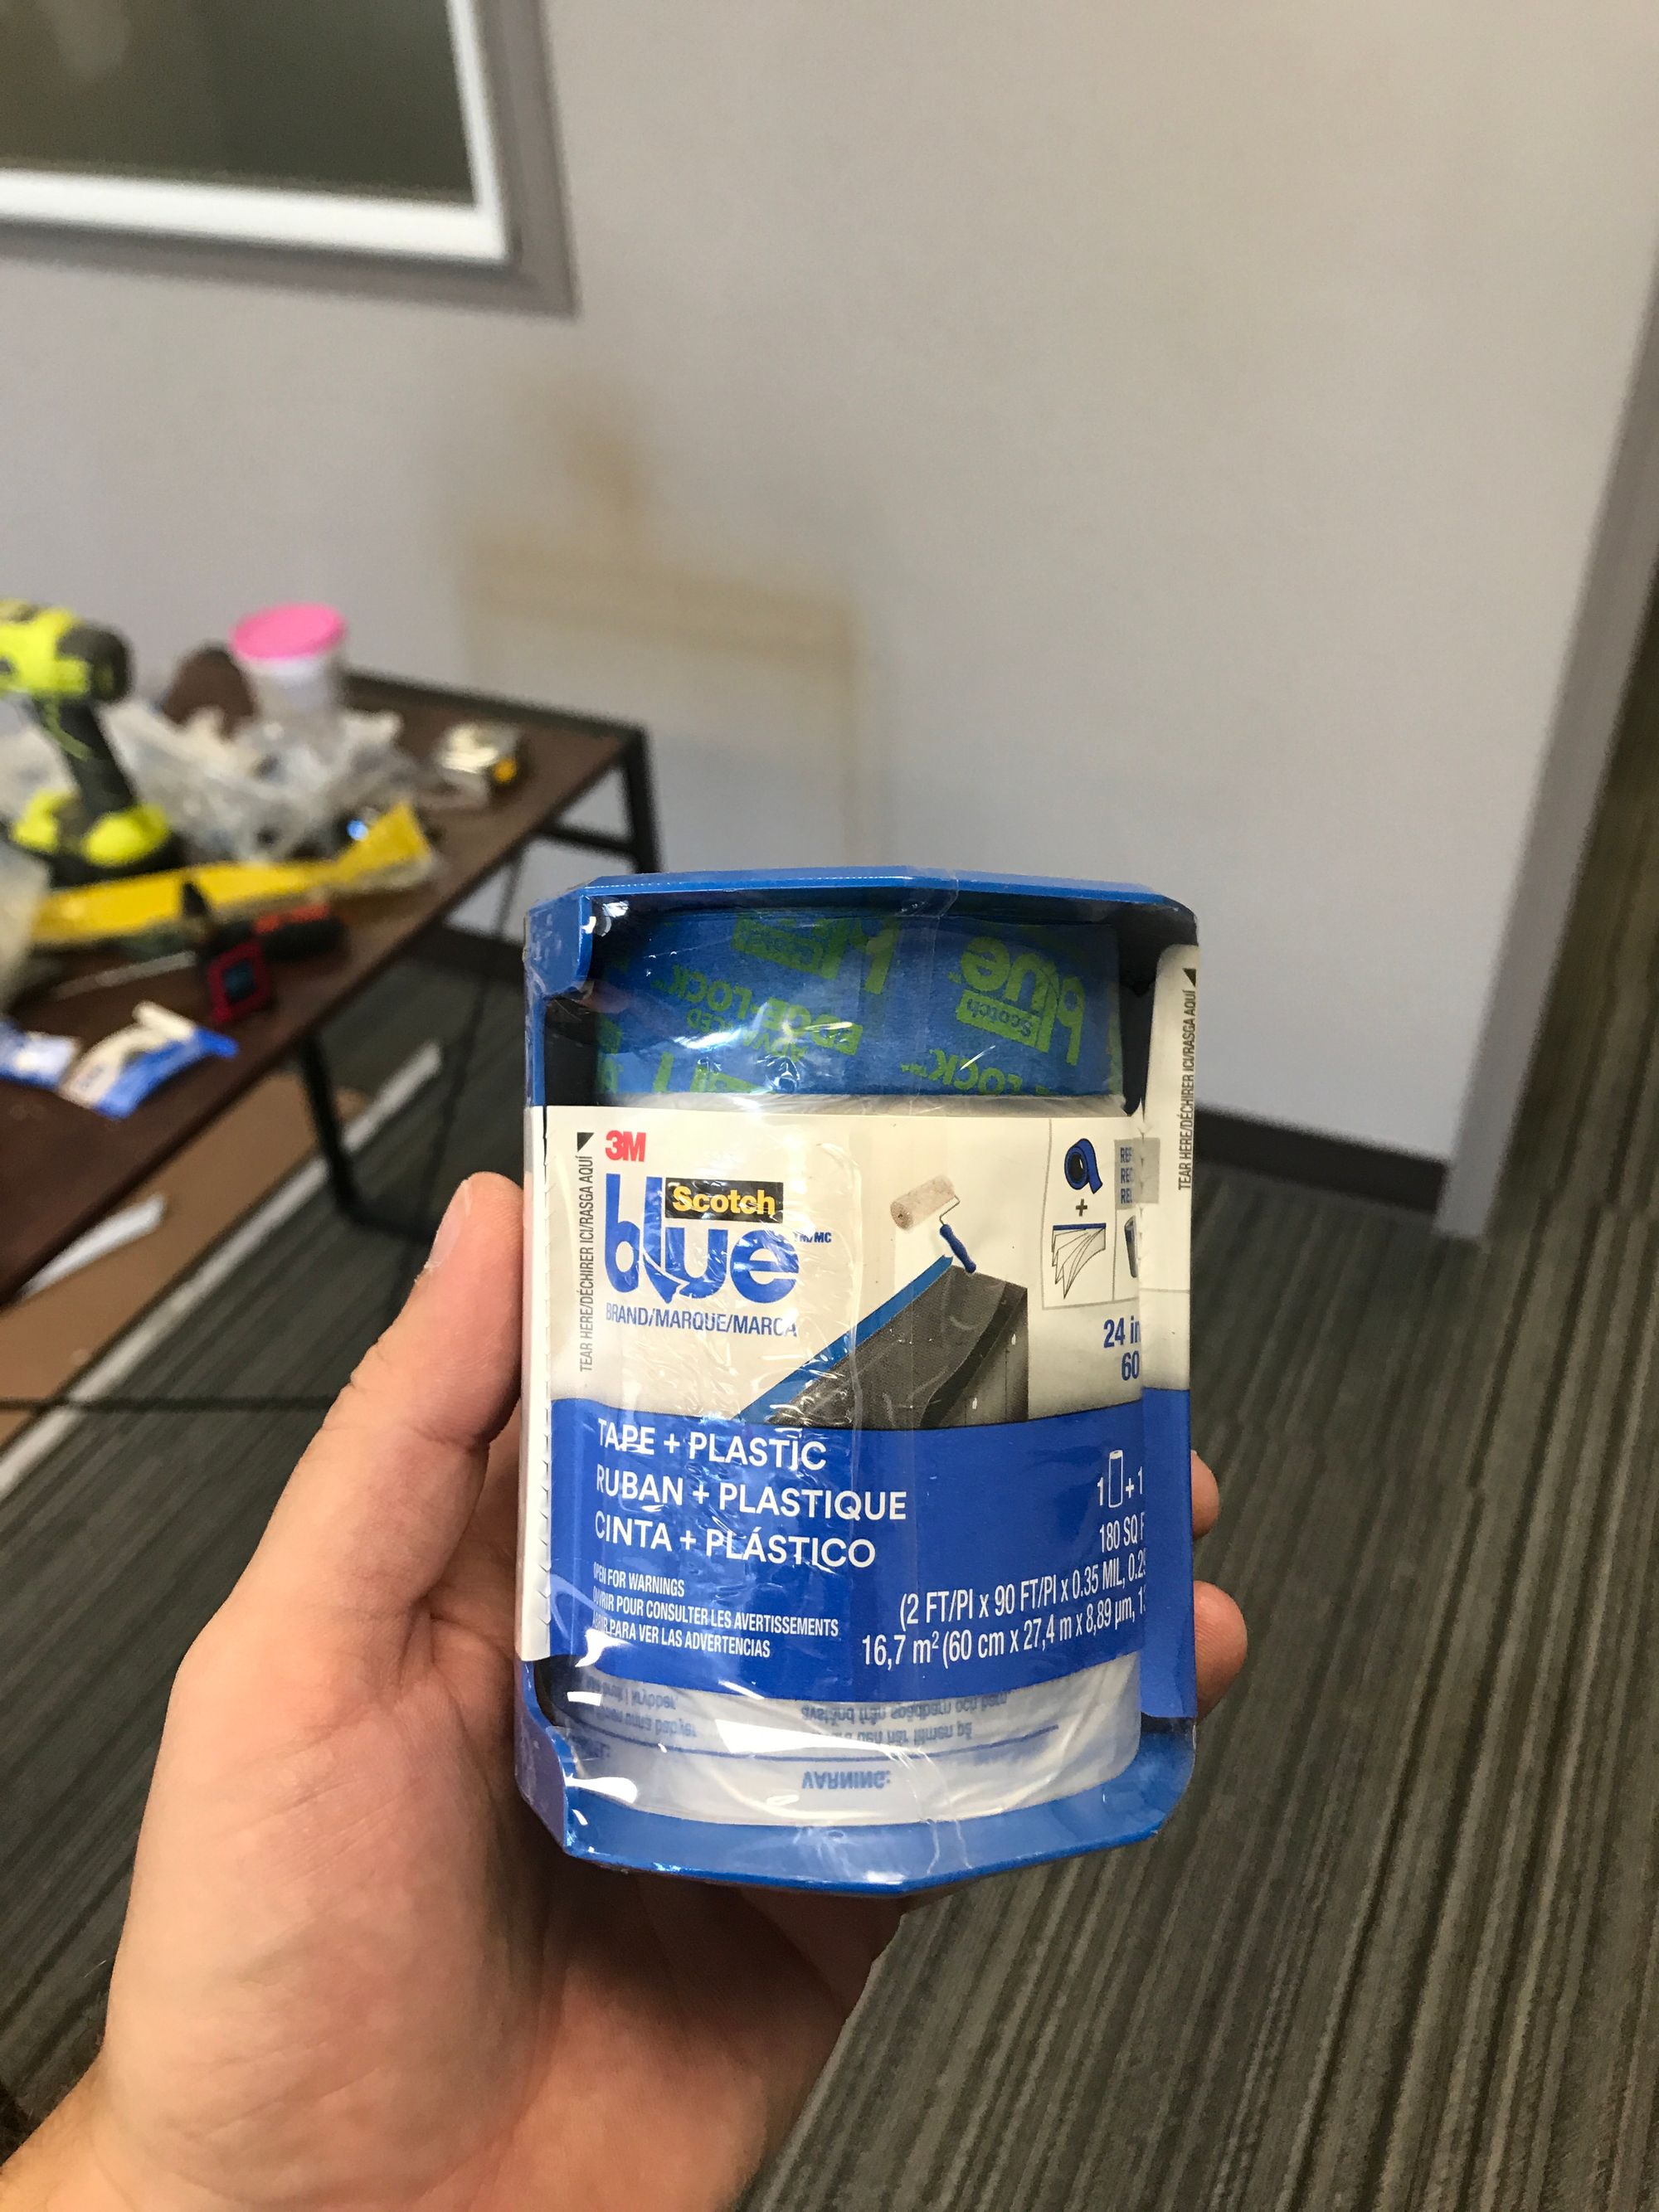
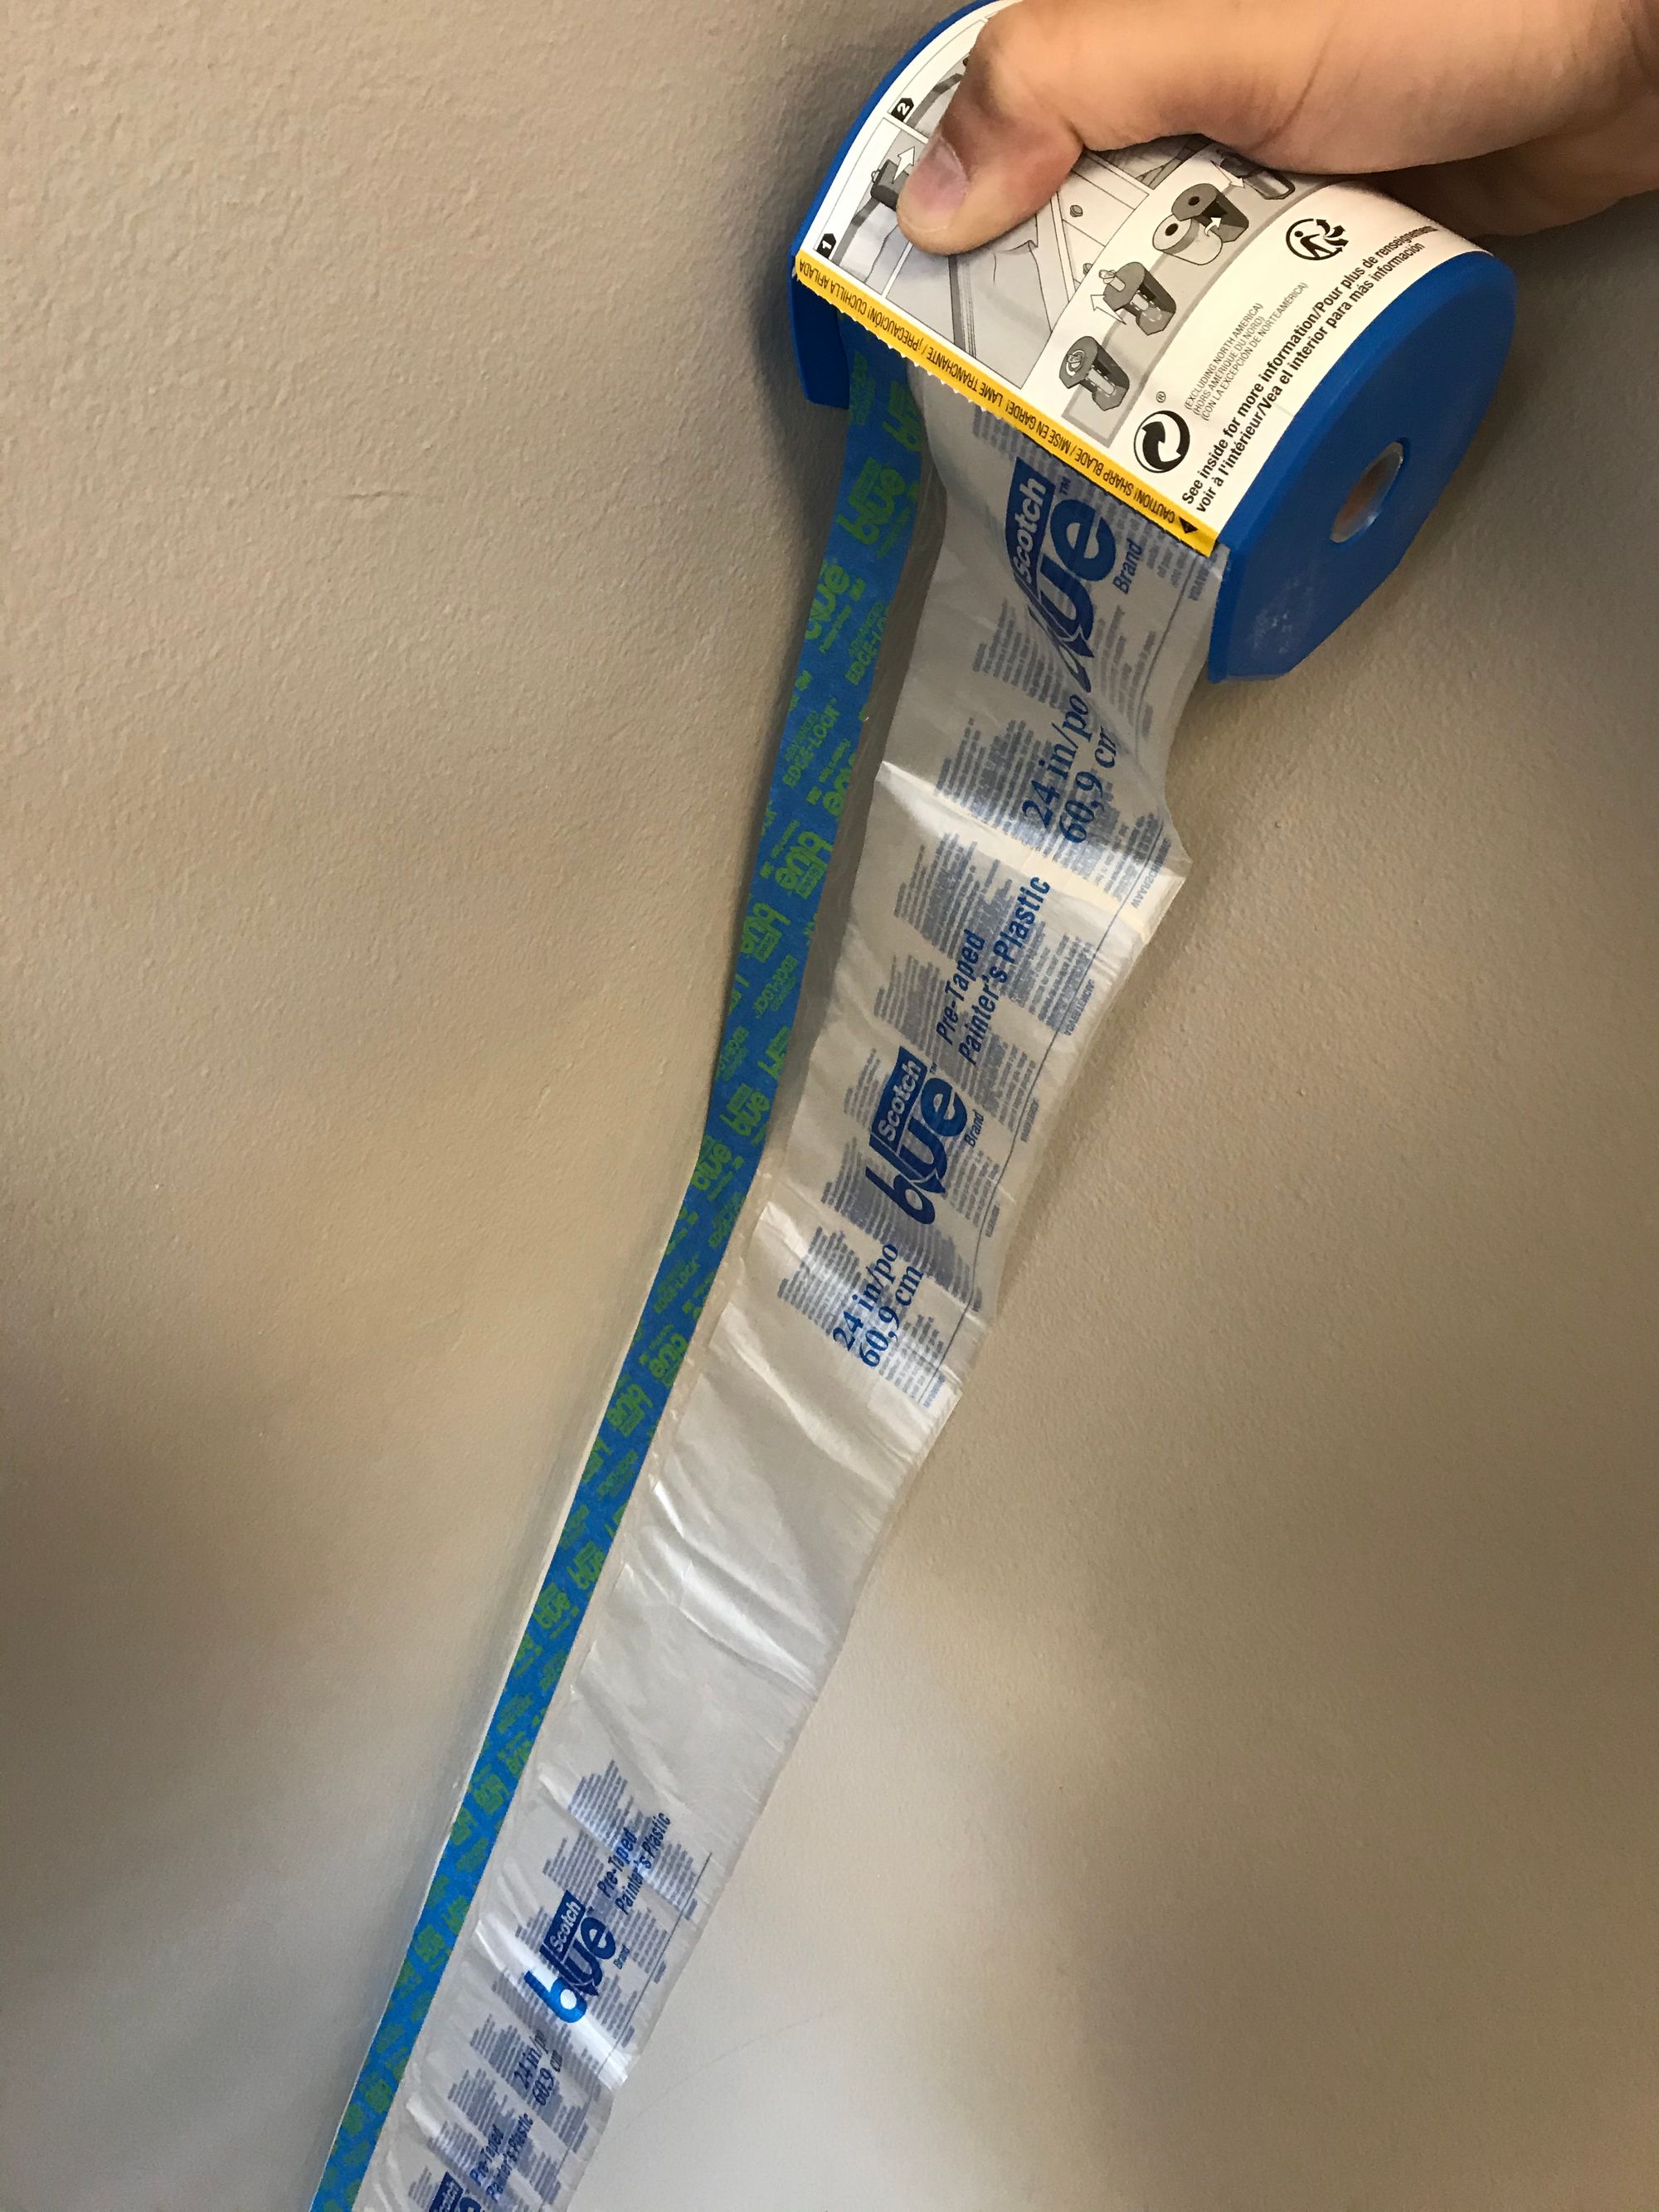
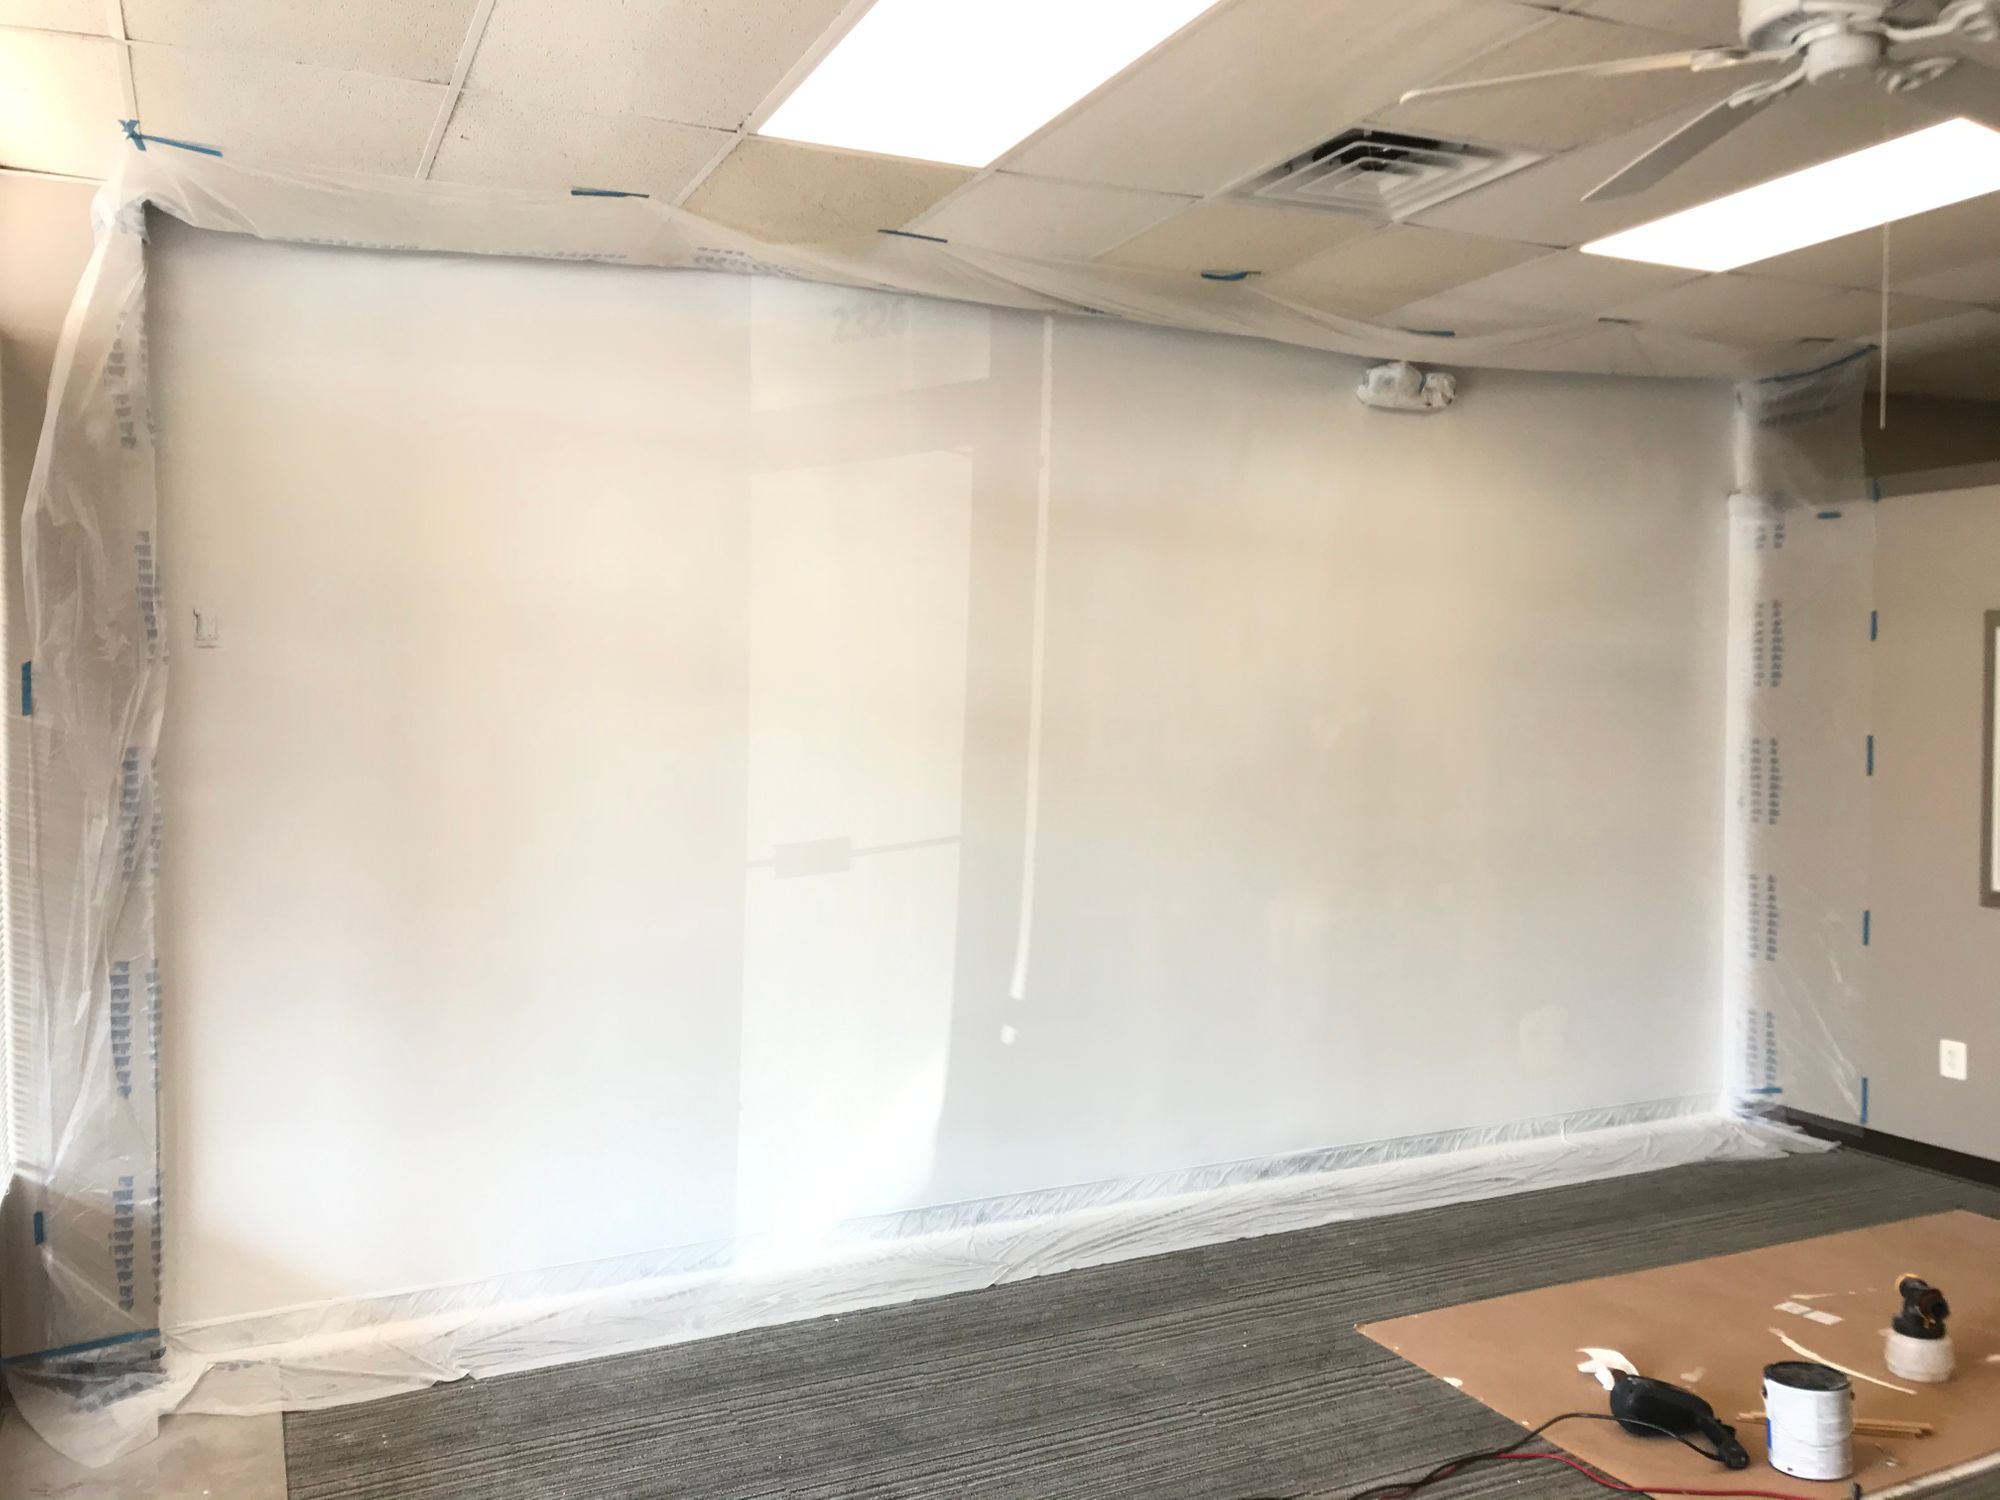
I also discovered this amazing stuff that is painters tape combined with plastic. It made it a breeze to tape off areas and also ensure there was no chance of overspray because I have a paint sprayer I planned to use for this job (but even if you were just rolling it still makes the process of blocking off areas super easy.
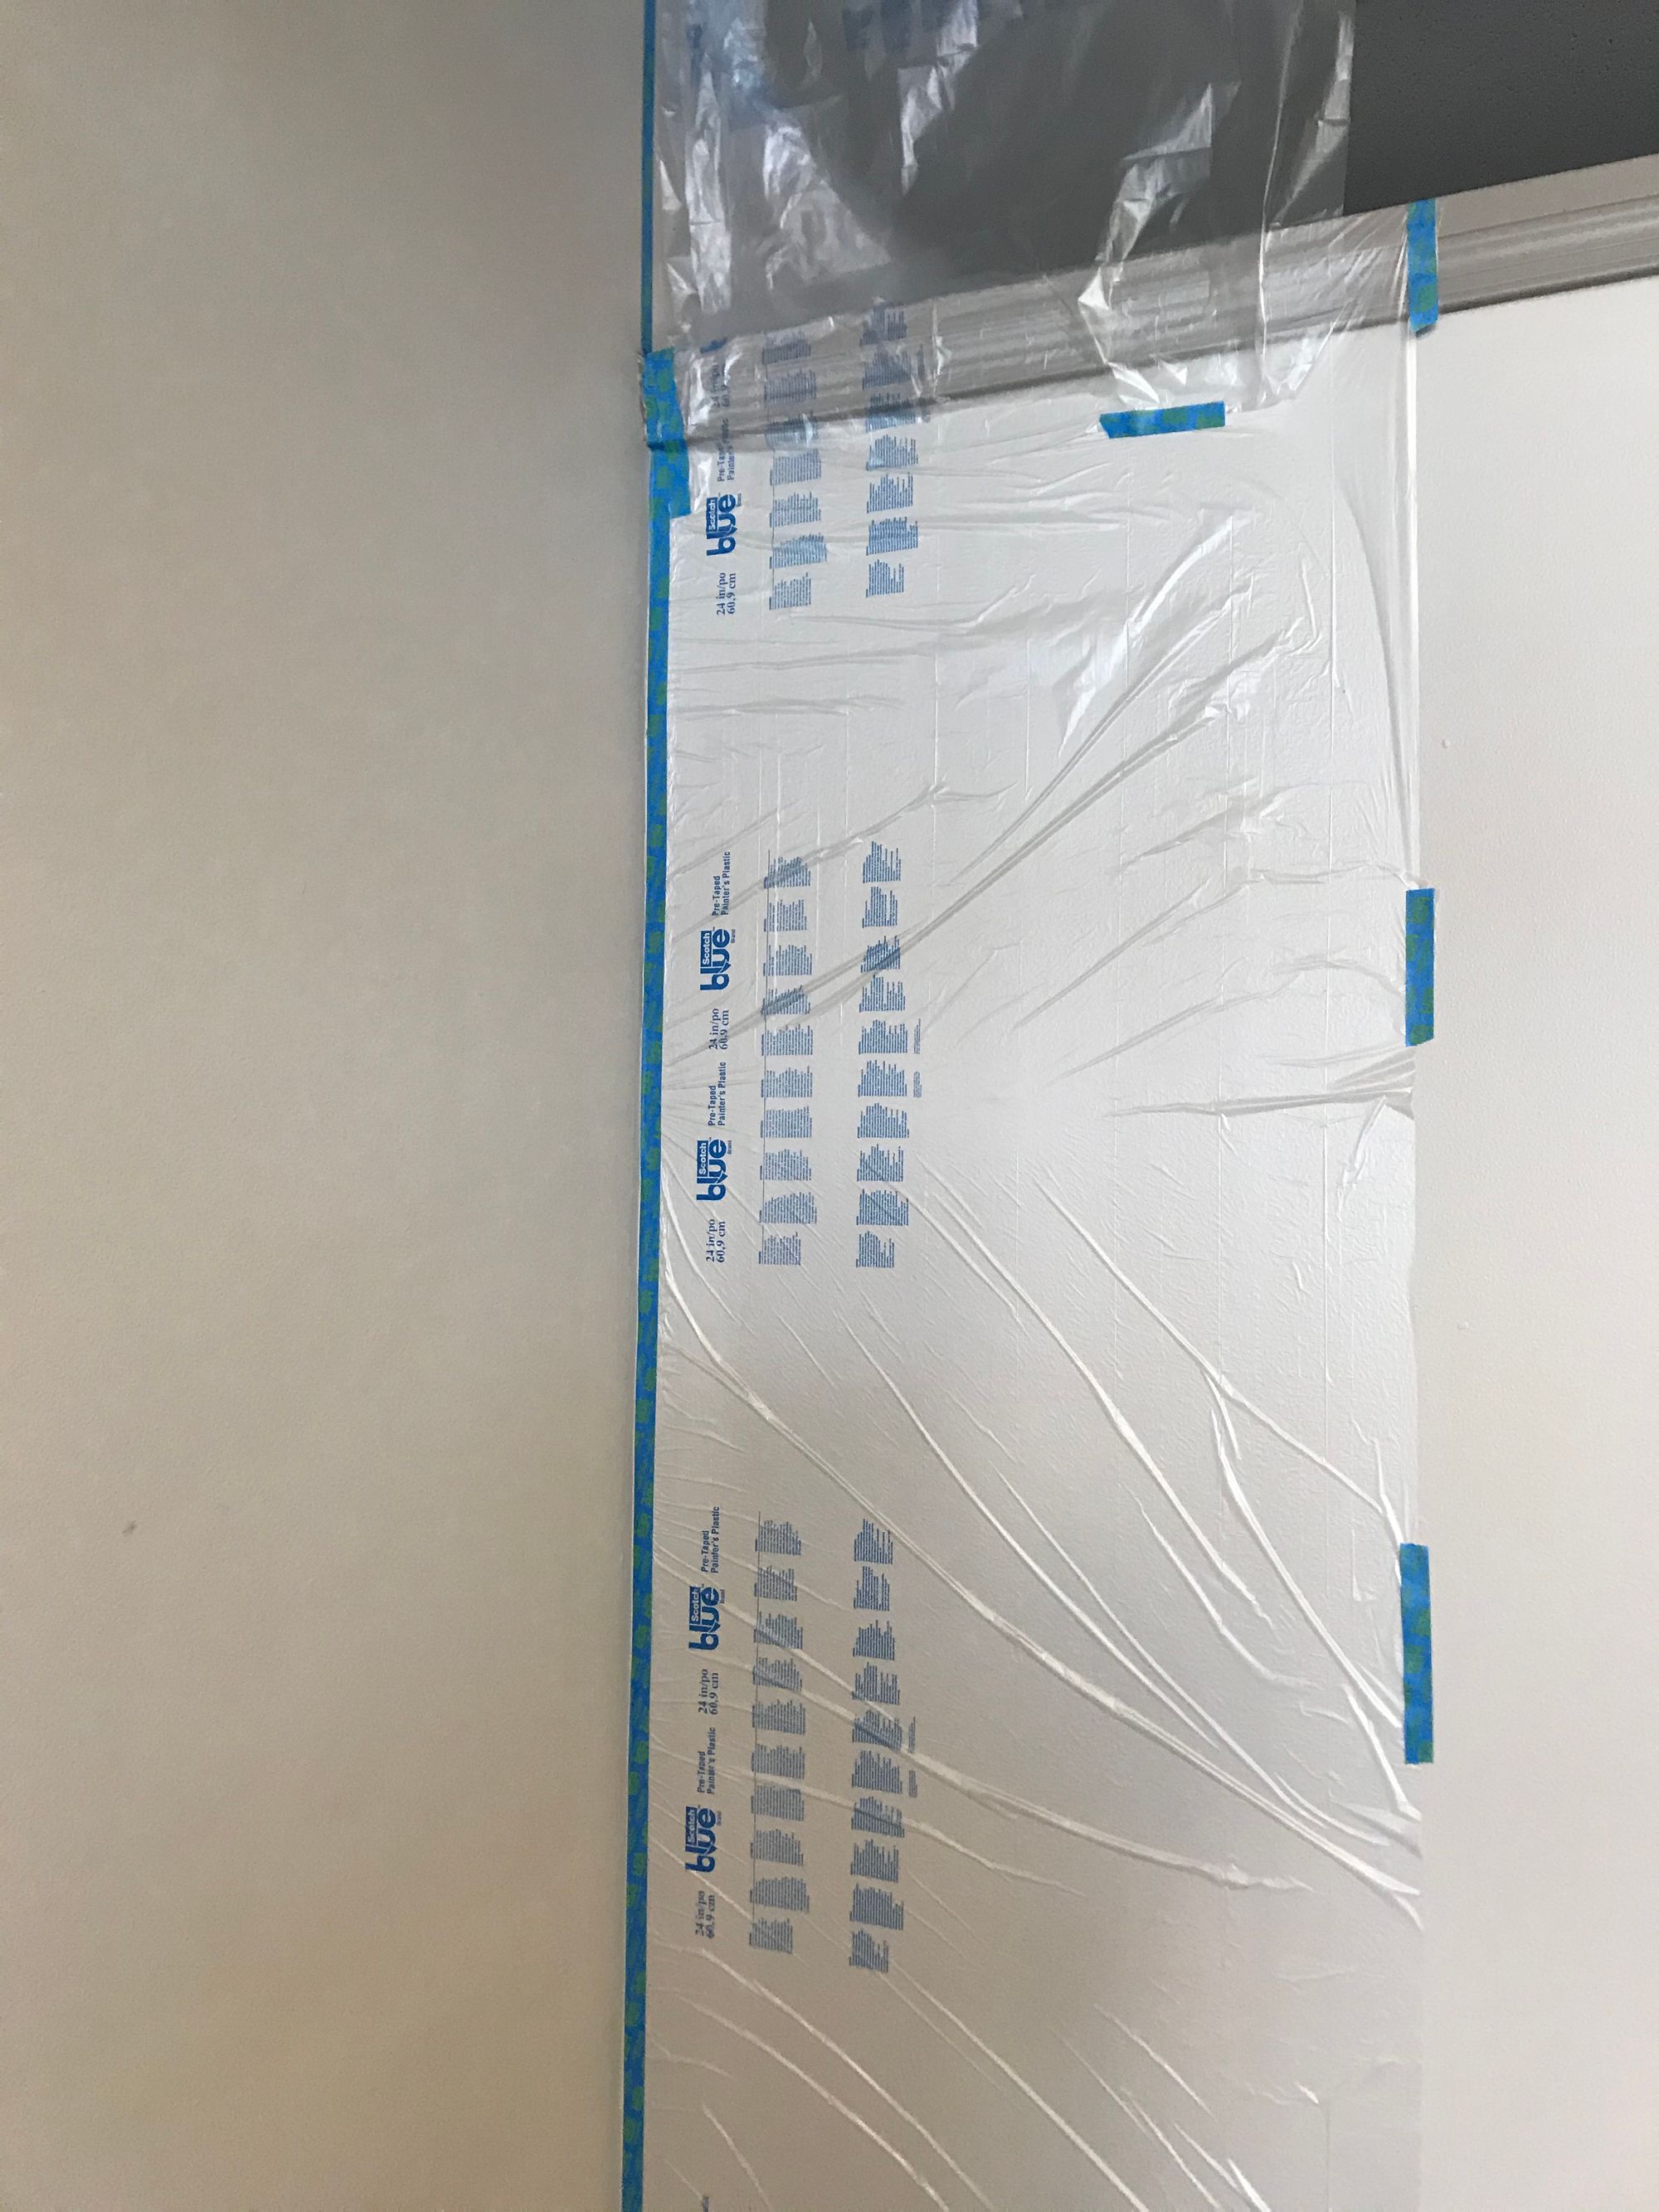
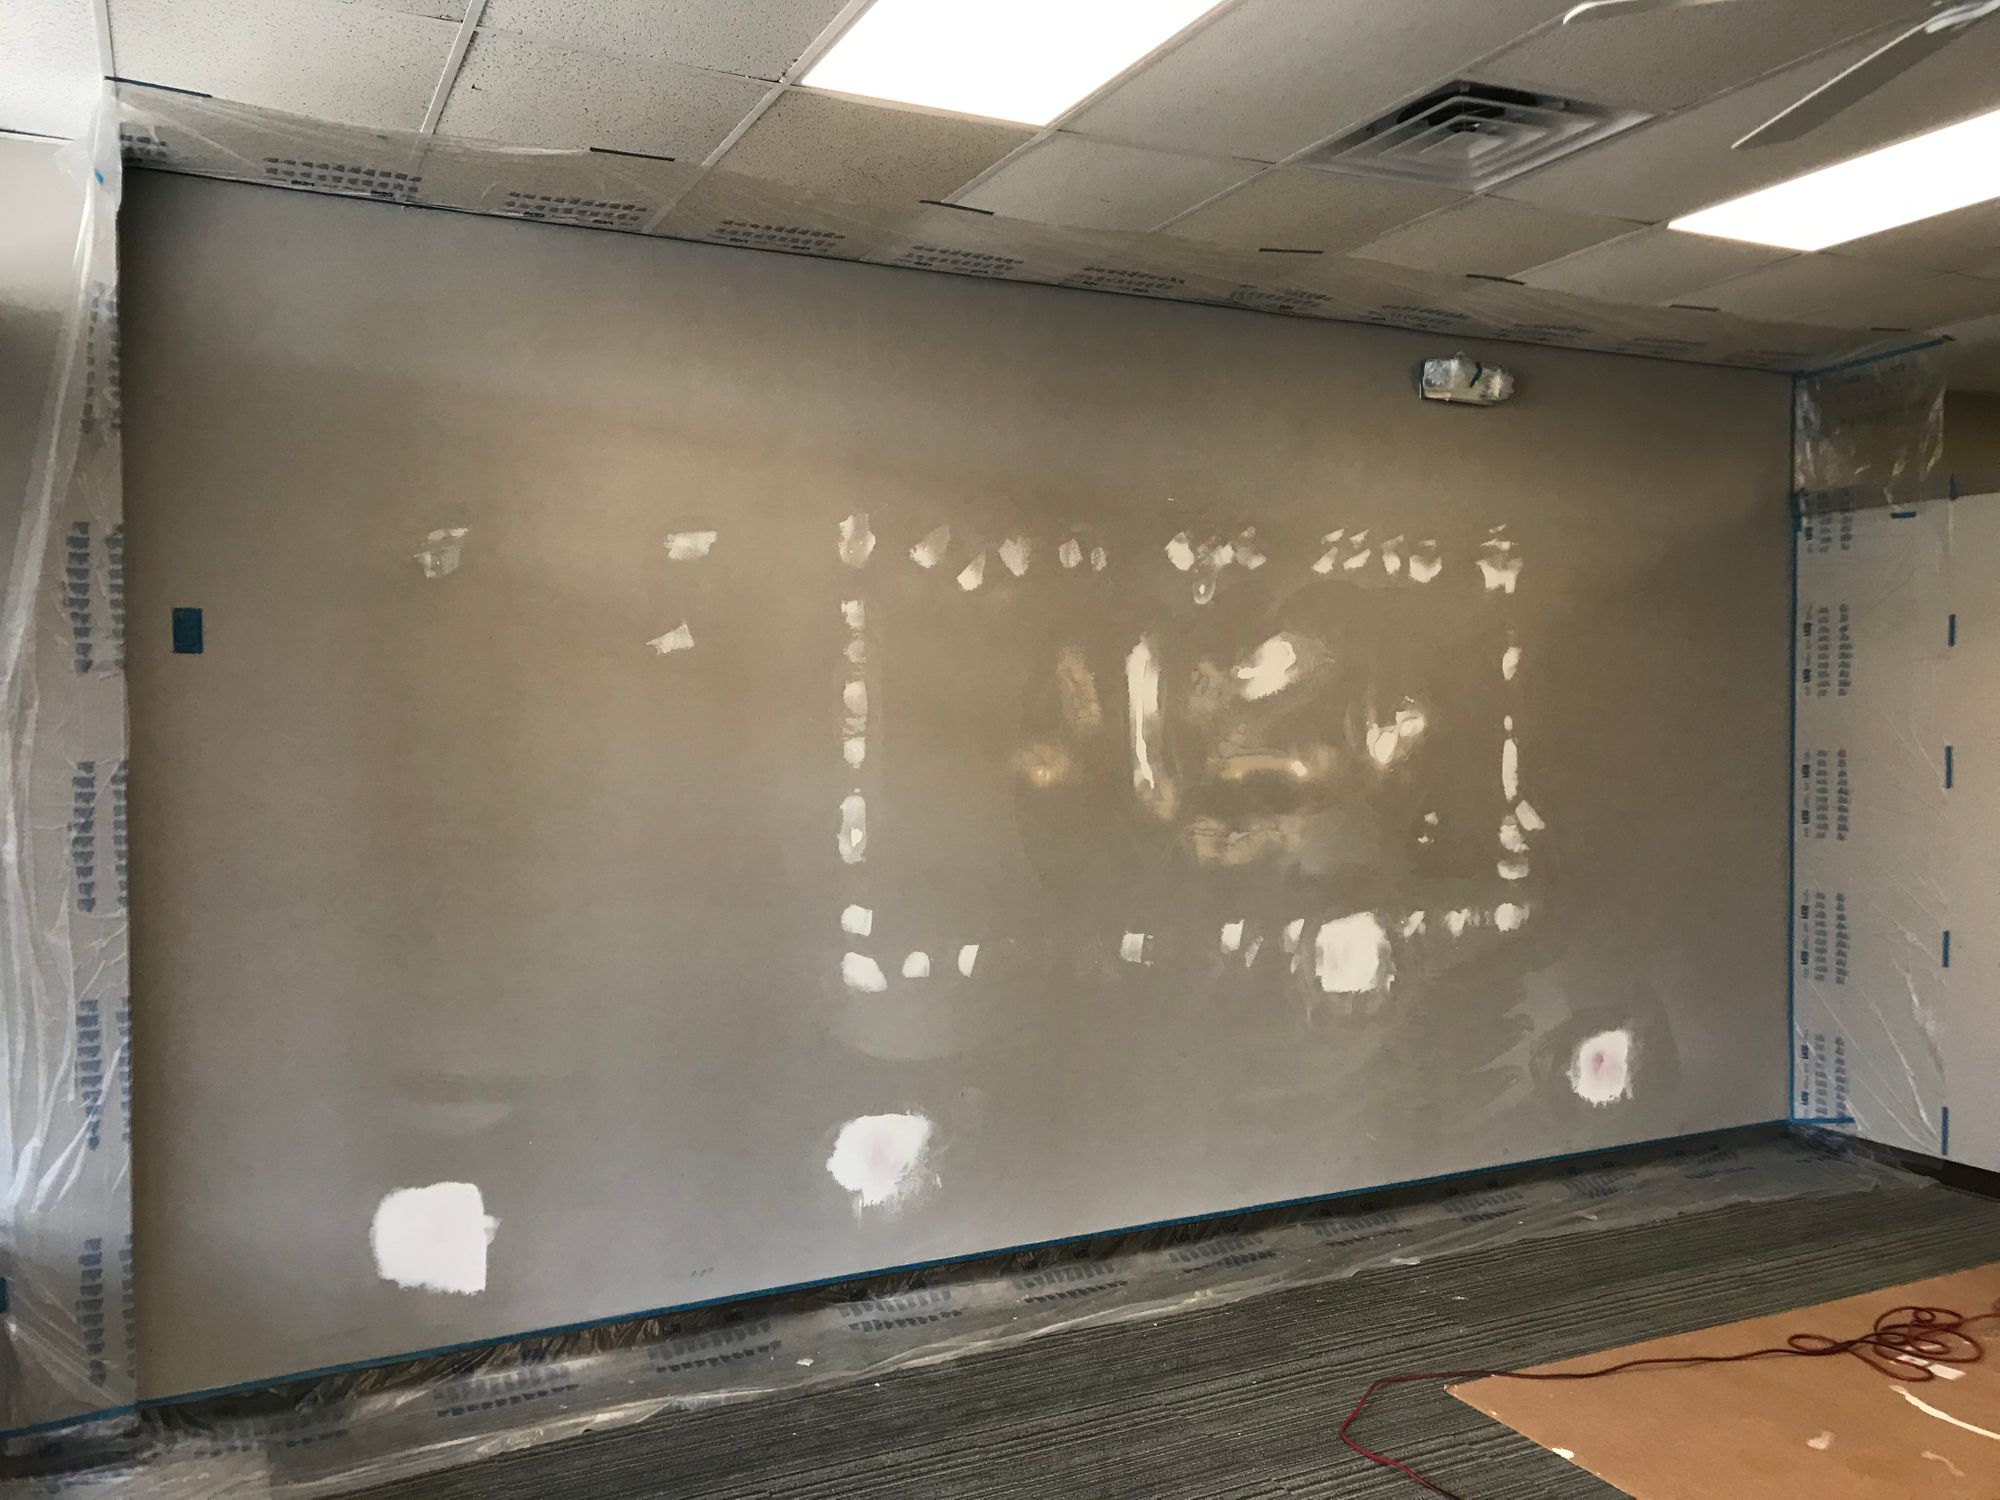
With all the various holes covered and sanded down I taped off all the corners. If this looks like overkill it's because I bought a paint sprayer several months ago for another project and planned to use it for this job to make quicker work of painting it. I probably could have gotten away with no primer given the wall was a fairly light gray, but primer is like $17/gallon and if you're going to tape off the space and use a paint sprayer why skip it? And after seeing how it looked I'm really glad I did.
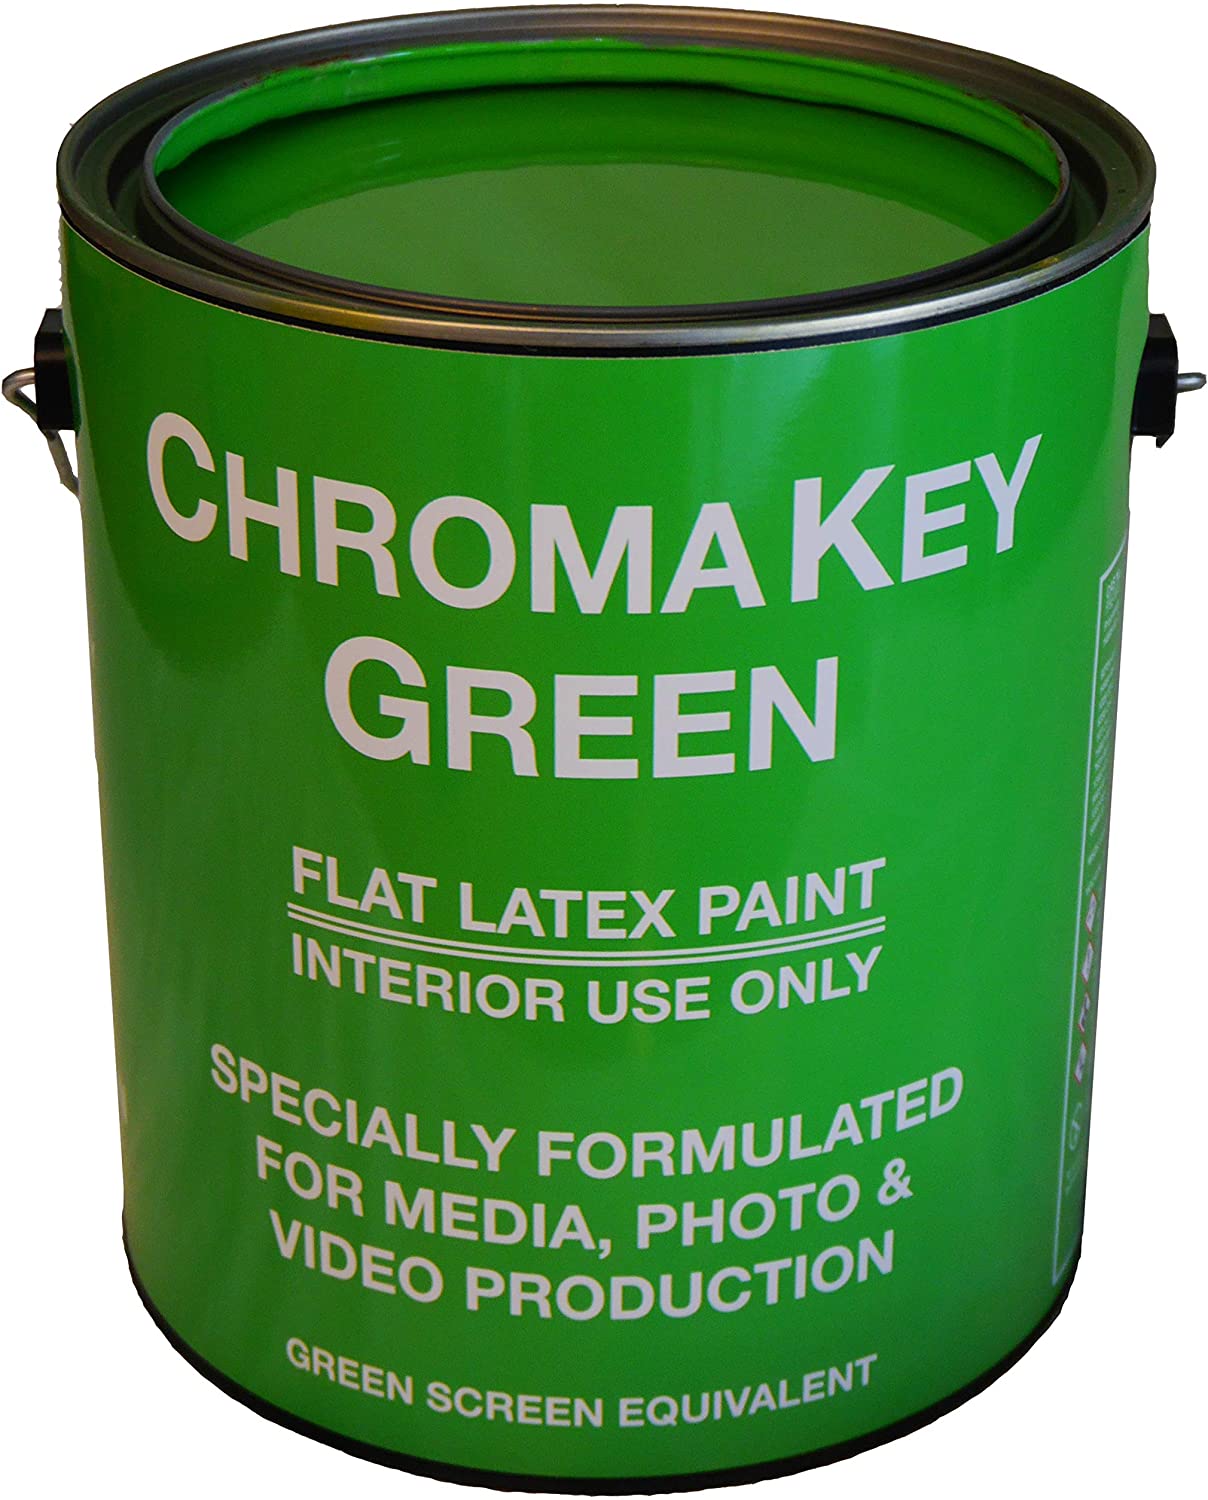
Now the green screen paint I bought is called "ChromaKey Green Paint" and the can doesn't look all that special but you can see from this marketing image how a painted wall compares to dealing with a fabric screen.
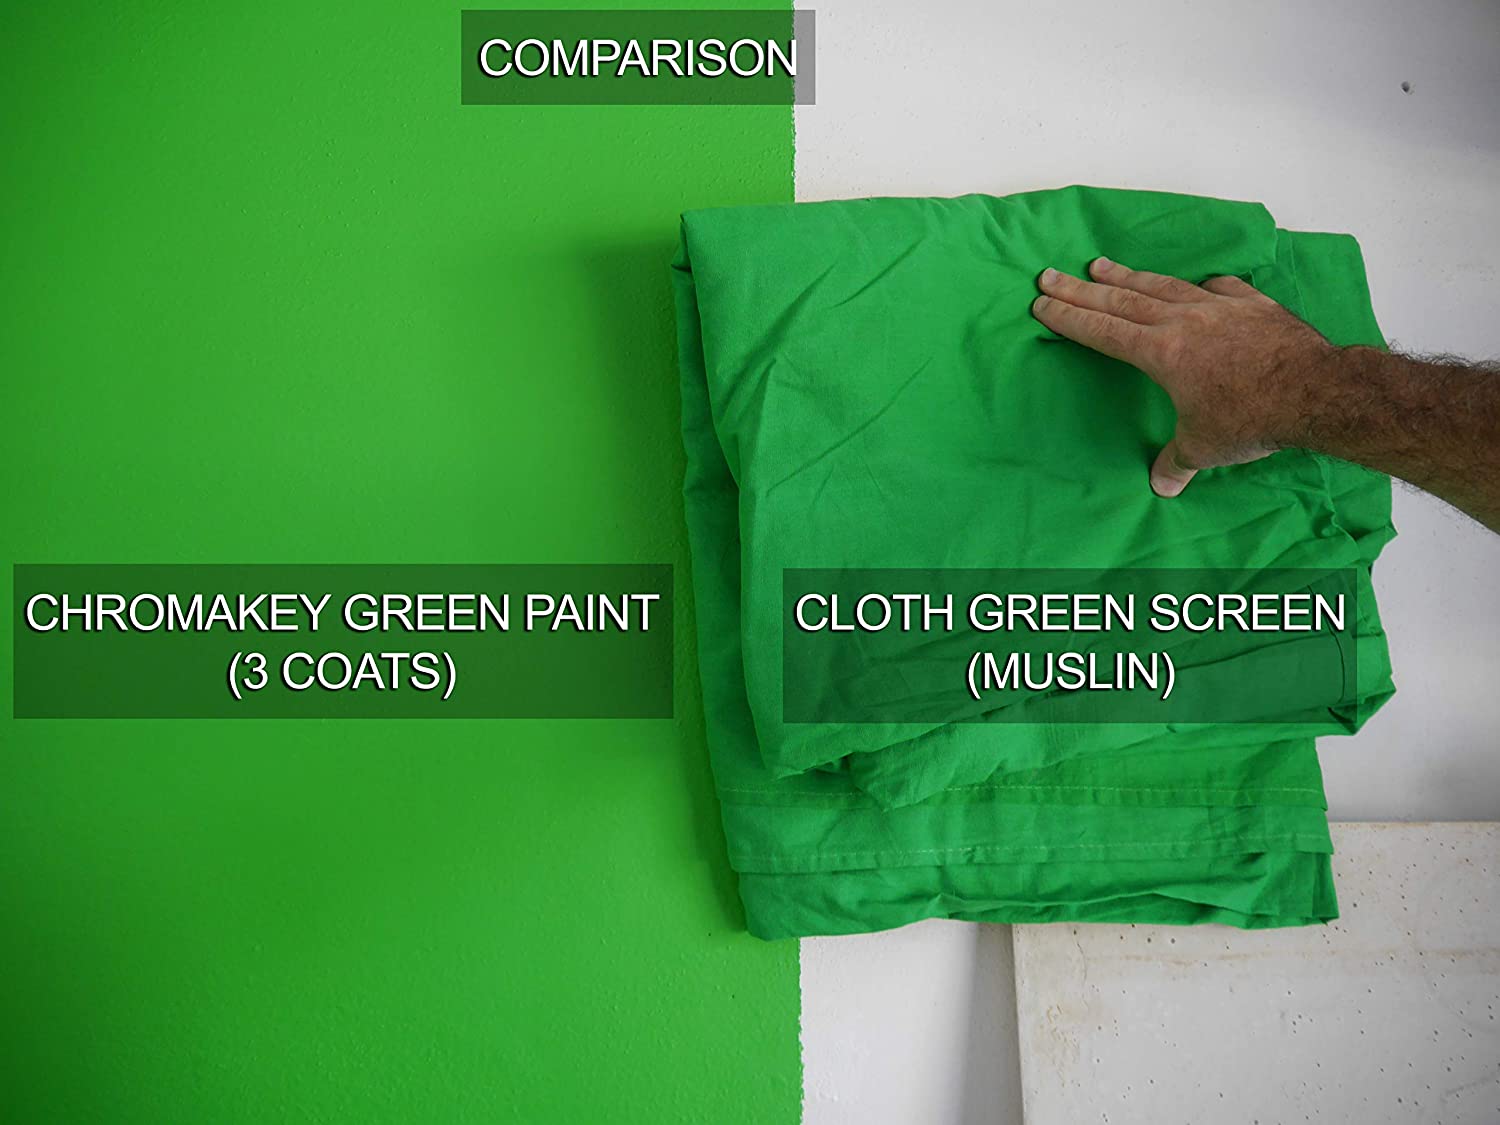
So after giving the prime coats some time to dry I went to town with several coats of the green paint. I ended up doing 2 coats with a 4 hour wait between as recommended.
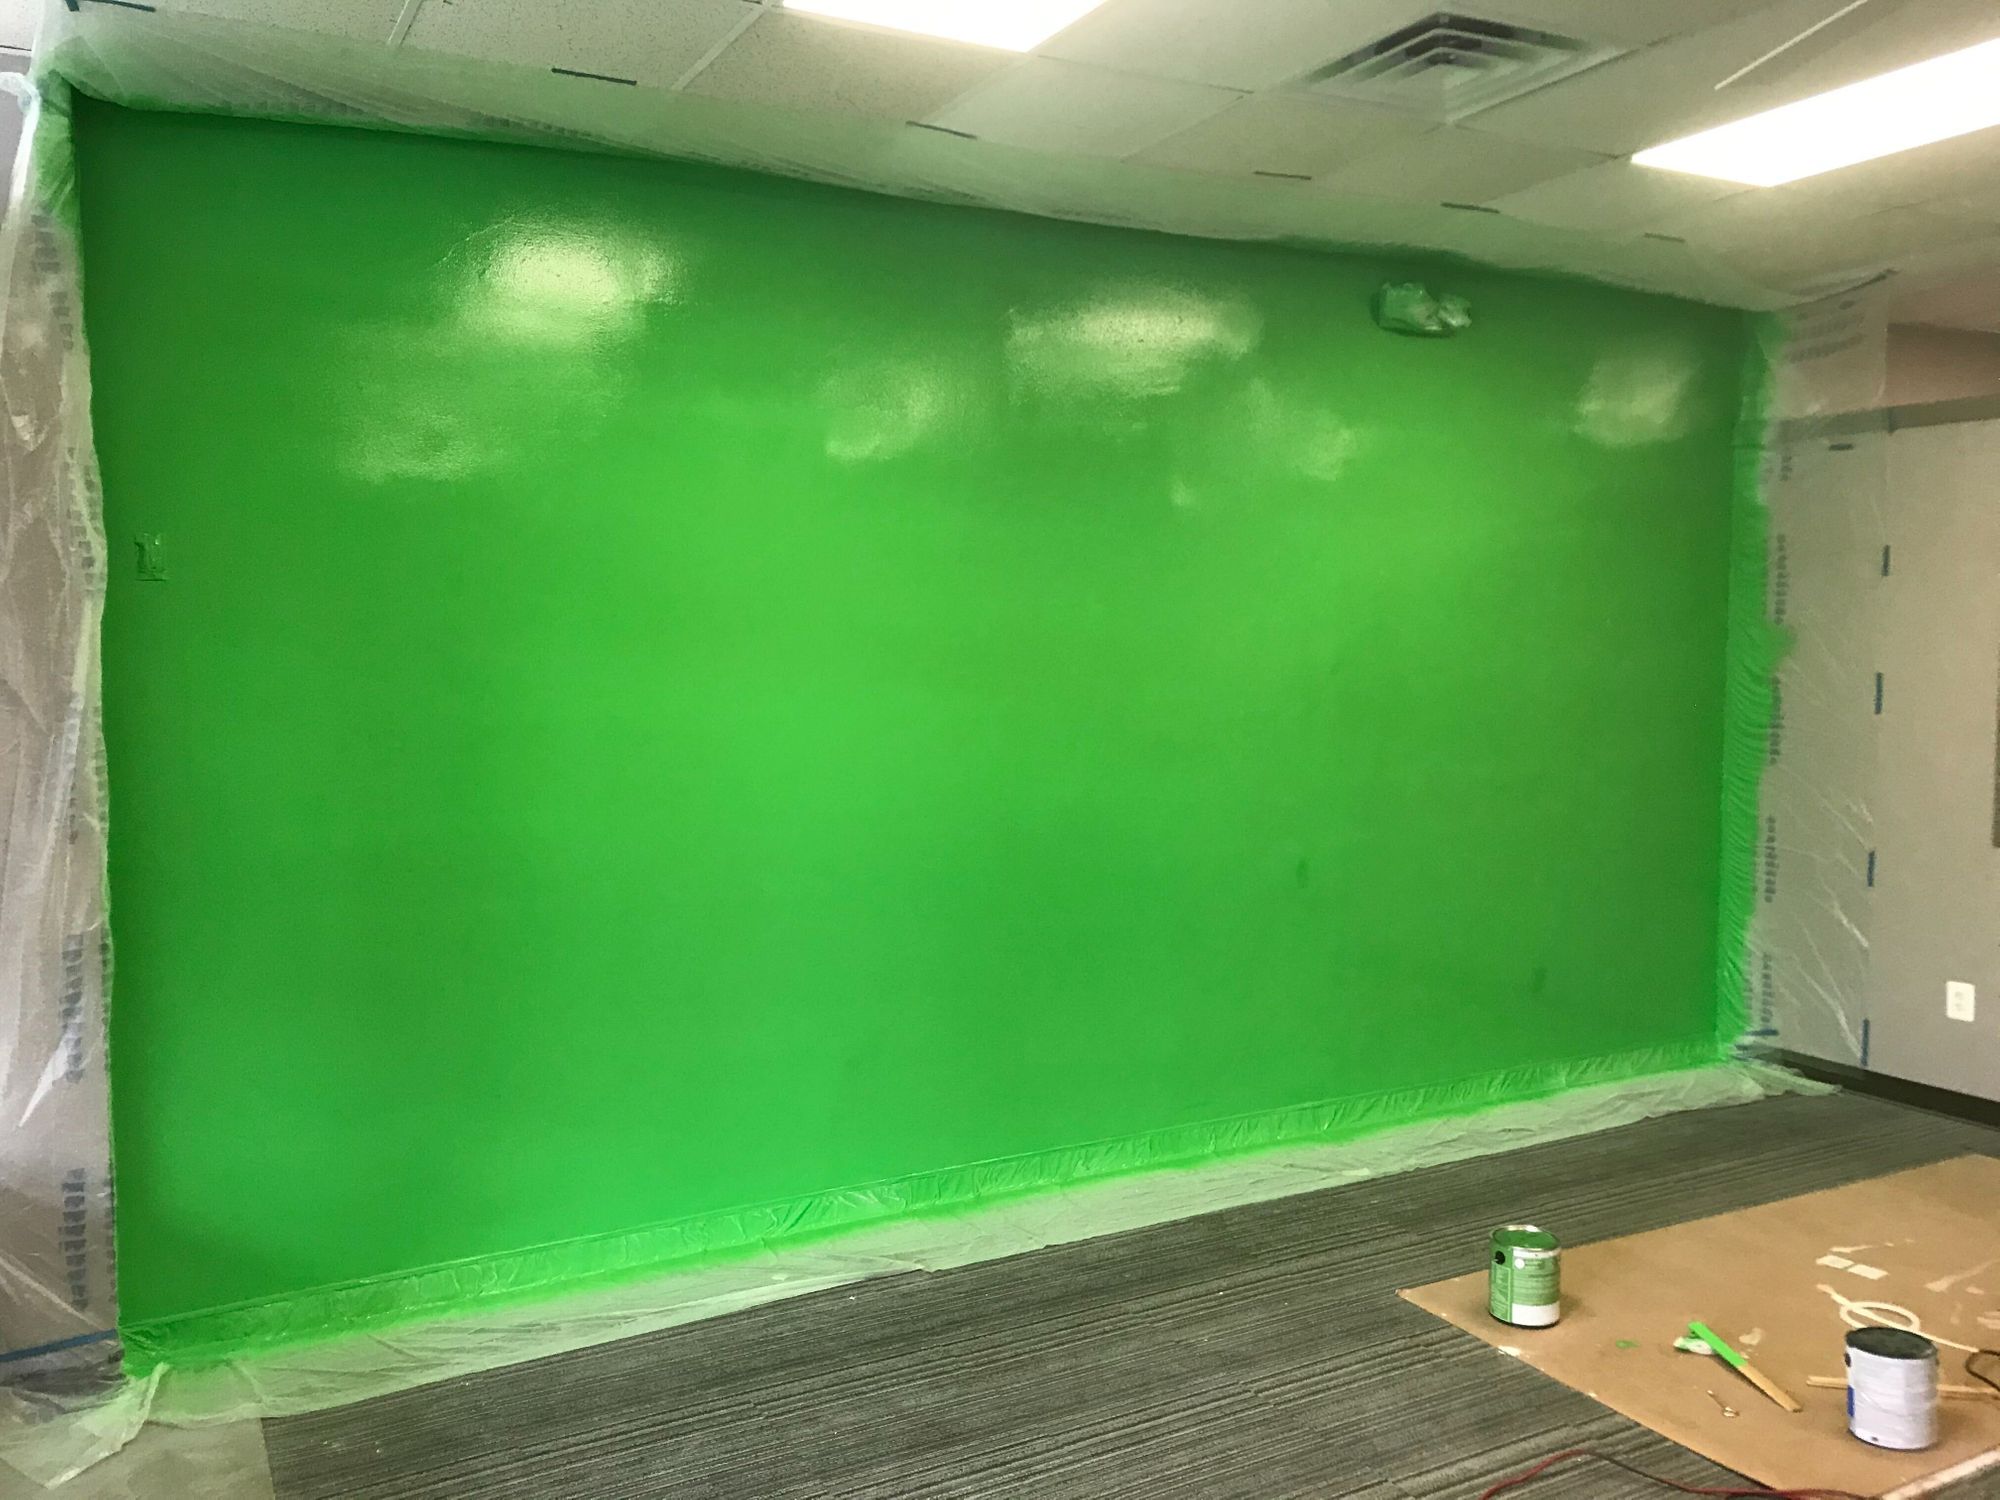
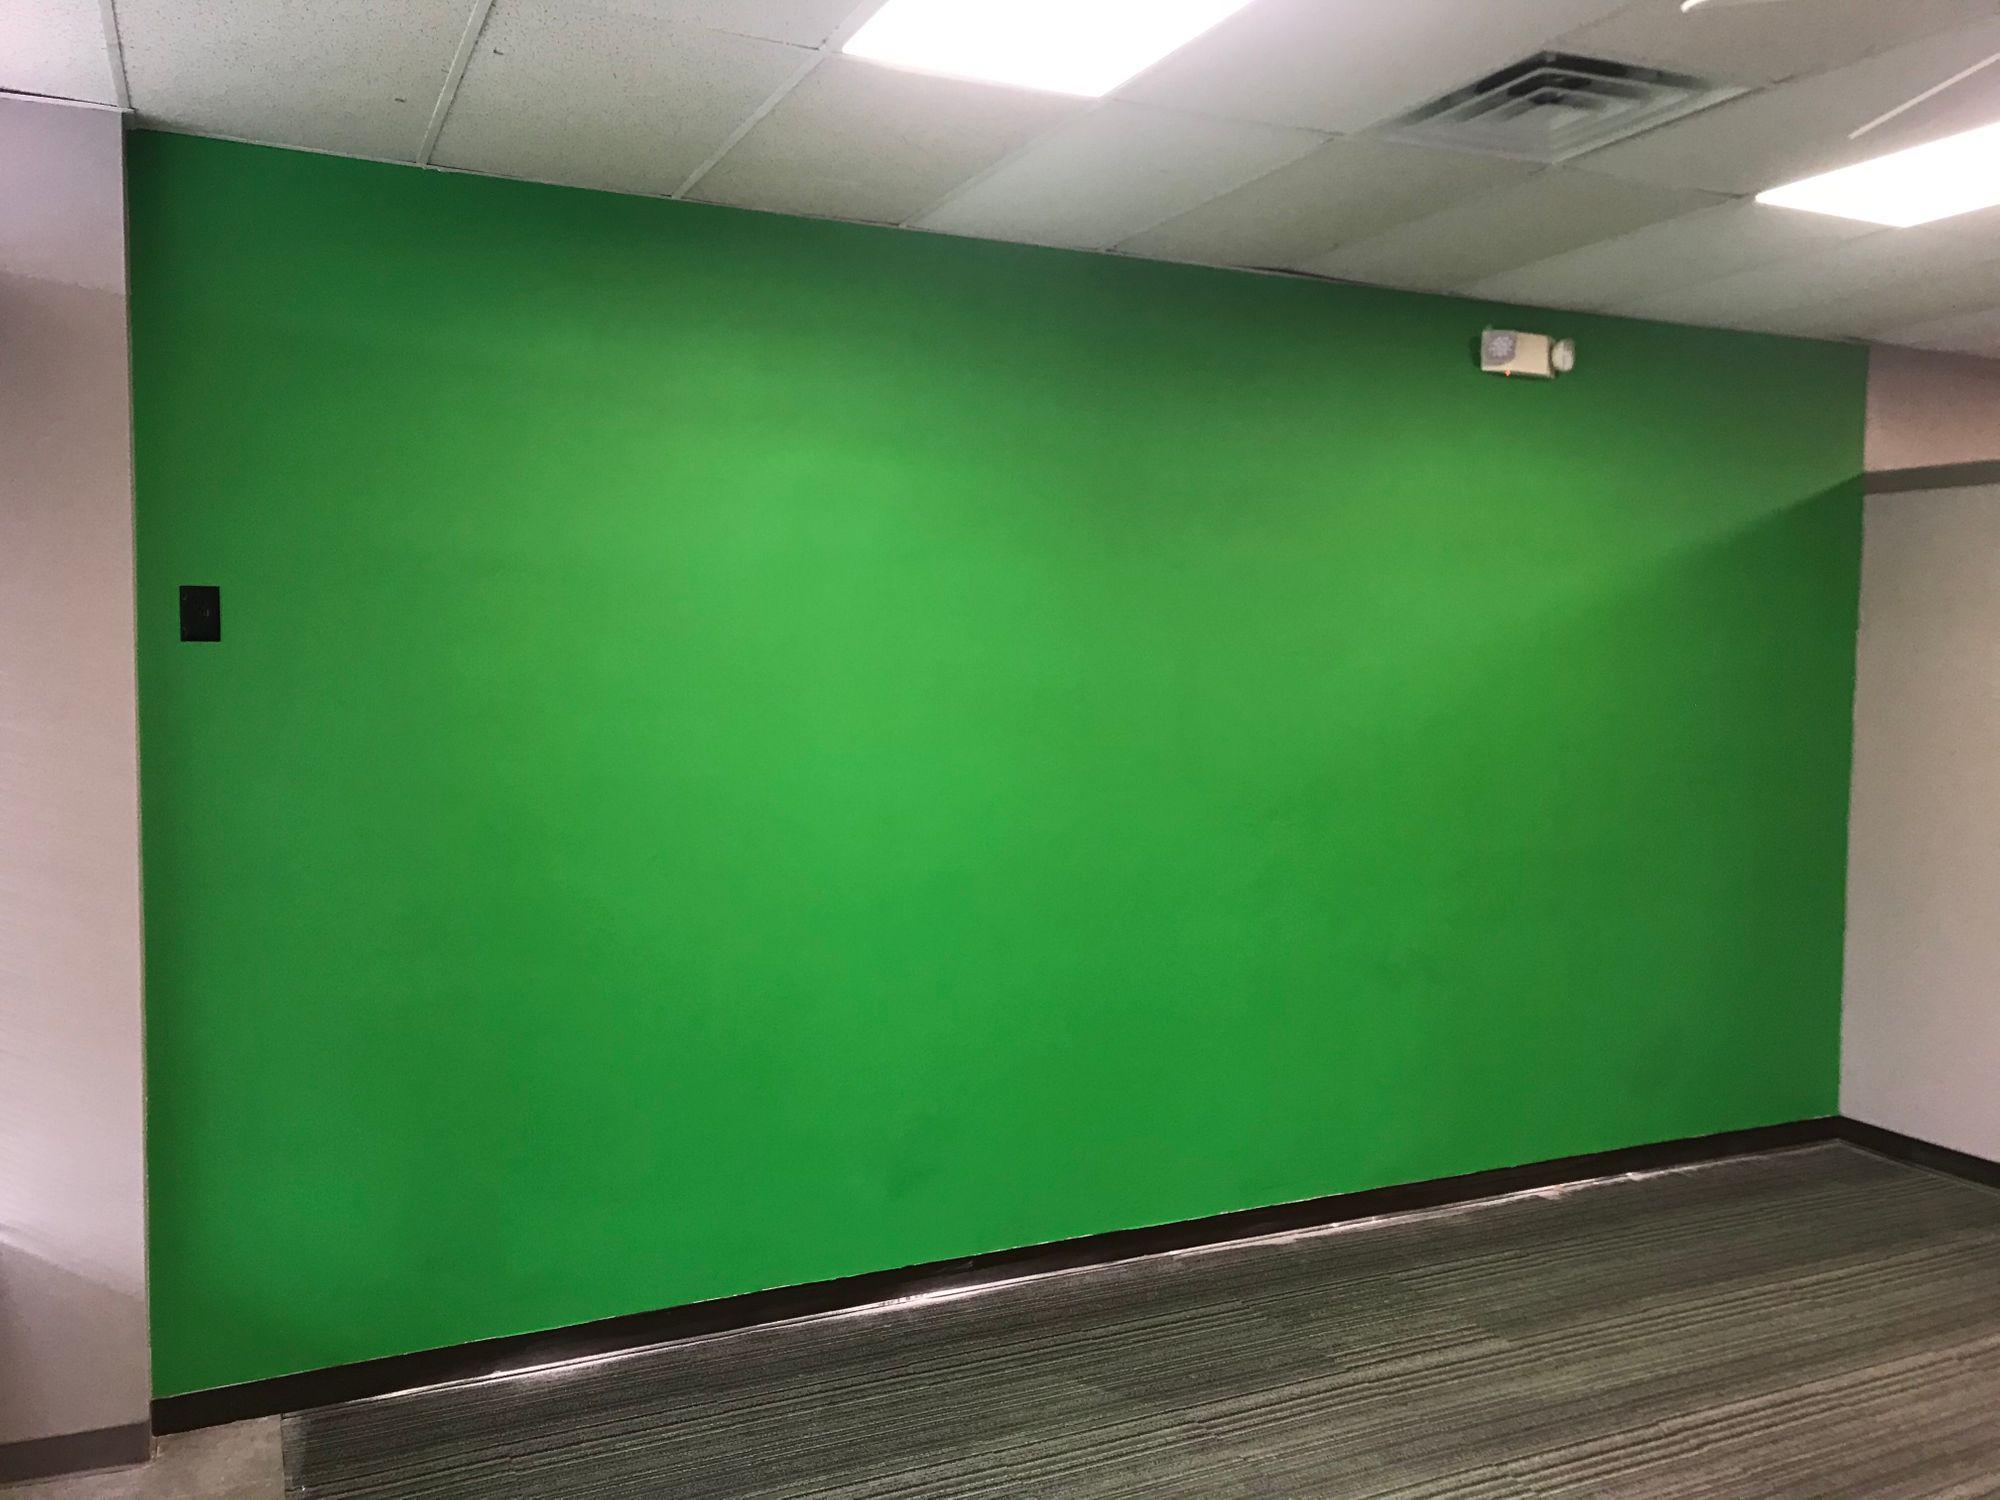
I think this came out fantastic and it will be so nice to have a reliable green screen that we don't have to setup and take down or worry about wrinkles and how it hangs, etc. The next step is make sure things are properly lit which I'll cover in my next post.
Comments powered by Talkyard.