Arcade Repair and the DIY Aesthetic
As we've continued to add to the collection of arcade games at Reclaim Video/CoWork it was inevitable that we would either need to find someone good at repairing these machines or learn to do it ourselves. I think you can probably imagine what side of that coin I landed on, especially given the absolute wealth of information available online. There's a ripe community around classic arcade games, and with the growth in popularity of "Barcades" I don't anticipate that changing anytime soon.
It started with our first machine, Centipede, which is in great condition but the fire button had stopped working. Some searching online indicated that the leaf switch contacts can often get dirty and a small piece of sandpaper to clean up the contacts would fix it. It was my first time pulling down a control panel (the front part of an arcade game where the joysticks and buttons are) and that turned out to be such a simple but empowering fix.
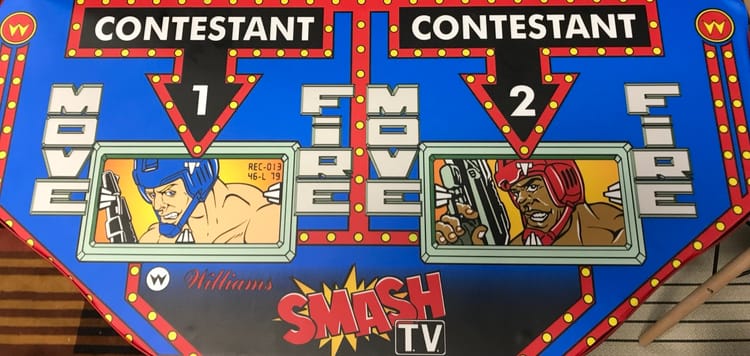
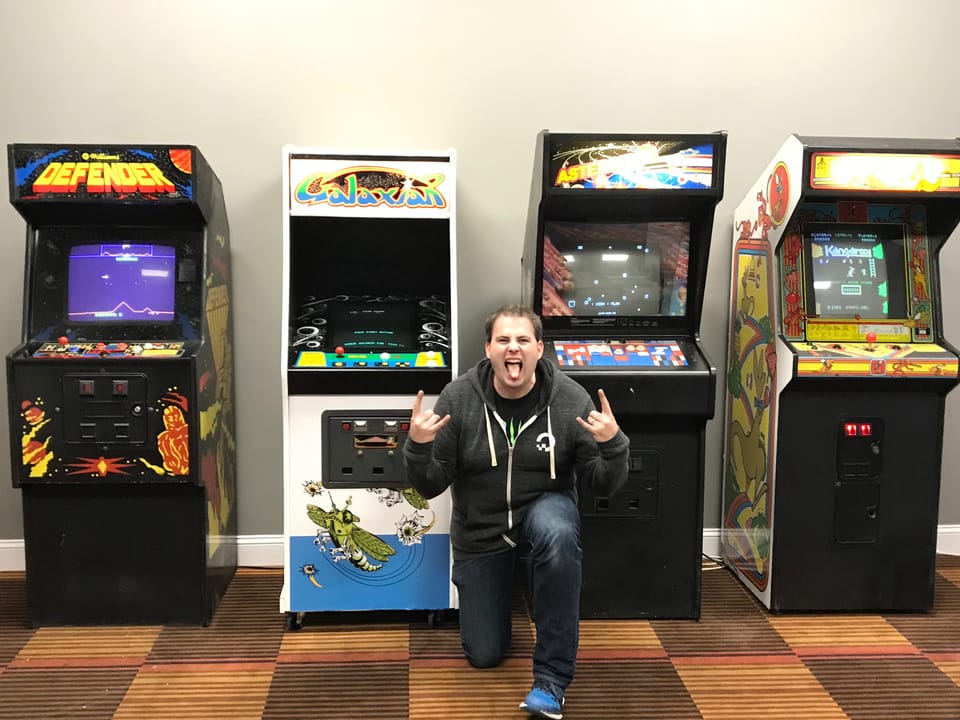
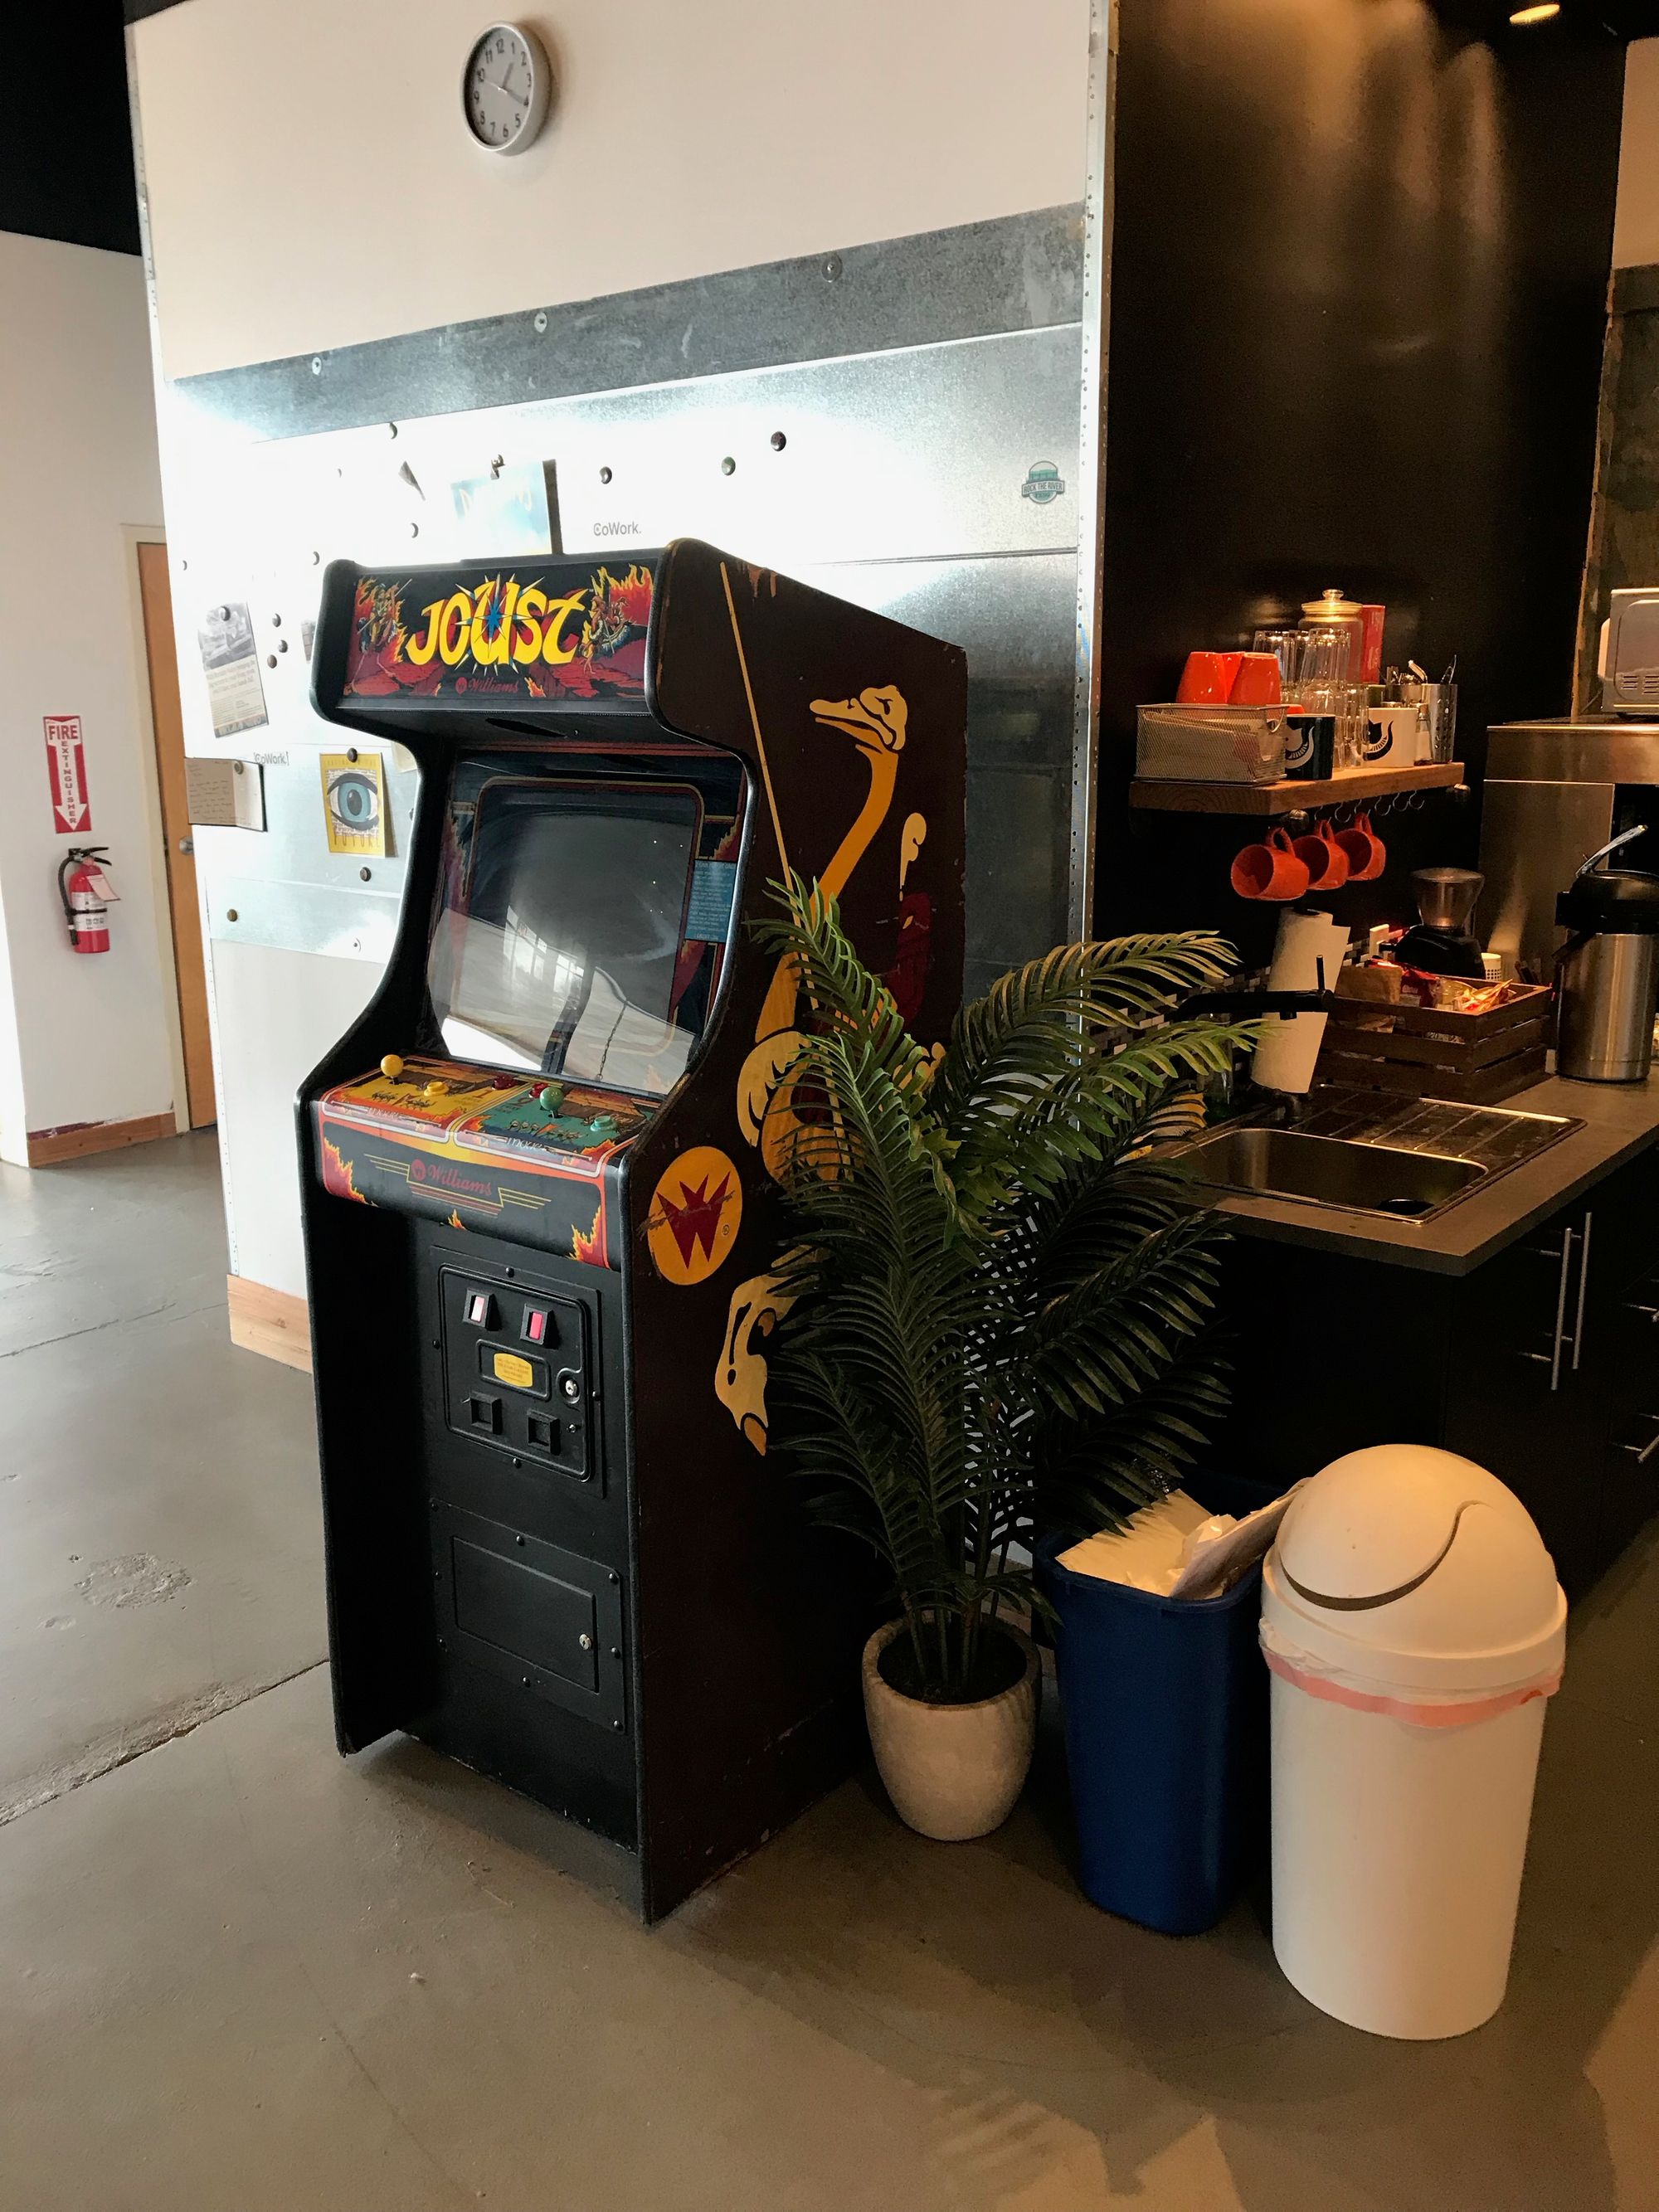
We have since gotten several more games. Asteroids, Defender, Galaxian, Kangaroo, and most recently my favorite thus far, Joust. All were in working order except when the Joust arrived I had trouble getting it to boot. I could have held the seller's feet to the fire given what I paid for the game, but I know all too well that with this having been shipped from Ohio there were a lot of variables at play and it's way more fulfilling to roll up your sleeves and fix something than it is to just whine and complain. So feeling mildly discouraged but determined I went home and spent all evening watching YouTube videos of various restoration and repair projects on Joust and Robotron (a very similar Williams cabinet that shares a lot of the same electronics). Huge shoutout to Johns Arcade who has a wealth of information and documents in great detail his troubleshooting process and failures as well as successes. I walked back into work the next morning fairly certain that while the error on the board was an issue with the RAM, that it was probably a power supply issue where not enough power was getting to the RAM to boot the machine. I reseated the power connections and it booted right back up.
In the process of researching the Joust issue I began collecting ideas for small improvements to "bulletproof" the machine for future use and made a part order. Replacing one of the chips with a new NVRAM chip will mean we can ditch unreliable AA batteries and ensure the settings and high scores are saved when the unit is powered off. And speaking of the RAM there's a kit to replace all the RAM on board with ones that run at lower power. That and a power supply replacement should clean things up quite a bit. If I'm feeling froggy I may even replace the molex connectors on all the boards since, as that initial issue proved, a bad connection be the difference between a fully functioning game and nothing. I'm hoping to get that all done in the next 1-2 months and will document that process. The high score saving is a priority because I am inviting the world record holder to come play our Joust and roll 10 million on a score (more on that soon).
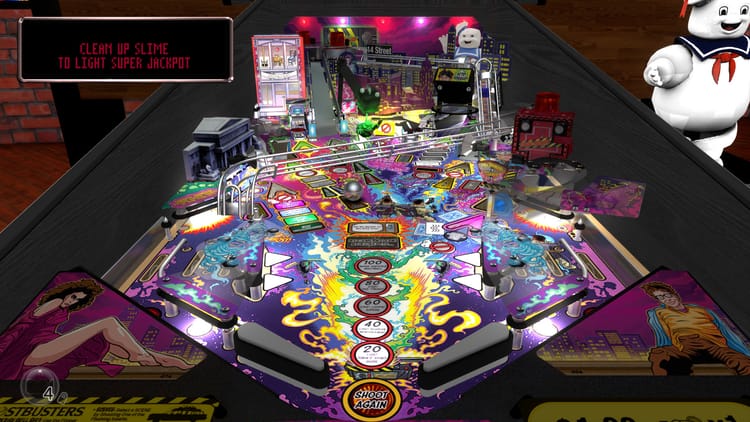
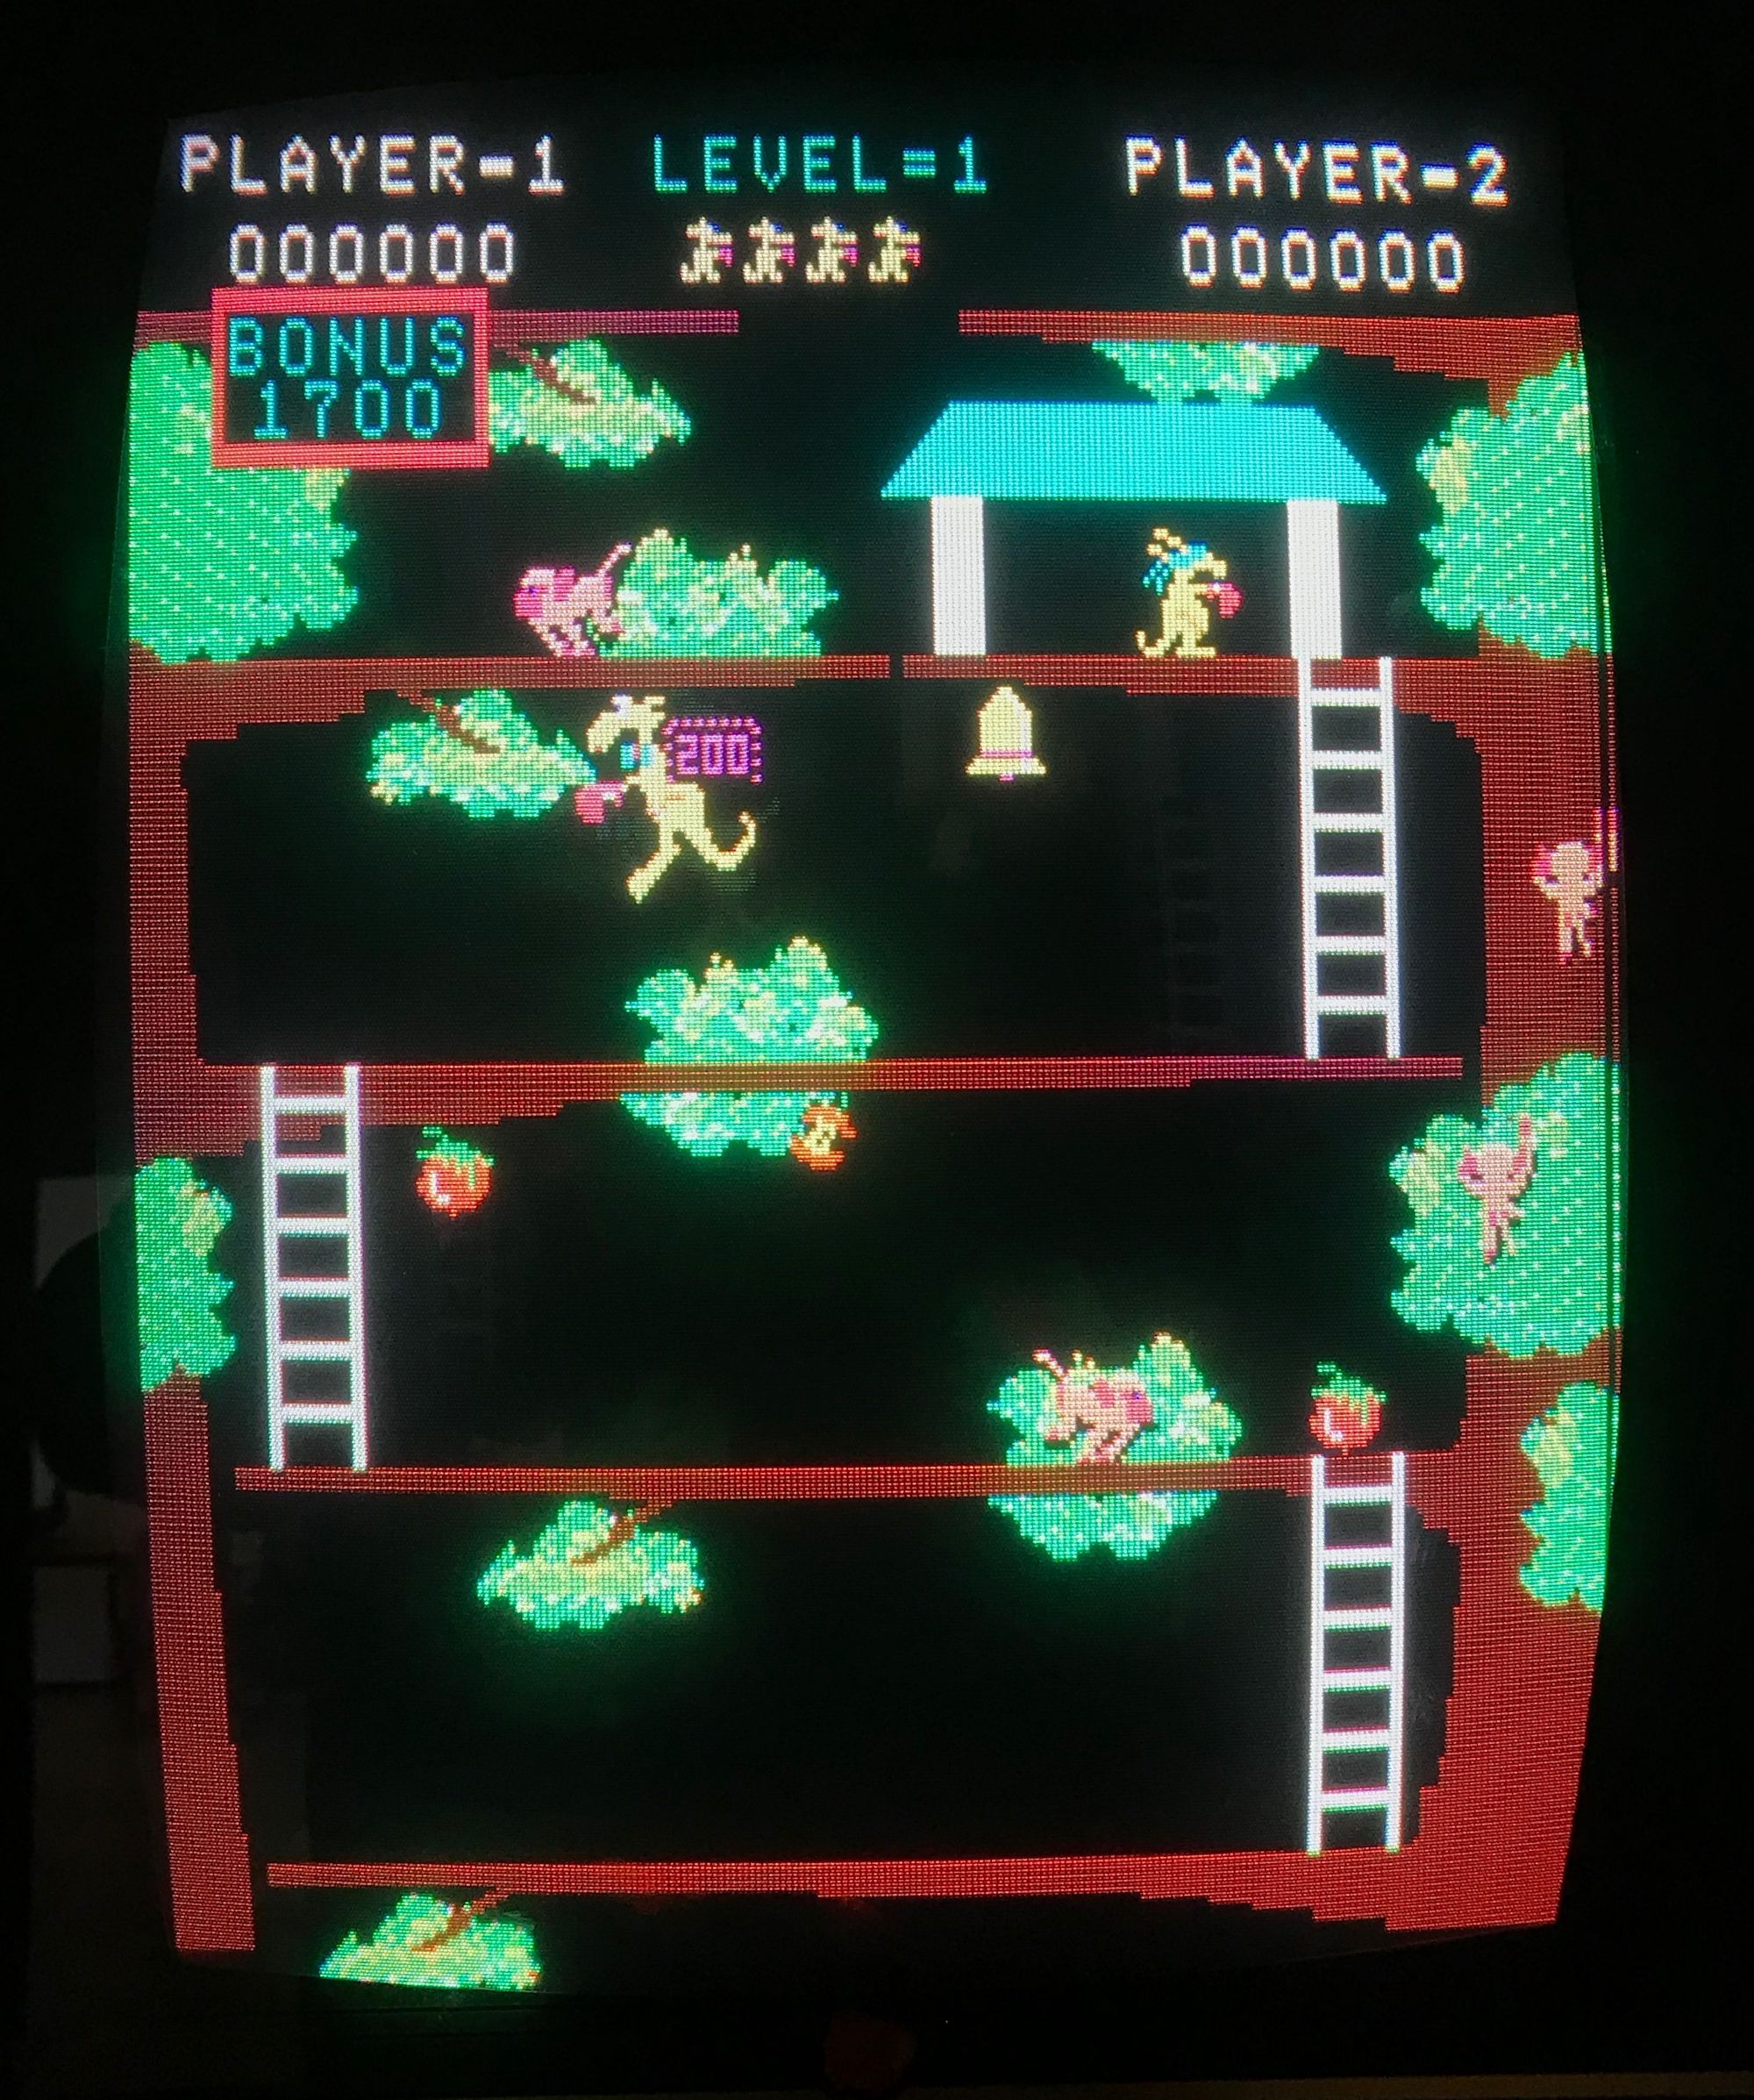
So now I'm energized and thinking "what can I do next?!" and I remembered our Kangaroo was not looking so hot. It's playable, but clearly had some visual issues with discoloration on one side of the monitor and colors not lining up right causing odd shadowing on all lettering and figures. Here's the before:

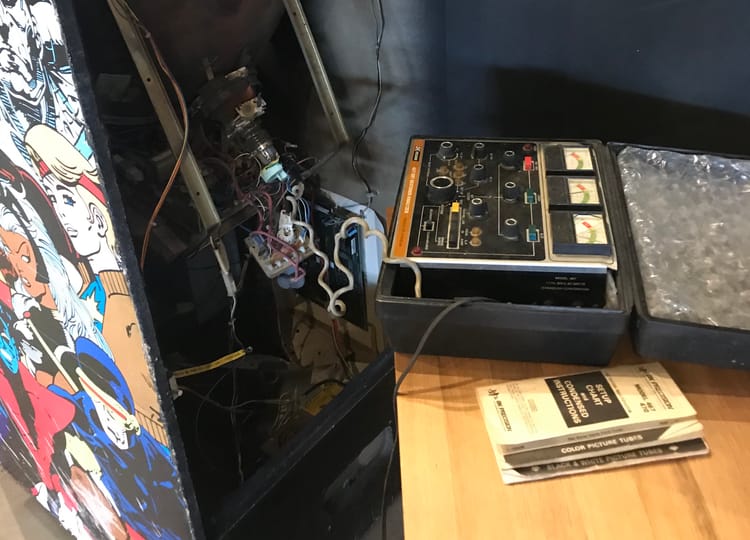
I decided to tackle that today and pulled out the manual to better understand what could be adjusted. I knew a lot of these monitors have several pots you can adjust for various settings, but nothing was really changing the color that much nor could I get the colors to move into realignment at all. The manual referenced a raster-scan video display manual for adjusting the convergence of colors and it took awhile but I found it online, specifically for this display which is a Matsushita. In the meantime I had started a thread on the KLOV forums and someone right away identified that the monitor needed to be degaussed and the convergence rings needed to be adjusted which are found on the neck of the tube. After some playing I got the convergence of colors close if not right on and turned to the issue of degaussing. I don't have a degaussing coil (a device used to reset the magnetic field in CRT monitors) and the forums came through again saying to just grab a corded drill (can't be cordless because you need AC voltage to drive the magnetic field) and do a few quick pulls pointing it right at the monitor. It wasn't perfect but after playing with it for a bit I got something pretty close which will certainly do until I add a degaussing coil to the toolbelt. Here's the after:
It's frankly stunning to me how a few simple fixes can yield such a big change. It's also slowly making me realize our vision for a Makerspace behind Reclaim Video and adjacent to CoWork doesn't just have to be a vanilla space where people 3D print things, it can be couched within the frame of learning how to build and repair things like arcade machines, Laserdisc players, CRT televisions, and more. The soft skills of soldering, electric work, woodworking, and art are all there and the space provides a perfect setting to put those skills to real use. Time to coin up and see where this takes us!